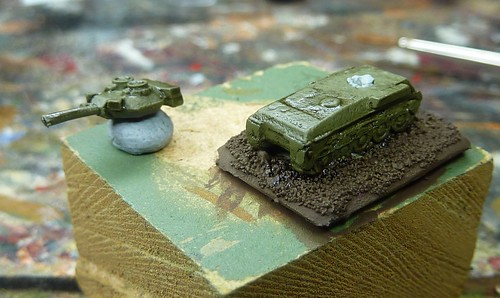
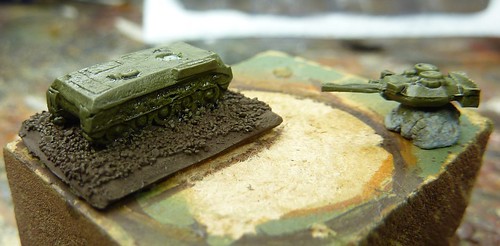
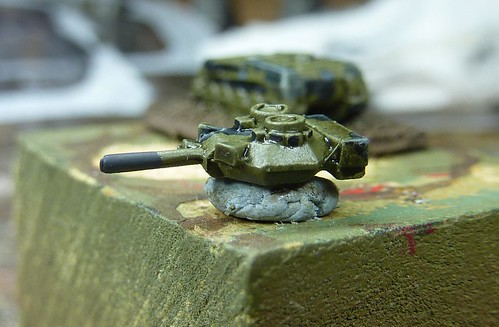
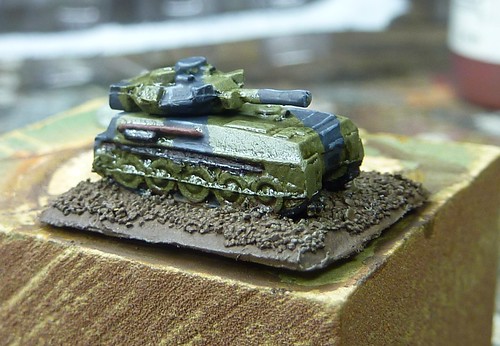
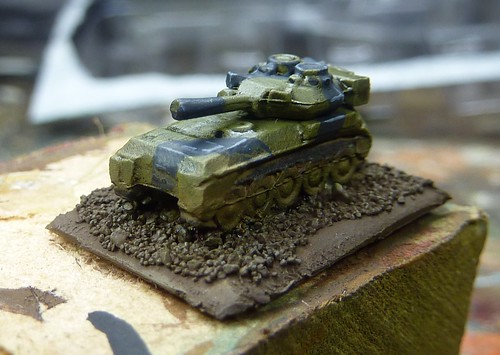
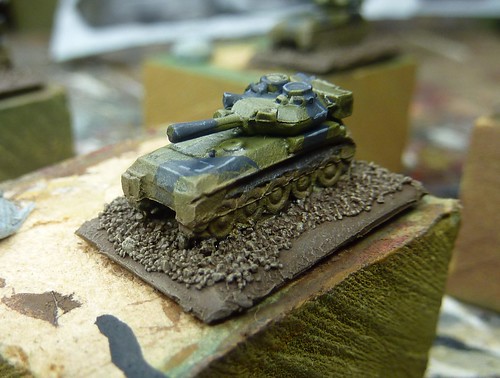
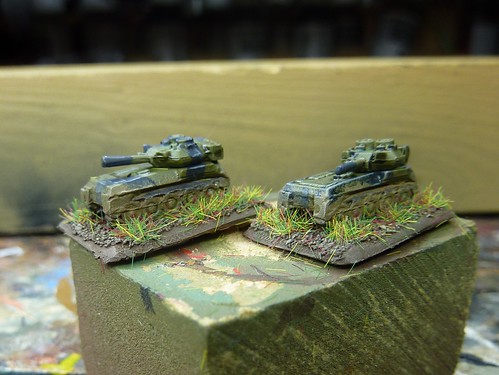
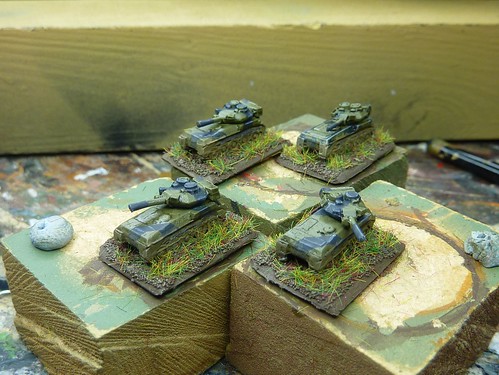
The last week has seen painting commence on the new 1/300 project with the first troop of armour getting painted.
I'm going to be writing reviews on another blog (more on that soon) so I'll stick to concentrating on the modelling and painting of the models here. Having said that, I will now apologise for just how rubbish the Skytrex Scorpion CVR(T) model really is. It really is a poor depiction of the tank and the fact that I'll now probably be hiding these in a cupboard rather than use them made them a logical choice to be the test pieces for painting in this scale.
Research
First task as always was to work out what the tanks should look like! Principally I was looking to establish:1. Colours used
2. Camo Schemes
3. Markings (yes, really).
For source data I hit up my library of books for colour photos, hit up 'Armoured Acorn' and backed this up with liberal use of google image search. It seemed that British armour markings has change very little over the years and the base colour is still Olive Drab. The camo colour seemed to vary between very Dark Green (especially in period photos) and Black (present photos and some of the period ones) and its hard to tell if that is down to poor photography in the period or variation.
Thankfully I had a tie breaker in the form of my dad who crewed Chieftains back in the day. His recollection is that the camo colour was black and that the olive drab colour was not a million miles way from that used on my 15mm Shermans (basically a combination of Army Painter's 'British Armour' spray and Vallejo 'Russian Uniform').
Primary sources aren't infallible but can be handy for making a decision!
The camo pattern was a little trickier. There seemed to be a lot of variation in schemes so I decided to just find one that I liked the look of. A further boon was finding some shots of the Scorpion (or a large scale model at least) from all angles which gave a good idea how the camo flowed.
Markings were scare, seeming to be vehicle registration marking front and back (white lettering on black rectangle) and the occasional yellow bridge marking. The exhaust on the left hand side of the vehicle seemed an interesting item to pick out (red oxide painted) as well as the vision blocks. The Skytrex model lacks much else to really engage or reward the painter.
Basing
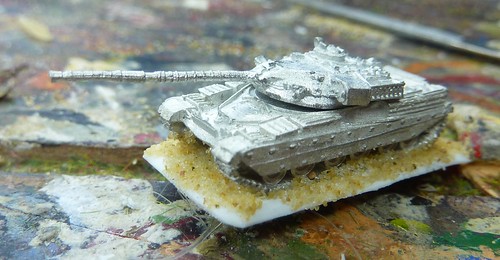
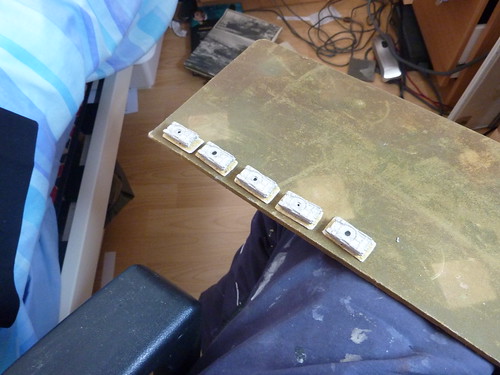
Unlike 15mm, the 1/300 lends itself to basing tanks. I cut 1mm thick plasticard into 15mm wide strips. I then cut these strips to slightly longer than the tank. Using a Dremel with a grinding attachment I then chamfered the edges of the base.That done, it was just a case of cleaning up the models (6mm is as flash ridden as any other scale sadly), supergluing them to the base and using PVA glue to apply sand for texture).
Here's a GHQ Chieftain to illustrate. These bad boys will be on the blog within the coming few weeks.
Undercoating
As with previous projects, I made the decision to use the Army Painter series of coloured sprays to save time by effectively undercoating and priming at the same time.
Firstly, I blue-tacked the tanks to a piece of MDF board.
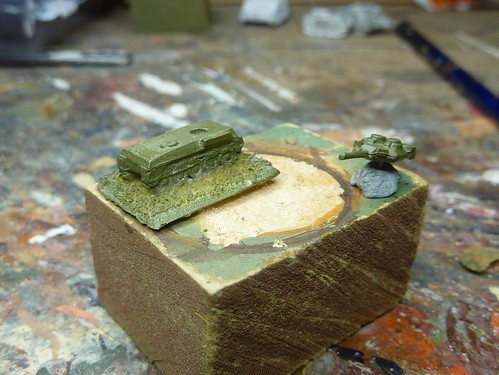
Next, the Army Painter 'British Armour' (its sold through Battlefront and is re-branded accordingly) was applied in three thin coats. The Army Painter website explains the technique used better than I can so check out the videos there.
This leaves the models looking like this:
A thinned down coat of Vallejo 'Russian Uniform' (basically the same shade as 'British Armour') was applied to cover any parts that were missed by the spray. I also took the opportunity to paint the base 'Chocolate Brown'.
Wash and Dry(brush)
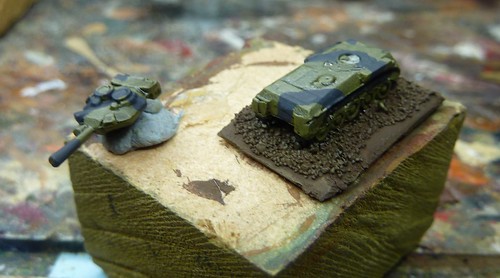
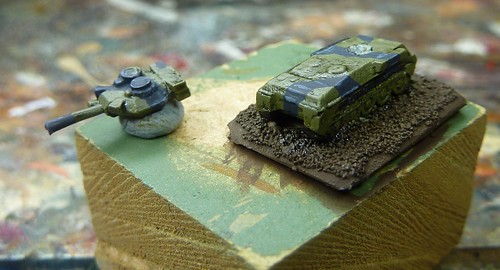
Unlike the 15mm models previously covered, I decided to use an all-over wash rather than carefully applying it. As with previous models, I used a 50:50 mix of Vallejo Black and Brown shades.Once dry, I used an Army Painter large drybrush to heavily drybrush 'Russian Uniform' back on the model, picking the edges and what little raised detail was present.
This was followed by using the same brush to lightly drybrush 'Yellow Green' to act as a final highlight. With hindsight, Yellow Green is too... yellow. The next batch of models will likely use 'Grey Green' instead.
Using a GW standard brush I applied 'German Grey' in broad bands to match the photos I mentioned earlier. I used 'German Grey' rather than 'Black' to give the effect of the paint being bleached by sunlight in the field. Whilst happy with the look at the time I'm now wondering if its too light and may darken it with Black shade on the next models.
I then thinned down 'London Grey' and applied a highlight to the now grey areas as drybrushing would be difficult to achieve without marking the green areas.
Fine Detail (i.e. How to go insane/blind)
Yes! Fine Detail at 6mm! Not quite cap badges and rank markings but not far off!First I used thinned down 'Black' paint (not shade) to add a blob of black on each vision block. I did also intend to add a little white blob in a top corner of each block but sense prevailed and I left it at that.
I then picked out the exhaust in 'Flat Brown'. I'm not sure what the thing below the exhuast is and noted that there is sometimes a pry bar on the Scorpion in this location so I picked it out in gun metal along with whatever track could be seen (front, back and on top).
Basing Pt.2 and Weathering (or "getting dirty")
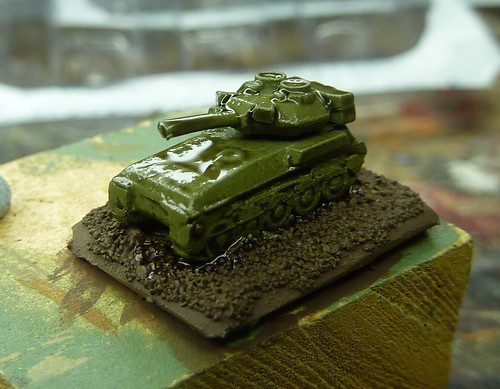
Obviously no tank look rights if its not covered in mud and this applies at 6mm as as any other scale!
Building on my experiments with using washes of field drab for ingrained dirt on the 15mm trucks of the last project, I again watered down 'US Field Drab' and applied it liberally over the lower half of the Hull, going slightly higher where mud would likely be chucked up at speed.
Once dry, I then tidied up the bases by reapplying 'Chocolate Brown' and then drybrushed 'US Field Drab' over to top once dry.
I then lightly drybrushed 'Buff' on the mud covered areas of the hull and the base to act as a final highlight for the grime.
Finally, I applied patches of PVA glue to the base and sprinkled static grass onto the base.
As a final experiment I painted up a fourth Scorpion but applied the grey area before the wash stage. This seemed to give a much more satisfactory 'bleached black' and will be used from here on out.
Tank on right has grey applied pre-wash.
The HQ Recce Troop!
All that's left now is a few coats of varnish and its all done.Next decision is whether to paint up the FV432 to really get the technique down or just give in and paint some Chieftains. Decisions, decisions!

