Tuesday 20 September 2011

"Base" of fire

Hello!

This week I thought we'd look at how I do the basing.  It's something that I usually get asked by the new guys and I know its one aspect that a lot of the chaps at Brighton Warlords seems to hate!

I've experimented with various methods since my first army.  Initially I just stuck the figures on the bases and covered in sand, a direct throwback from my transition from 28mm Games Workshop!
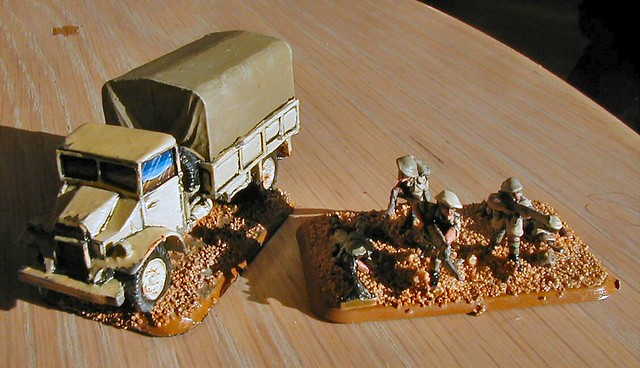
truck_and_team
MY EYES!

As you can see, it lacks...charm but it is relatively simple and could be easily improved by building the sand up around the figures to blend their individual pedestals in.

After the first two platoons, and on the basis of a few examples on the old Battlefront website, I started experimenting with Poly-filler and have pretty much stuck with it ever since.

Now, there's two camps of thought on using poly-filler:
The first camp just covers the base with poly-filler and then sticks the figures in, relying on the poly-filler to hold it in place.  Benefits?  It's quick and easy.  Downsides?  It can leave the poly-filler sitting away from the figure's pedestal (which can be hidden by other basing materials) and can leave the models susceptible to parting ways with the base over the course of a game!

The second camp, the one I fall into, sticks the figures to the base and then applies the poly-filler around the figures.  This is a lot more time consuming, messy and fiddly but, in my opinion, gives a better finish and certainly gives a stronger bond between model and base.

So, how to do this without going mad?  Let's look at the process:

Materials
So, all polyfiller's are equal?  In my experience, no.

  • The mix-yourself stuff can be good but, honestly, I'd rather spend an extra quid or so and not spend half the evening trying to nail the ideal consistency!  
  • The cheap "generic" ready-mix was, on both tubes I ever used, way too liquid and a nightmare to work with.
  • My ideal choice is the branded ready-mix.  A tube goes a long way so I don't see an issue with the extra cost and it always seems to be in a nice, fairly dry, mix that is easy to work with.

Interestingly, I don't advise using the ready-mix  for decorating as it dries too hard and is a bitch to sand down. But I disgress...

Tools
I use a few tools when working the filler:

  • Old GW sculpting tool - the one with a knife edge on one end and a scoop like end.
  • A metal pick - perfect for poking between the legs - oo-er!
  • A spare base.  Just to place excess polyfiller off the blade edge till its needed.  


Method
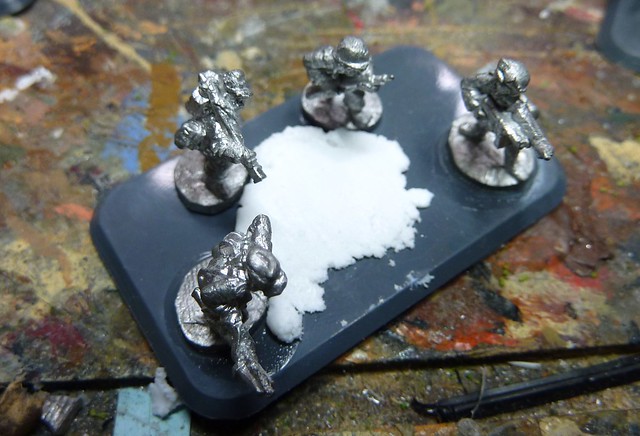
First step, stick all the figures to the base, painted or otherwise.  I prefer doing all this before painting but it should work out okay with painted models with a bot of care.  Now, drop a pea sized dollop of poly-filler on the base, somewhere away from the figures.
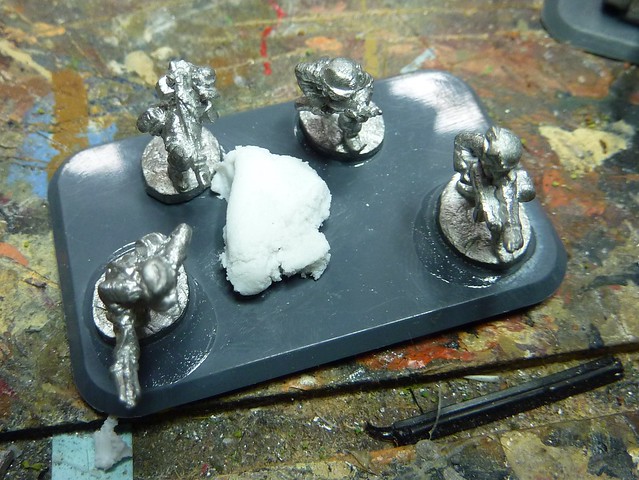
P1010755
Atchung!  Filler!
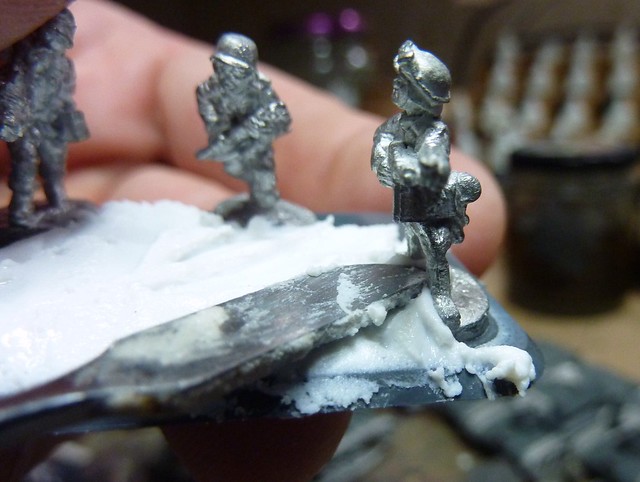
Now, use the sculpting tool to start working the filler towards the figures, adding more filler to cover.
P1010756
This, of course, would work well for Eastern Front snow bases :)
The trick to working the poly-filler, especially up to the feet and between the legs, is to keep the tip of the sculpting tool wet, so that the poly-filler doesn't stick to the blade.  You don't want an excessive amount of fluid on there as it makes the polyfiller go very smooth, robbing it of its texture.
P1010757
Sculpting Tool to the nads - definitely not Cricket!
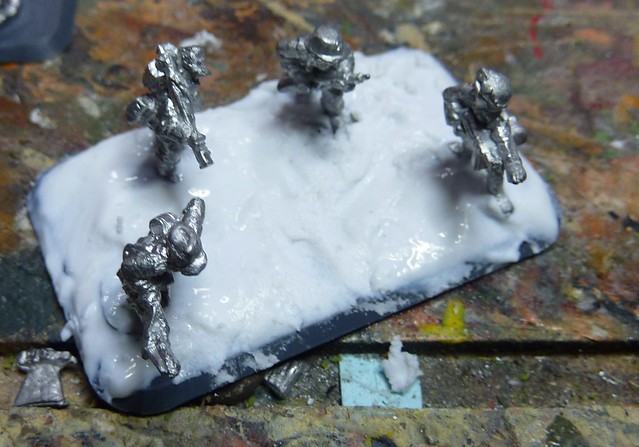
This should eventually leave you with a base like this.  If you want to add the impression of weight to the figures (such as guns sinking into soil or infantry sinking into soft sand) then you can let the filler partially cover the feet, but for the most part you probably want to avoid submerging the figure too much.
P1010758
"Wet look" is in this season
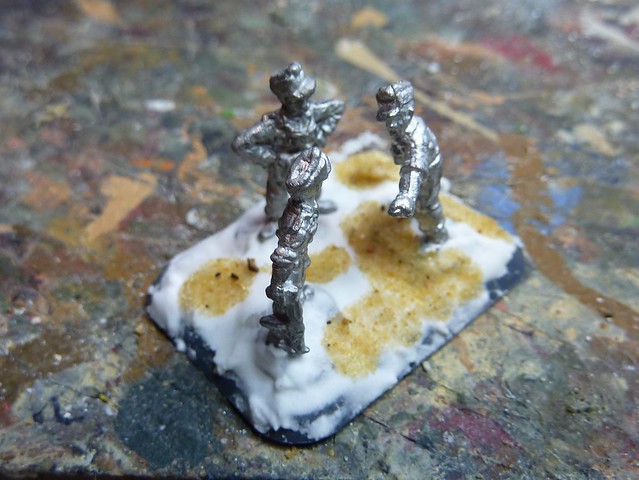
As the base starts drying, its possible to disturb the poly-filler with the sculpting tool to add some extra texture.  Another way of making the base more interesting is to add sand in patches for "rocky" areas and the like.  This can be sprinkled on when the polyfiller is wet, but I find it better to use PVA glue once the Poly-Filler is dry.
P1010778
"And over here we'll add the fuher water feature.  Oh Hans, it will be magnificent!"
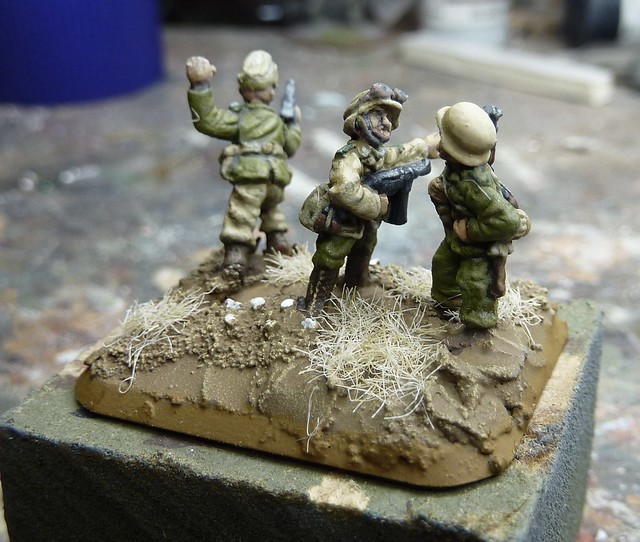
Once its all done, its just a case of base coating a suitable earth tone and dry brushing up.  Adding stilfor or static grass can also make the base more interesting as well as hide a multitude of sins...
P1010772
See!  Multitude of Sins successfully hidden.
Finally, something I'm experimenting with is using the dried up Poly-filler that collects in the cap to create rocky outcrops.  Just break a bit off and stick into the wet polyfiller, especially in an area that's gone too smooth through using a wet tool (oo-er, okay enough of that).
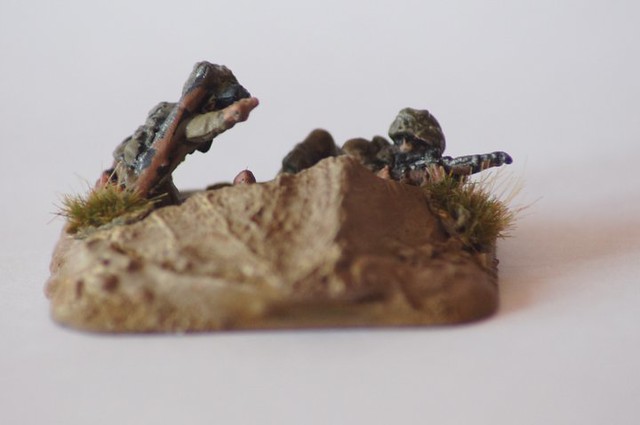
Stone Cold Paul Austen has also done something similar.  He cracked the dried Poly-filler out of the container he uses to mix it and got some very large bits to add flavour to the base.  he was kind enough to let me have some of hos photos to show the technique off.  Cheers Paul!
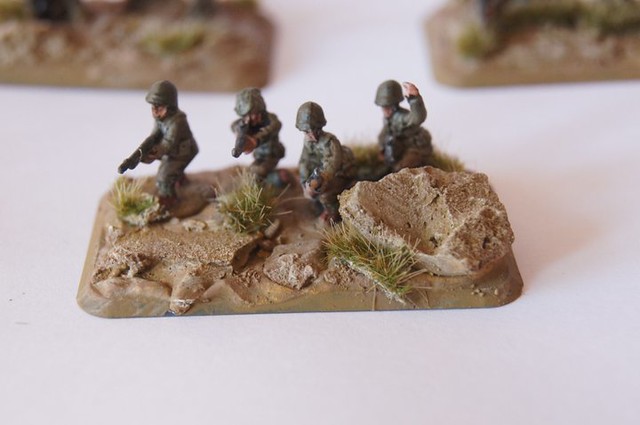
294062_2328140804960_1292897423_32893685_2389689_n
He does try and claim bullet-proof cover all the time though...
262805_2328071963239_1292897423_32893575_8337693_n
Paul's bunker-busting sniper team

See you next week.

Saturday 17 September 2011

Now where was I...

Hello!

Well, I've been a busy boy and sadly very little of it involved painting!

In  the weeks (months?) since the last post I have managed to get the grand total of two units painted!  Both are for my DAK army and were partly to supports its use a 90th Pz Div in our local Cassino Infantry Aces campaign.

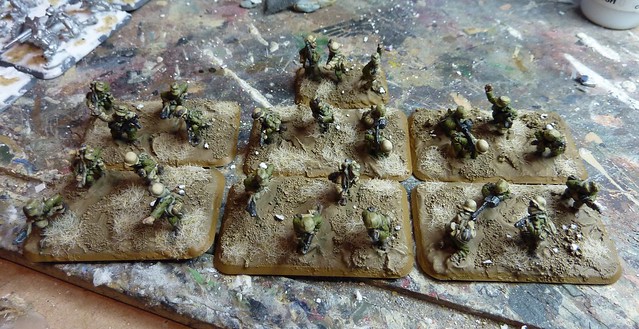
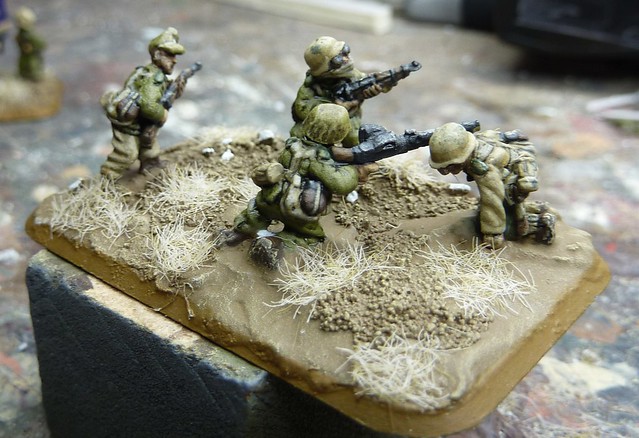
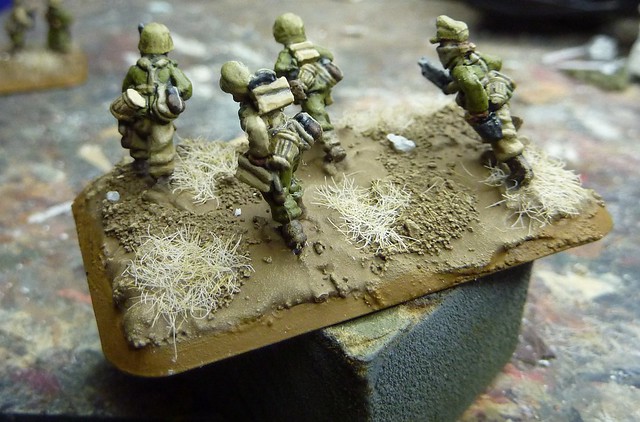
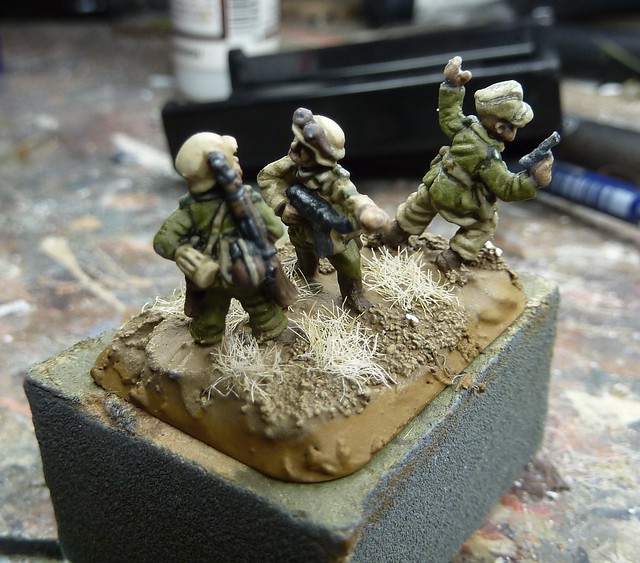
The first project was a third platoon of Panzergrenadiers/Schutzen.
P1010769
Schurzen Platoon in the infamous "artillery template?  what's that?" formation

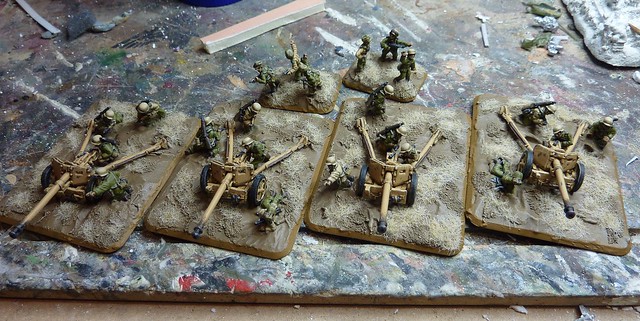
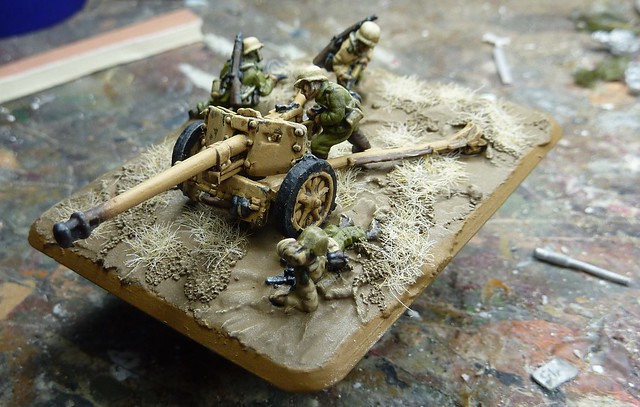
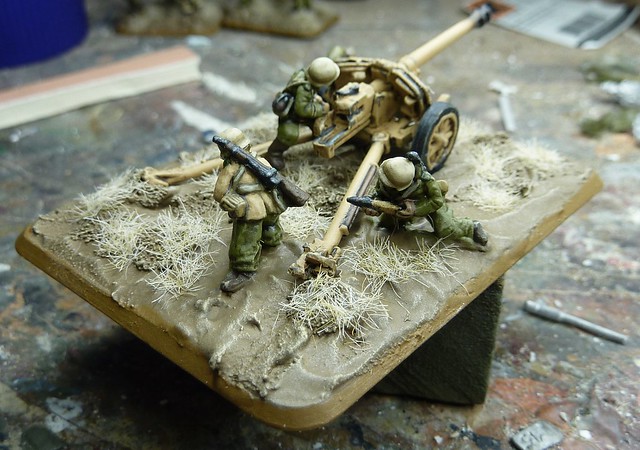
The second platoon was an anti-tank platoon of PaK-40 Anti-Tank Gun for post-Alamein Sherman popping!
P1010759
"Front Armour 6 you say?  Meet AT 12 combined with concealed in fox holes! Mwahaha!"

There's not much to tell on painting them.  I pretty much followed the painting guide over at Battlefront, modifying it slightly to support a wash/drybrush technique on the DaK's earlier Olive Green ('Yellow Green') uniforms.
P1010761
The slight flaw in German assumptions on vegetation in North Africa can be seen here
In theory the PaK-40 crews should probably be the browner ('English Uniform') later uniform I imagine, but I didn't want to deviate the from the current colour scheme.
P1010776
Because, lets face it, the old scheme is better looking than more brown!
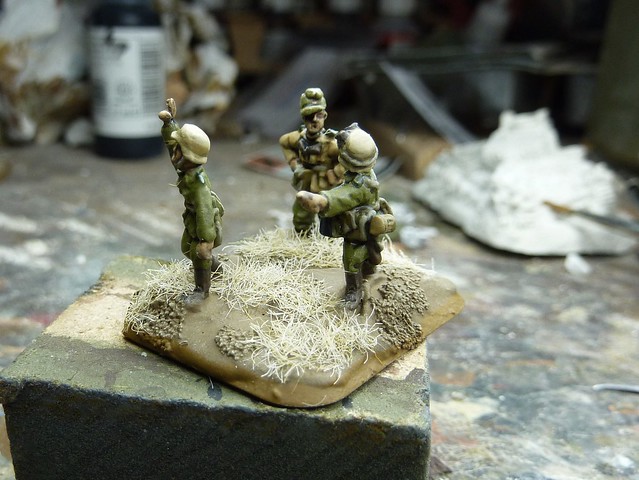
For a bit of variety I threw in the occasional 'Desert Yellow' Italian tunic or 'Iraqi-Sand' British Khaki-Drill trousers to represent old hands (or Hans!) who had managed to pilfer some superior desert gear!

P1010766
The CO didn't nick that Tunic.  He's got a whole Company for doing that!
P1010774
Somewhere there is a British Platoon looking very embarrassed, and pants less
P1010771
"Go there and get some proper trousers man!  You stick out like a sore thumb!"
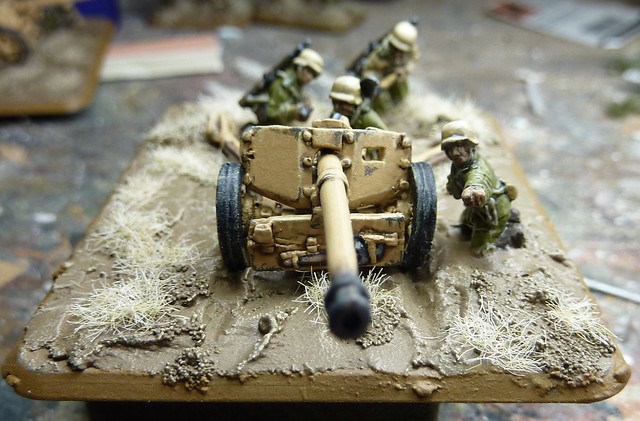
The guns are painted 'TanYellow', the last factory applied paint scheme that was supplied to Africa.  I've tried to keep the tank/gun applied schemes to either the early "Mud over Grey" schemes that work for Early and Mid war equipment (PzIVE, PaK-38, Armoured Cars) and the later 'Tan Yellow' scheme for mid war only kit (Pz IIIL, Pz IVF2, PaK-40), skipping the first factory applied scheme of 'Green Brown' entirely, although its perhaps more appropriate for most of my Early/Mid DAK kit.  That's mostly an aesthetic choice as I like the rough and ready improvised desert camo of the "Mud over Grey".

P1010762
Keep that ammo coming!
P1010763
The business end!  Kill marking to be added as they get 'em!
So, going forward what can we expect to see?
Queued up on the painting table at the moment:

  • 6 x PaK-36 for Early War DAK
  • 2 x FlaK-36 for DAK
  • 3 x M3 Stuart for 8th Army Brits

On the horizon is more Stuarts (a whole Squadron!) and some KradShutzen motorcyclists.

I've put the BEF away for the second to concentrate on the desert stuff.  The war in the desert has always been my main focus with the Flames stuff and has also always enjoyed some healthy support amongst the clubs players too.

And lets not even talk about the stuff Plastic Soldier Company has coming out before year's end.  Plastic Sherman V, StuGIII, PzIII, halftracks, possibly even a 15mm plastic Universal Carrier!


Whimper...