Well, Mike wasn't kidding on either count! When we first started looking at CWC I was quick to decide that I wanted to do Brits and I wanted to have any infantry in DPM.
Research
A bit of history (a more comprehensive one can be found here); The British Army's first foray into a camouflage pattern uniform was the Denison Smock of WWII. This consisted of a sand colored material hand painted with irregular green and brown swashes. 15mm Denison smocks are a feature of my Flames of War Paratroop force and covered here.The Denison smock remained in use after the war with the Paratroops and Royal Marines. A variation of the pattern was used to produce the '68 pattern DPM Combat Suit and the British became the first nation to issue a camouflage patterned uniform to all arms (rather than ad-hoc or to special forces). This was gradually introduced over the seventies although the Paras and RM held out with Denison Smocks over 1960 pattern olive combats for a little while longer, mostly to be unique and wonderful snowflakes (as referenced, tounge in cheek, here).
Translating to Scale
Let's take a look at an example. This is my Uncle's old combat smock and probably reflects a later issue of the pattern.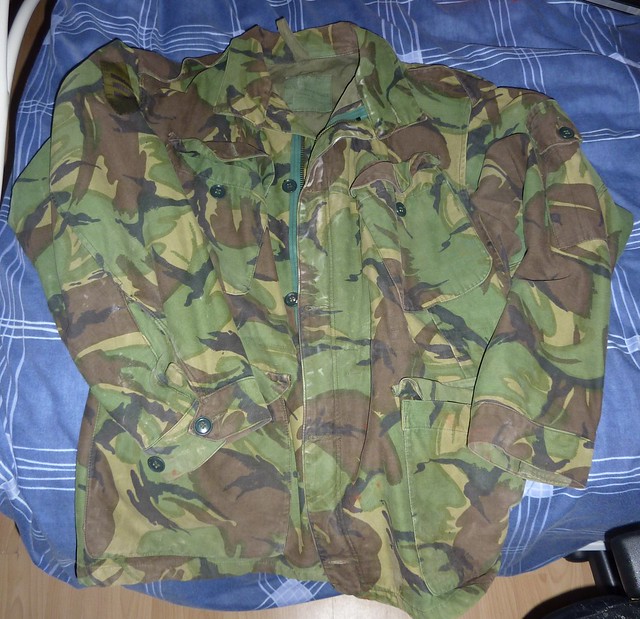 |
| One '68 pattern jacket - slightly used |
As you can see, compared to the Denison pattern, the '68 pattern is biased towards green rather than Ochre and the '68 pattern has introduced small black swashes over the other colours.
I decided to keep the pallete similar to the Denison smocks and used the following Vallejo paints:
Green = "Russian Uniform" (it looks ligher than the "Reflective Green" of the Denison)
Brown = "Flat Earth" ("Chocolate Brown" may be more suitable if you don't use a shading wash)
Ochre = "Green Ochre" although "Middlestone" may also work on larger scale models.
Black = "Black". Dur!
Now, the colour is important but the other element is the pattern. '68 uses the distinctive 'jagged brush strokes' of the Dension Smock. It starts off with a green base, then yellow (or is it yellow over green?), then brown, then black.
Trying to copy a camo pattern exactly at scale is a hiding to nothing. It'll look messy and it'll do its job and disrupt the pattern of the model! It's better to exaggerate the size of the pattern and try to capture the flavour and colour. For me this meant making sure the colours stayed roughly in proportion and sequence.
Dressing Up
Seeming as I neglected to take photos during the actual painting of the bulk of the troops I had to go back and do a solitary example. Normally I glue the figures to the base and paint in a group rather than painting one at a time!
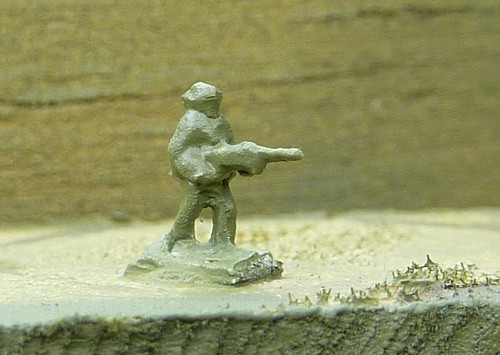
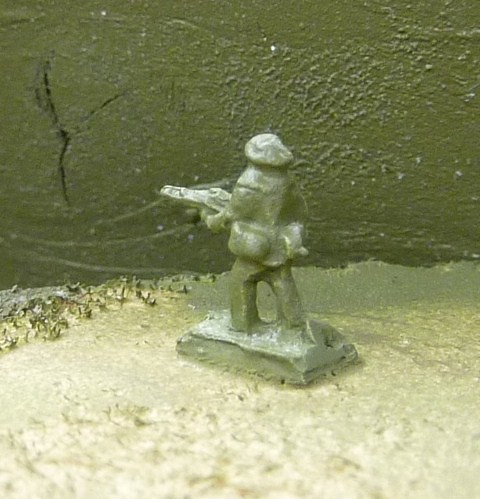
Now I'm going to apologise right here. Heroics and Ros make some nice helicopters and okay vehicles but their infantry (British at least) leave a lot to be desired. A little defining detail would be nice! Maybe Epic spoiled me...
Now I'm going to apologise right here. Heroics and Ros make some nice helicopters and okay vehicles but their infantry (British at least) leave a lot to be desired. A little defining detail would be nice! Maybe Epic spoiled me...
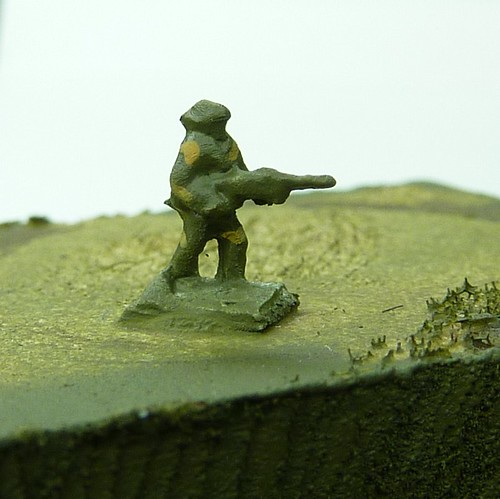
First, I gave the model a good spray of Battlefront/Army Painter "British Armour". The coverage was sufficient to not require an overpaint of watered down "Russian Uniform" which was nice!
Next I used a GW standard brush and applied a few small swashes of "Green Ochre". I tried to keep to one-two swashes for each bit of the body. I kept the paint only slightly thinned down so that the paint kept where I wanted it! It's important to keep the swashes fairly irregular in shape and length.
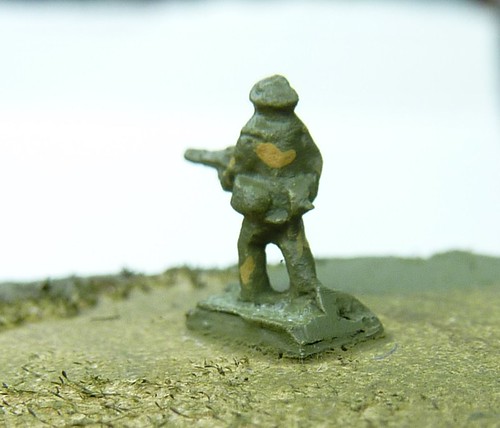 |
| He's got a yella streak on his back! |
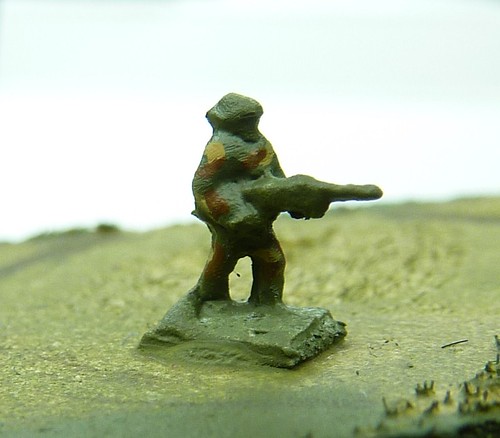
Next I applied "Flat Earth", trying to intersect the "Green Ochre" without fully obscuring it from view
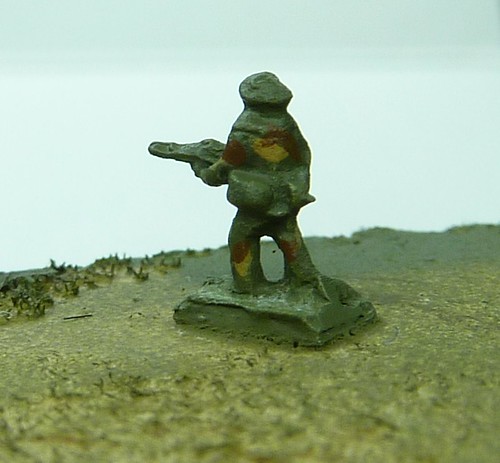 |
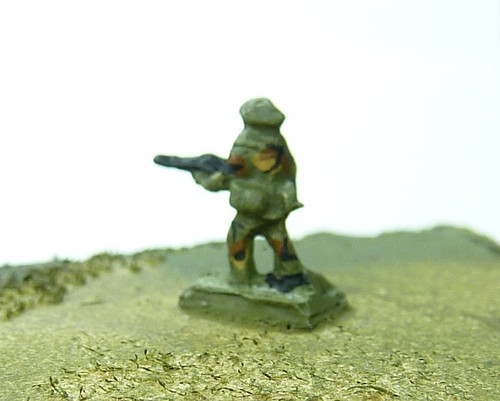 |
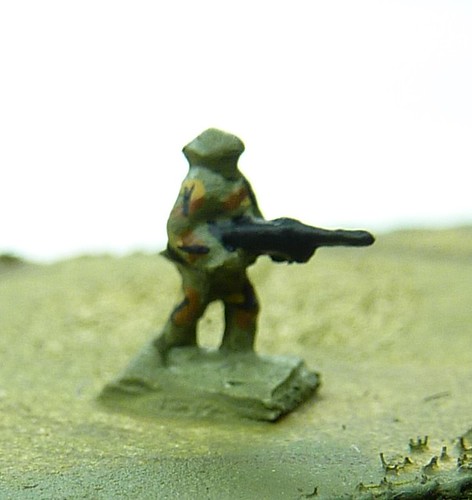
| Because clearly Denison wasn't colourful enough. Add Black! |
Next, I used a 50:50 thinned mix of Vallejo 'Black' and 'Brown' shade to wash the whole model. Finally, once dry, I then lightly drybrushed the model with 'Russian Uniform' to tie everything together and add some shade/highlight contrast.
Only another sixty to go...
Detail
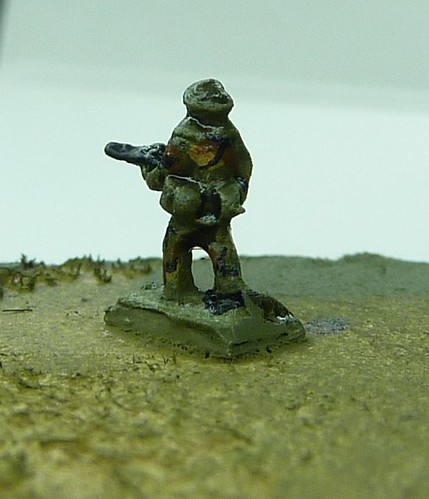
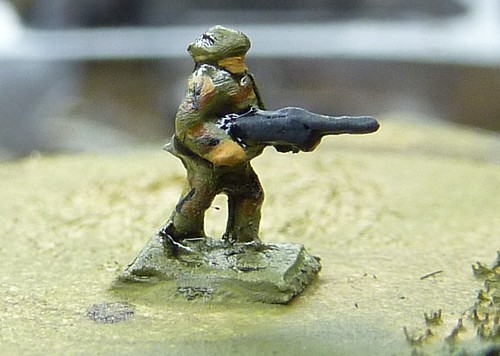
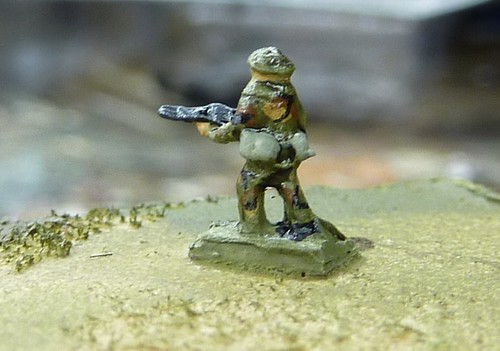
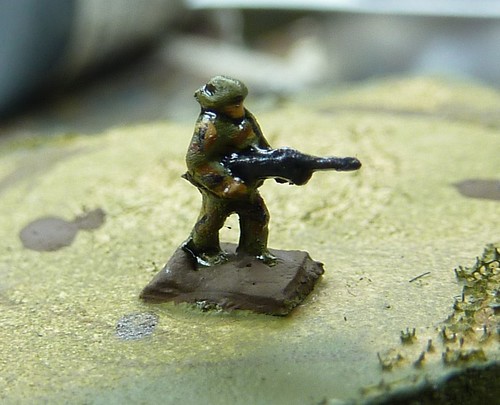
There isn't a huge amount of detail to paint here. It's basically, skin, webbing pouches and weapon.
I painted the skin 'Medium Flesh Tone' and the pouches 'Grey Green'. The General Purpose Machine Gun (GPMG) is a licence built FN MAG and they are basically all metal with either plastic of wooden buts and trigger groups. As such, I painted all I could see of the GPMG a 50:50 mix of 'German Grey' and 'Gunmetal Grey'.
I then applied a highlight of 'Flat Flesh' to the edges of the hand and centre of face. I also applied a highlight of 'Gunmetal Grey' to the GPMG. Finally I applied 'Black Shade' to the GPMG and pouches to shade and outline.
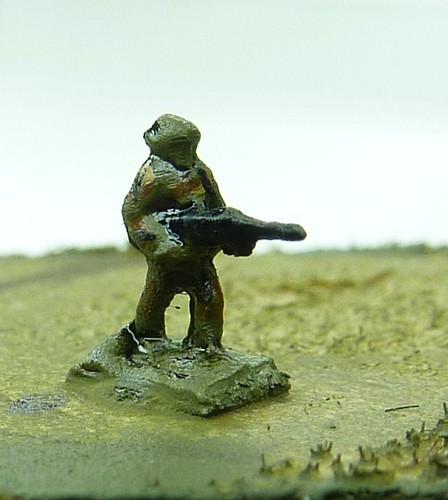
This leaves the model in this state, ready for basing (I painted the base Chocolate Brown just to illustrate) and mat varnishing (to take the shine off the model) .
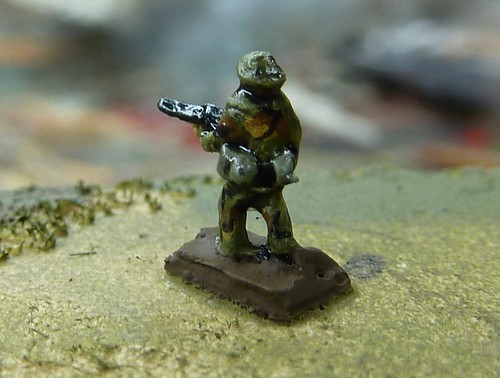 |
| Quite literally - "Shiny!" |
Gallery
At this point I've got a big chunk of my CWC stuff painted so lets take a look at some of the examples of DPM in my army. Photos are a bit dark. Need to work out a better method for photographing 6mm.
 |
| Blowpipe MANPAD team |
 |
| Infantry Section (Front) |
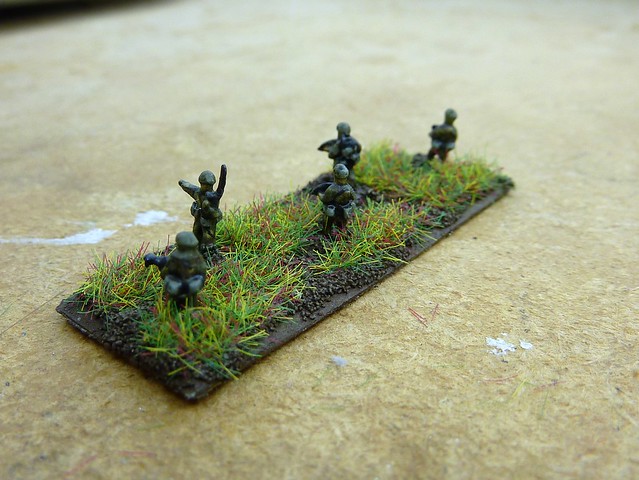 |
| Infantry Section (Rear) |
So, that's how to paint DPM! Should you also have no life...
Next week...I don't know. I'm tempted to switch back to Flames for a bit and paint up my DAK 88mm Platoon or the long neglected British Glider Pilot Platoon. On the other hand, I should probably finish this 6mm stuff off.
Decision, Decisions. Got an opinion? Post a comment below.

hi, relating to the 68 pattern combat smock, do you know the details on washing it cos i bought one and the labels are so faded it took me an hour to work out that it was the the 68 pattern
ReplyDeleteThis is an incredible resource. I was just getting ready to paint some of my own UK infantry, and I was desperately hoping someone had written something like this. Thanks so much!
ReplyDelete