
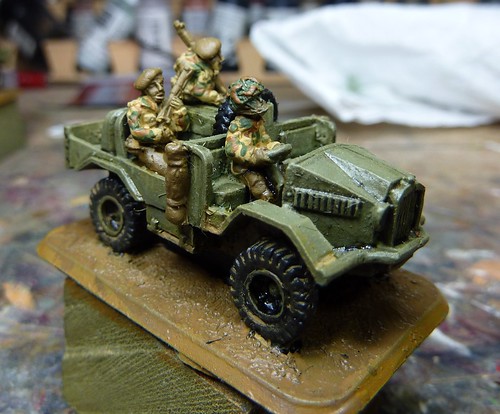
The key defining feature, from a painting point of view, for a British Airborne force is the 'Denison Smock'. This was the first 'Disruptive Pattern material' garment issued to British forces and was pretty much the foundation of every British camouflage pattern up until MultiCam entered service. It was used by the Airborne forces (including SAS) to both protect parachutists from the wind blast of a combat drop and then provide concealment on the ground.
Painting camouflage smocks seems to be a love/hate thing with some people loathing the task whilst others, including myself, quite look forward to it. Having said that, Denison is a pretty simple scheme compared to most of the German ones and quite simple to get a decent look with.
First things first though, we need to get some trousers on!
Battledress
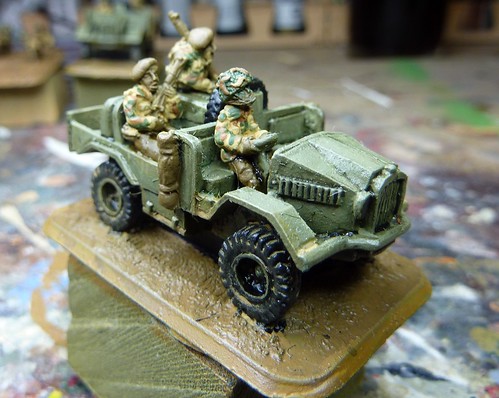
The Denison Smock is worn over standard British 'Battle Dress' so it is necessary to paint the trousers and exposed shirts (not really present at this scale) as we would with an other British figure. This is preferably done before we paint the smock as 'English Uniform' provides a good basis for the smock and saves the smock's paint from being ruined by a wayward stroke.
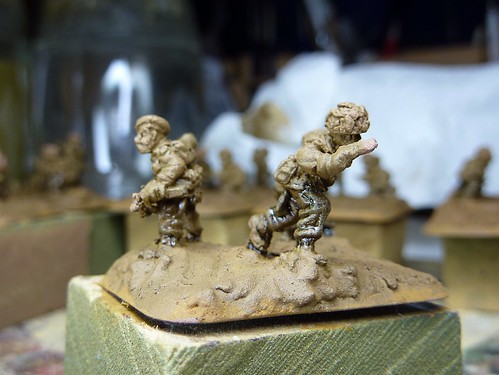
I had previously painted the infantry Vallejo 'English Uniform' all over so we start this post off with something like this:
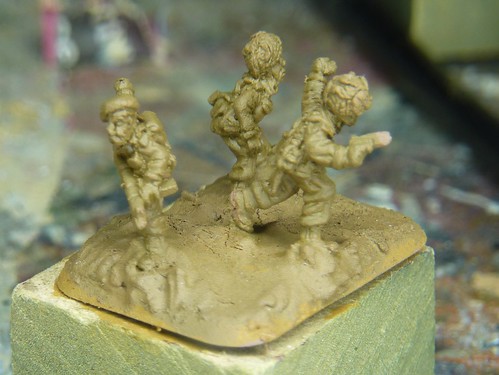
Next, like the guns and trucks, I apply a wash of Vallejo Black/Brown 50:50 mix. This is slightly watered down to reduce its strength and applied all over the lower half of the model. Unlike the flat sides of the Truck, it doesn't matter too much if its a little messy as most of the figure will be painted over.
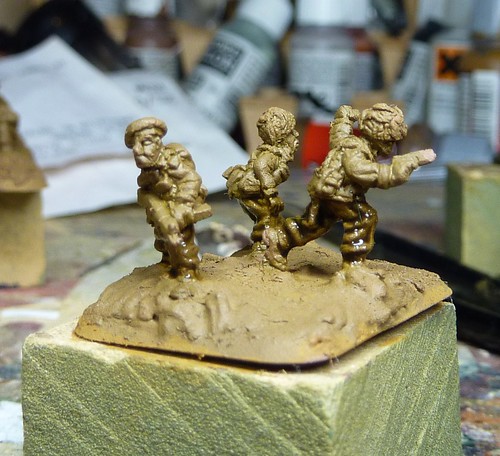
This is left to dry, generally overnight. Once dry, neat English Uniform is dry brushed over the washed areas using an Army Painter 'large drybrush'. I generally do this quite heavily, leaving the wash in the very deep recesses of the model.
Next, a 50:50 mix of English Uniform and Khaki Grey is drybrushed over the same region to give the first highlight.
There, that wasn't too painful was it! That's a big chunk of the work done now. The next stage will be to paint the webbing, the skin areas and the firearms.
Have fun!
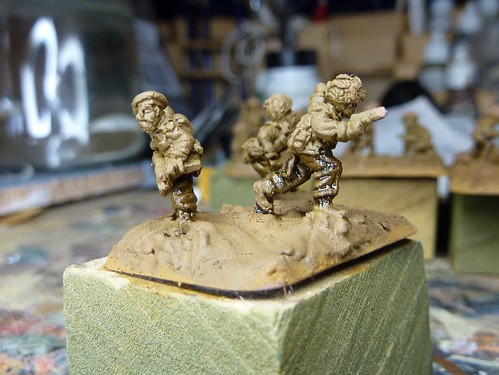
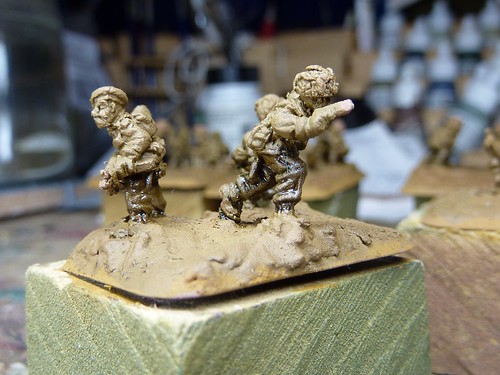
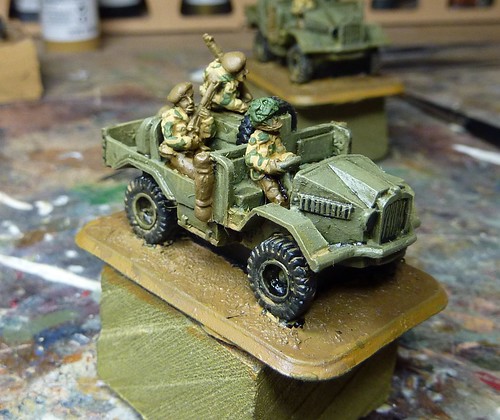
Finally, neat Khaki Grey is lightly drybrushed, using an Army Painter 'small drybrush' to give a final highlight.
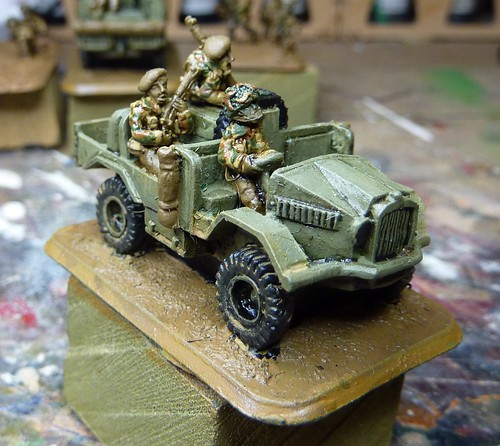
That gets us our trousers. Now to get camo'd up!
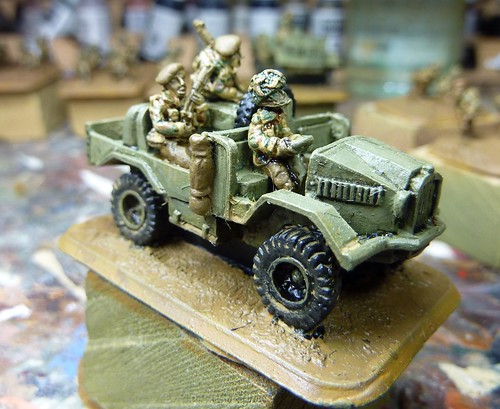
Finally, for this post at least, I apply a light drybrush of 'Green Ochre' over the smock and helmet. This ties the colours together and also acts as a highlight stage for the smock.Smocks and Helmets
The smocks are painted using a slightly modified version of the process detailed in the 'D-1' army book. I paint the helmets at the same time as they basically use the same palette. It's worth noting that 'Market Garden' suggested some different colour variants to represent new and faded smocks. These should work with this process too.
Firstly, I need to build up a decent coat of 'Green Ochre' to get the sand coloured base material of the smock. I use two or three thinned coats to do this, avoiding the trousers but otherwise not being too careful (webbing will be painted later). I find this bit painfully dull but a necessary evil to get a good finish.
Next, 'Reflective Green' is applied in broad brush strokes using a GW 'Standard' Brush. A streaky look with 'split ends' is highly desirable. The green strokes should make up about a quarter of the jacket area and again, its not too important to avoid webbing; In fact, it may be better not to to give the impression of the stroke continuing below the webbing. I find it easier to sue the paint at its natural thickness for this stage.
At the same time, the helmets are also given a good coat of 'Reflective Green' to act as a shading colour.
At the same time, the helmets are also given a good coat of 'Reflective Green' to act as a shading colour.
Now, I break away from the Jacket briefly to give the helmets a heavy drybrush of 'Russian Uniform'.
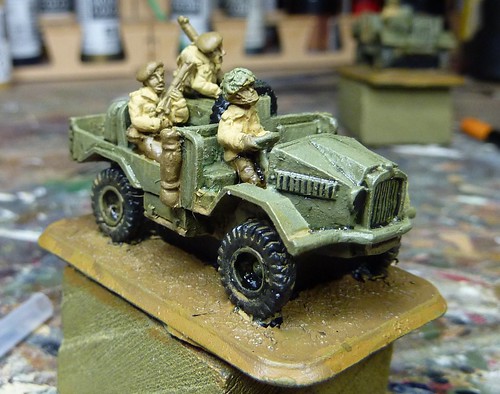
Once that's dry we break out the 'Flat Earth and, again at its natural thickness, apply more irregular stripes. These should overlay the green stripes and unpainted yellow areas, making up another quarter of the exposed area. Overall there should be a ratio of 2x Green Ochre: 1 x Russian Uniform: 1 x Flat Earth on the final model. It will look like there it a lot more yellow than there actually is as we have yet to paint the webbing so don't be too worried at this stage if it looks two yellow.
At the same time as I paint the smock, all the bits of camo strips on the helmet should also be painted Flat Earth.
Next, I paint about half of those helmet strips Green Ochre, painting over the brown.
Now, I deviate from the 'D-1' process to apply yet another 'Black/Brown' wash. This is applied over the helmet and smock, avoiding the trousers. Leave this to dry (I usually leave it overnight).
Now, I deviate from the 'D-1' process to apply yet another 'Black/Brown' wash. This is applied over the helmet and smock, avoiding the trousers. Leave this to dry (I usually leave it overnight).
There, that wasn't too painful was it! That's a big chunk of the work done now. The next stage will be to paint the webbing, the skin areas and the firearms.
Have fun!
No comments:
Post a Comment