
After a somewhat length hiatus I'm dusting the blog off and actually doing an update. Apologies for the rather length intermission.
Whilst I've been off the air I've been working away on my BEF era 3RTR. There's been a few hiccups trying to find a quick and easy way of painting the shear quantity of tanks (25) that makes up the force without sacrificing quality. It's been a learning experience but the the first troop of Vickers light tanks is done and the next two, plus HQ Vickers, are underway.
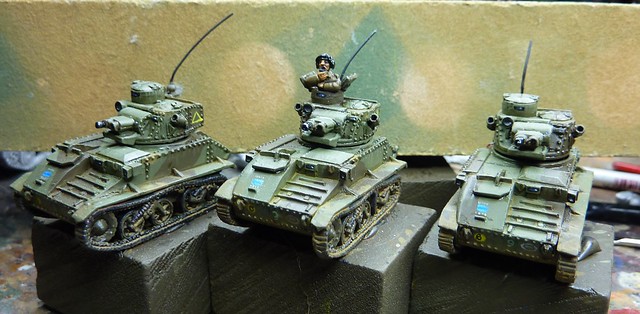 |
| Possibly the finest tank of the war (that was called 'Vickers Light Tank') |
I'll go into more detail on the Vickers next week but want to go with what I've been doing over the last week, some mild converting on the Daimler Dingo troop.
One of the things I wanted to get into my army was a troop of these little scout cars. The Dingo was lightly armed (a single Bren LMG!), lightly armored but fast and nimble, serving throughout the war and on into the late fifties. 3RTR's recce troop in and around Calais were equipped withe the vehicle and the Daimler Fighting Vehicle website has a good account written by Major Bill Close, then a troop sergeant.
Coming into the project, there were two things I wanted to reflect in the model:
- that the crews looked suitably tankee like! Black Berets were a must, even if somewhat doubtful from a historical perspective.
- that the Dingo looked like a Mk I or II variety, the type most likely in Calais, rather than the late war variant depicted straight out of the blister.
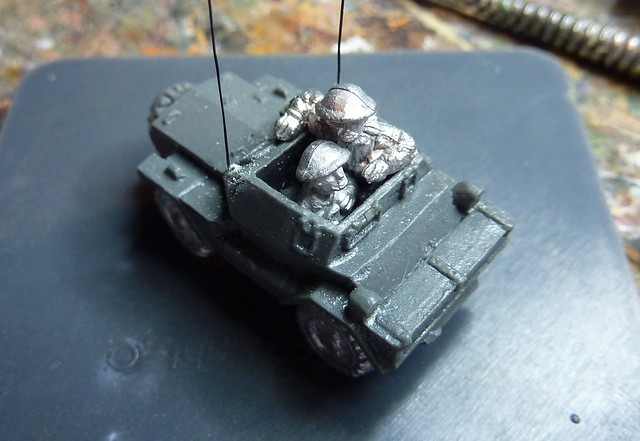 |
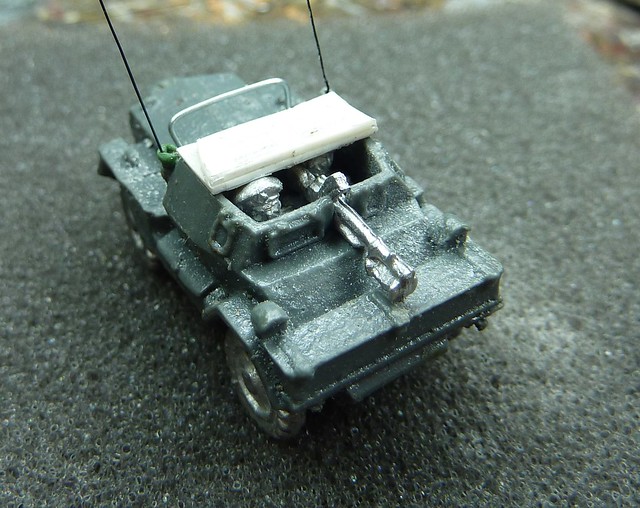
| It's a little bit crowded! |
This sliding hatch was apparently very prone to shooting forward under braking, costing more than a few crew some serious, possibly fatal, head injuries.
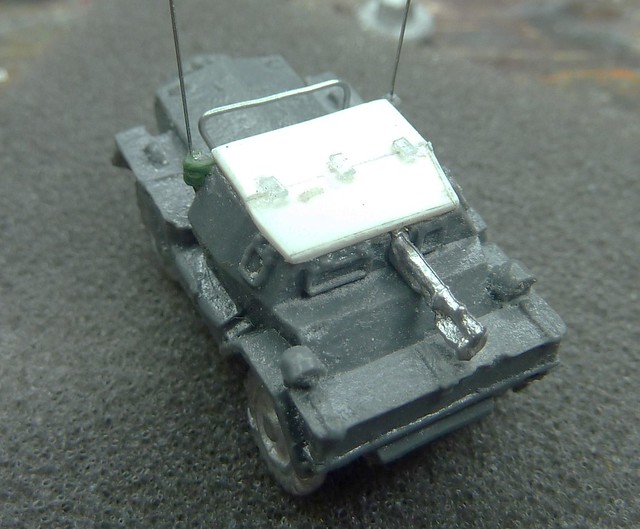
Later in the war, the folding metal hatch was exchanged for a canvas roof and what looks like a seat fitted behind the commander on the right (I suspect this is a perch from which to fire the AA MG).
The Bren gun could be fired though a hatch in the hull front and the Blitzkrieg book lists the Bren as a 'Hull MG' which implies that's how the Bren should be depicted, not on AA mount. Wikipedia has a good photo of the Bren so fitted. It also shows the canvas roof adopted later in the war.
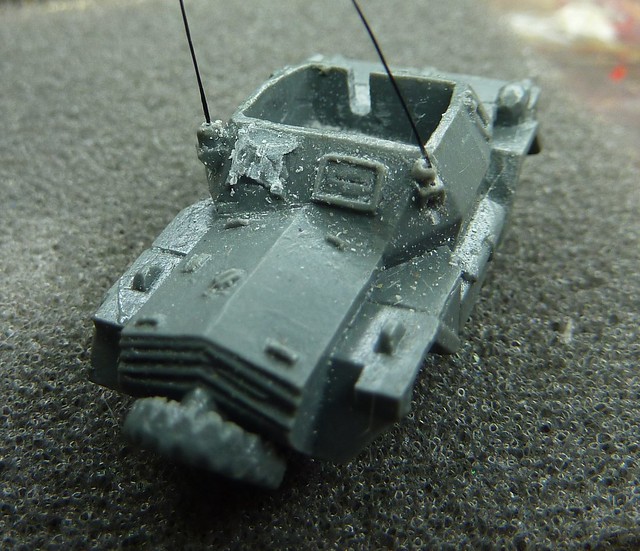
The first thing I did was to set about cutting the firing slot in. This is a notch in the front plate running from the top of the vertical plate to the bottom and can be closed over when not in use.
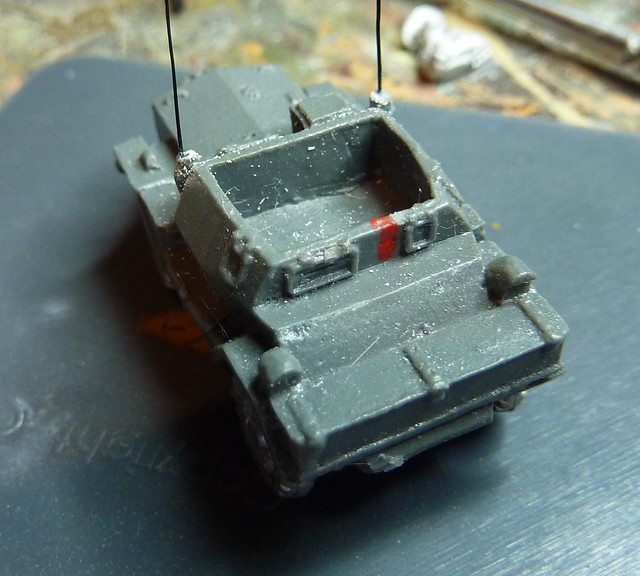 |
| Just cut along the red line... |
 |
| Oops! |
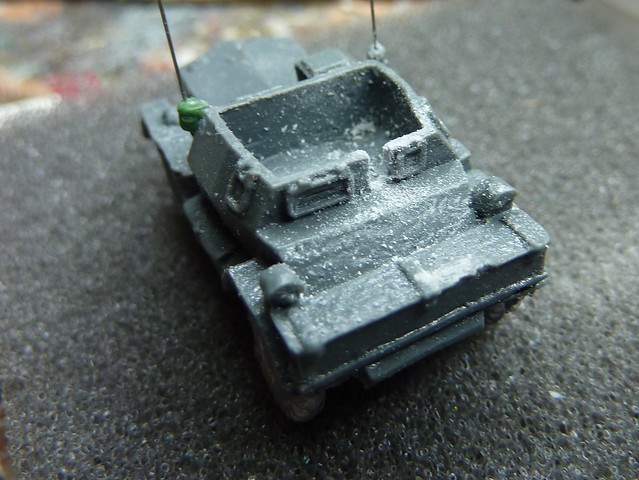 |
| Firing Slot open |
The BEF army box comes with a tank commander for each tank so, having only used one commander per troop, I had plenty to spare.
The driver (and crew of the partially buttoned Dingo) was simply one of the commanders cut down to shoulder height. I'll probably green stuff in the top of the steering wheel and driver's seat but the main thing is to get him low and forward like this photo shows the seating arrangement.
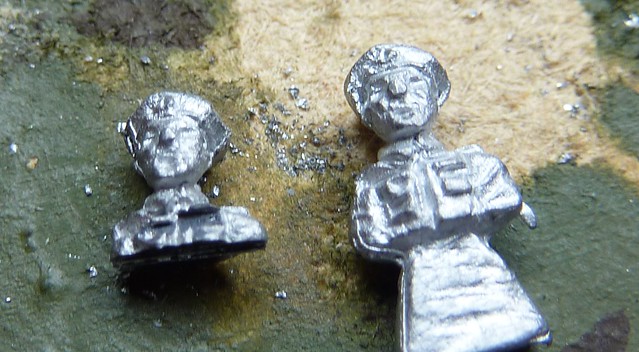 |
| I guess he uses "Head and Shoulders"! |
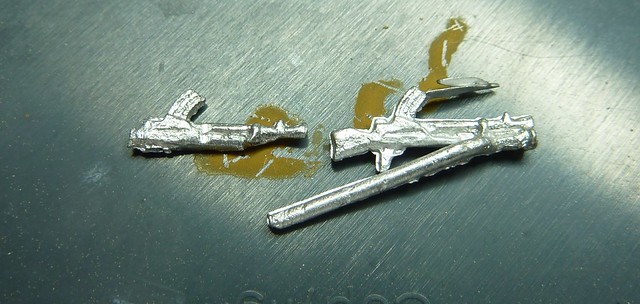 |
| It's mah Bren gun! |
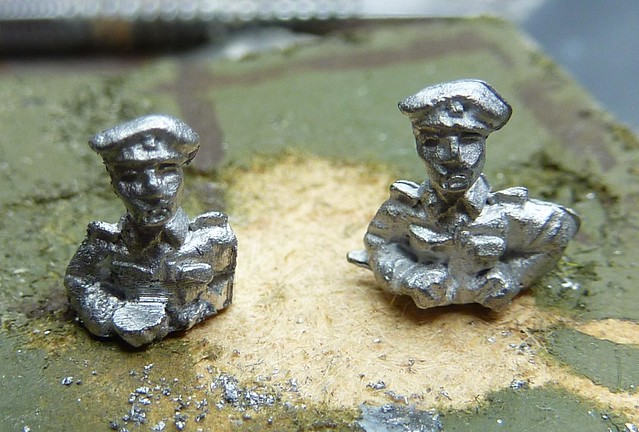 |
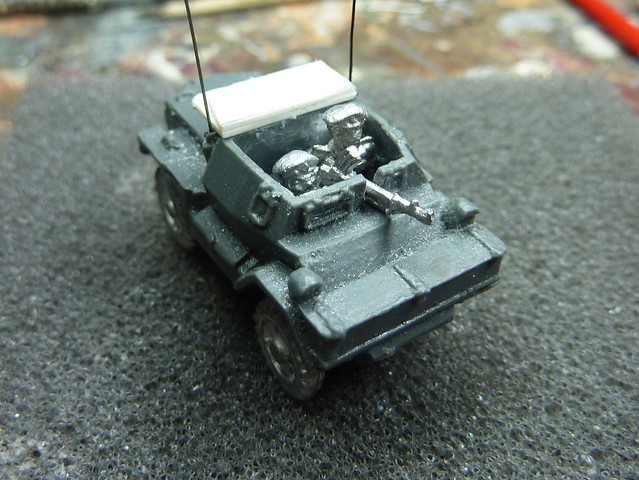
| The Dingo is so small only one armed crews were selected |
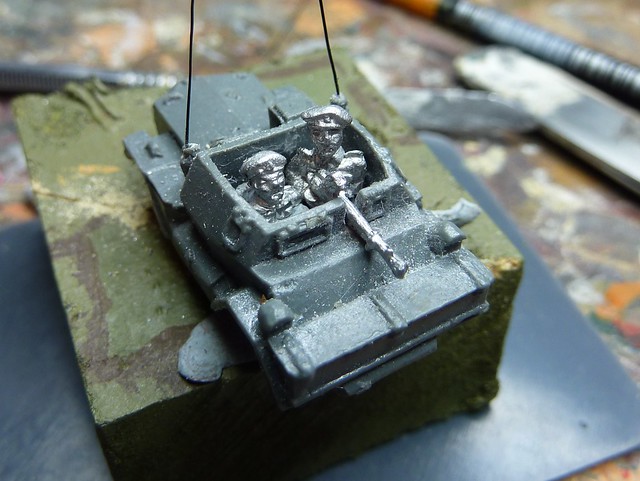 |
| Still not roomy but at least we're armed! |
 |
| Clippers 1 - Resin 0 |
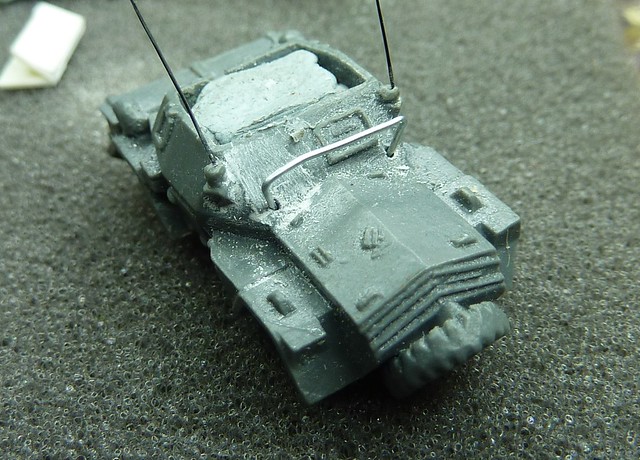 |
| Wire work |
This leaves the Dingo's looking like this:
 |
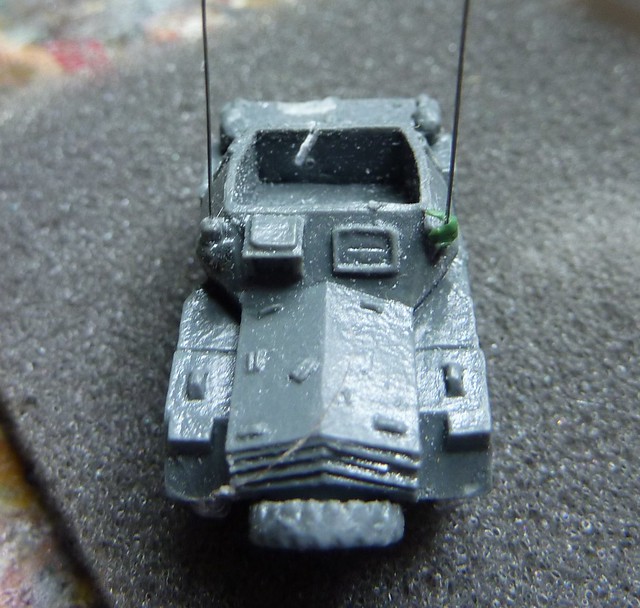
| Buttoned |
 |
| Partially buttoned or partially unbuttoned? |
 |
| Unbuttoned and fancy free |
This gets the majority of the hardwork done. Still to do:
- Green stuff hinges and handles onto the hatch
- Green stuff the compartment and crew of the unbuttoned Dingo
- Possibly remove the spare wheel - Can't find any photos of the Dingo with one fitted as depicted.
See you all then!
and people say I got patience :D Awesome work man!
ReplyDelete