Firstly, thanks to the guys over at "All Along the Watchtower" for the shout out and kind words. Keep up the hard work guys!
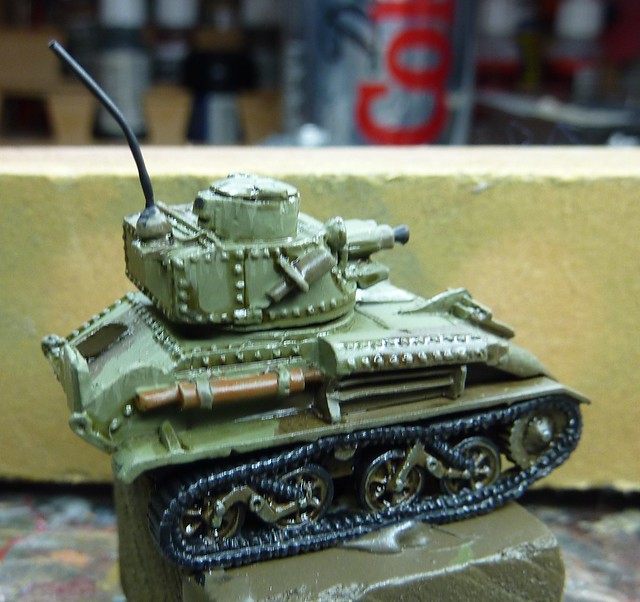
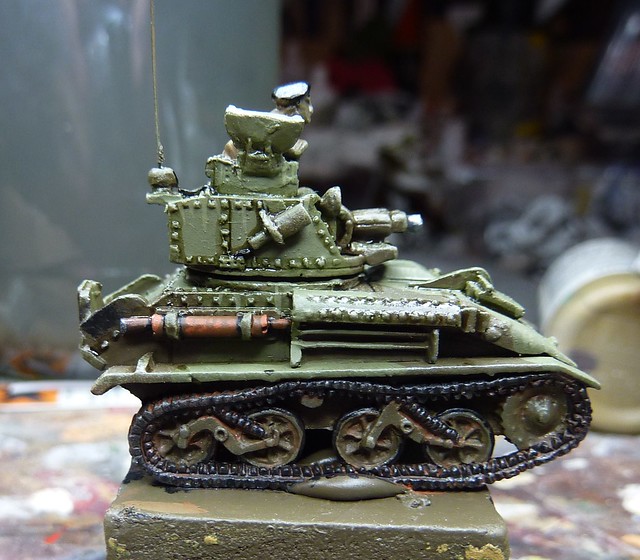
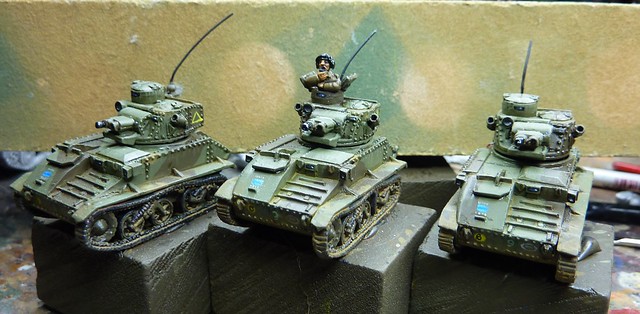
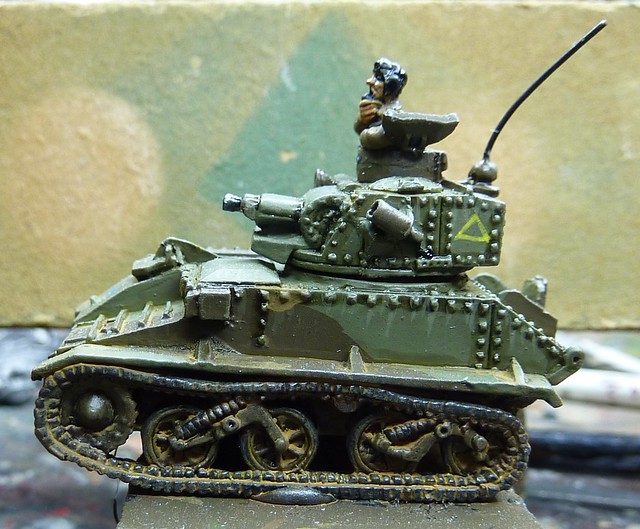
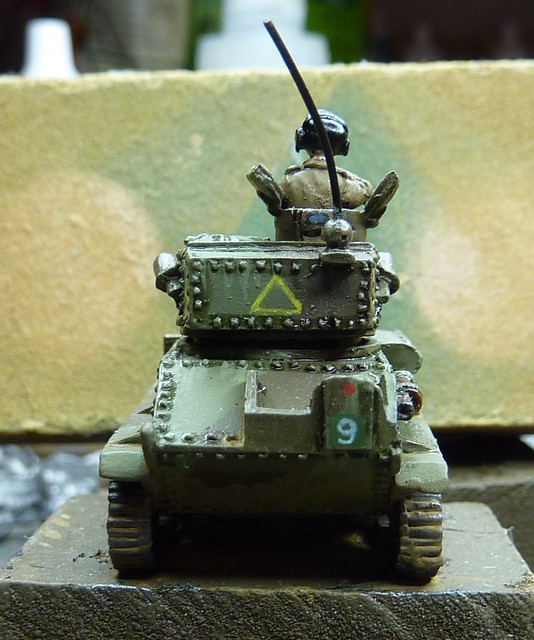
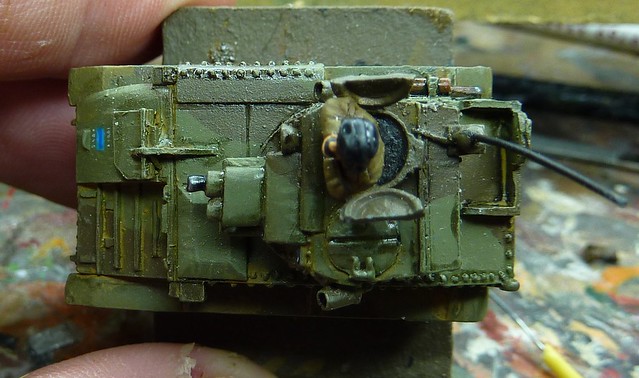
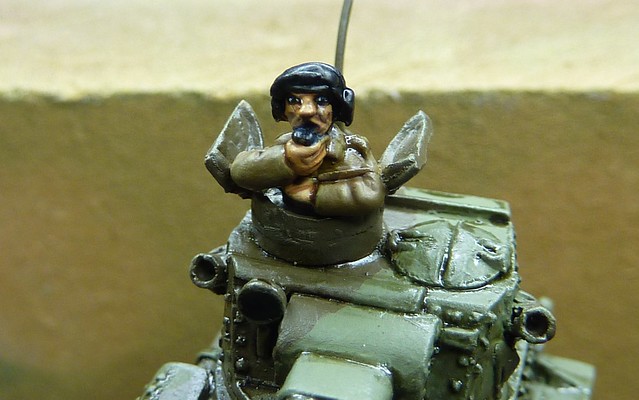
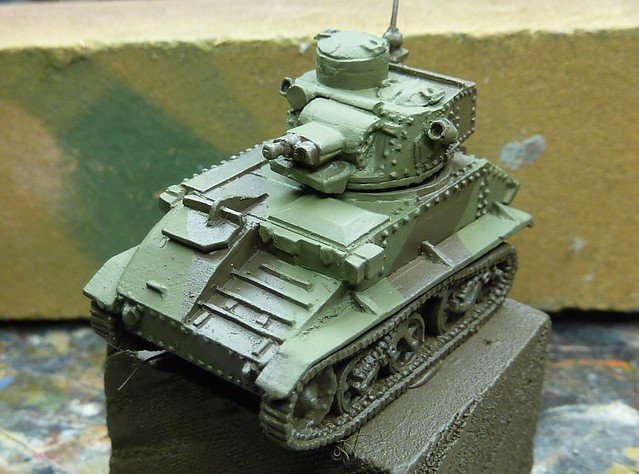
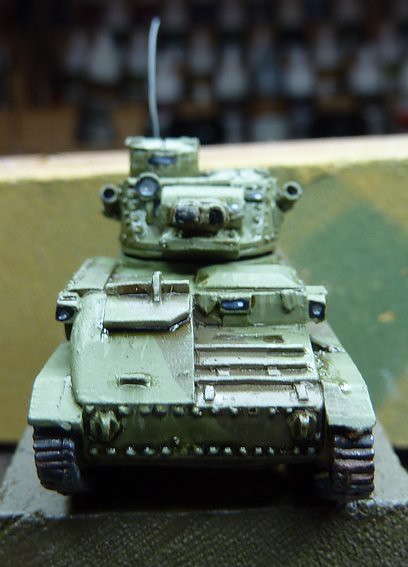
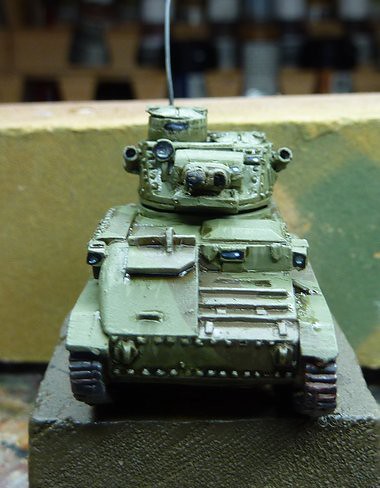
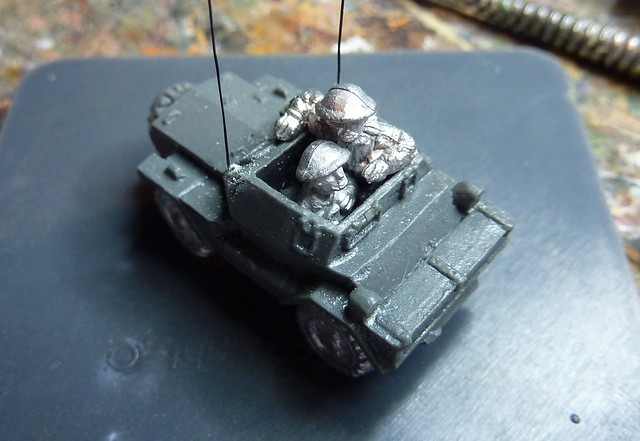
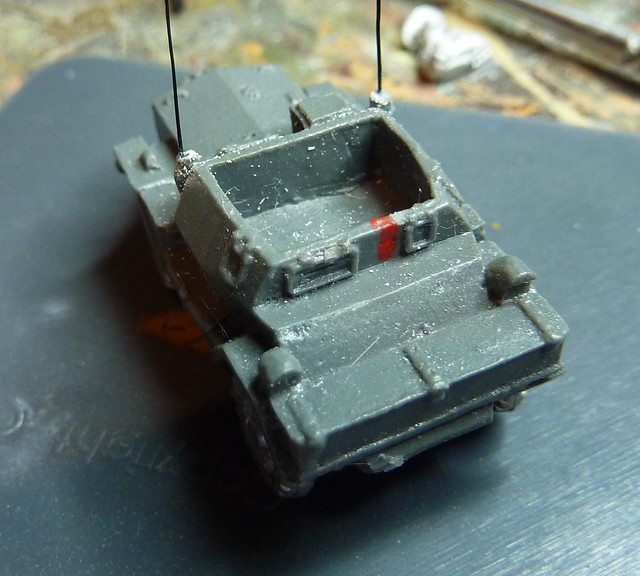
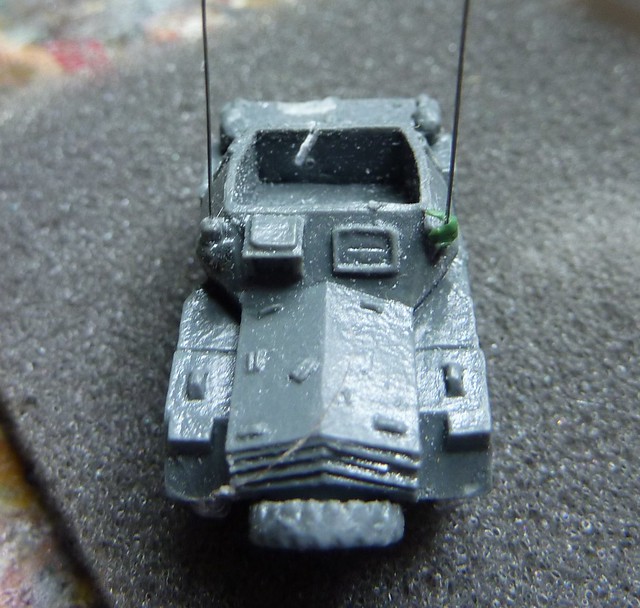
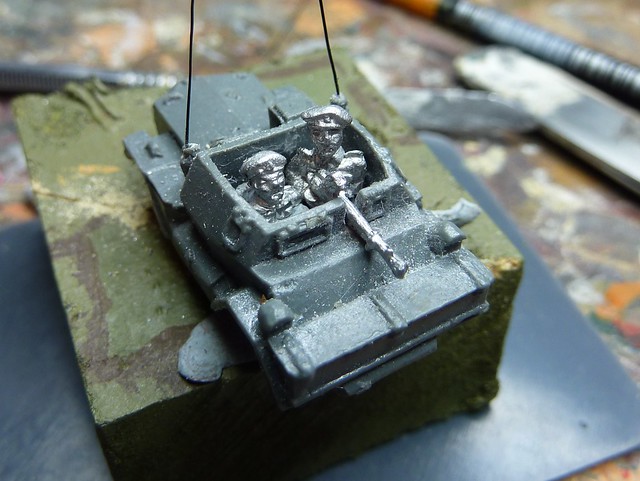
Okay, just a small update this week. I'm going to take a quick look at fitting tanks out with aerials. It's a small detail that often takes mere seconds to do but really adds to the look of the tank. These days I fit out all of my AFV (and some of my soft skins) with aerials. There really is little reason not to!
 |
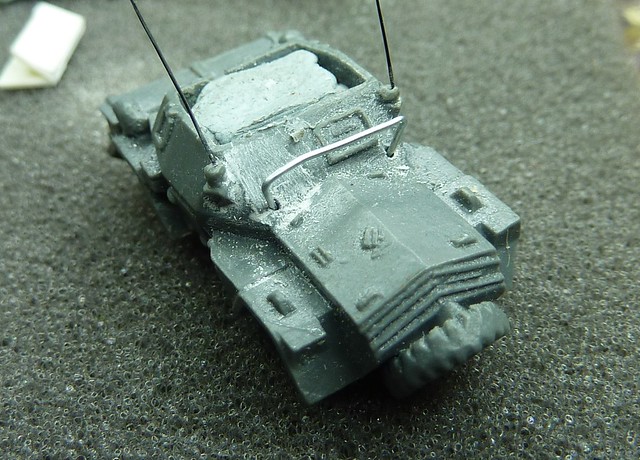
| Two aerials for extra bling - maybe |
Research
First stage as ever is research. The time spent flicking through reference books and conducting web searches is rarely ill spent and can pay dividends. Whilst conducting research the following questions should be in the back of your mind:- Where are the aerials located?
- Where they always fitted?
- If multiple aerials are present, are they the same length?
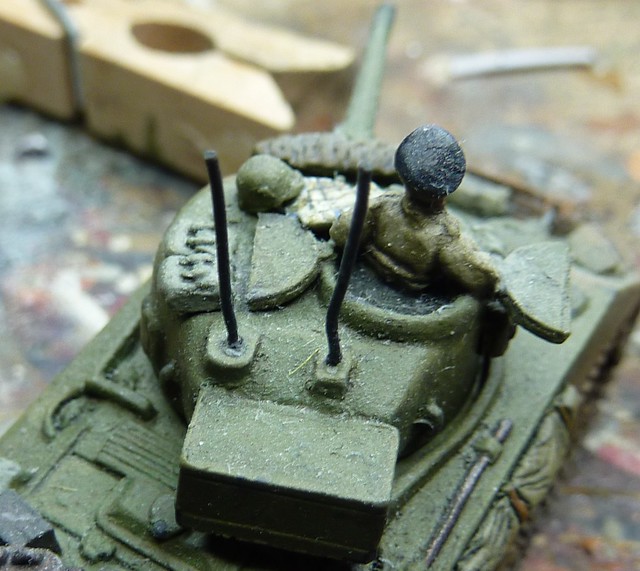 |
| Left one should always be present. Right one should only be present on the Troop |
The Sherman has two radio aerial positions:
- One on the hull behind the commander cupola
- One on the left rear opposite it.
- Incidentally there is a third mount on the lower hull near the assistant driver's position. Never seen it populated with a radio mast though in any pictures.
Now, photos on the net and in my books generally show the left (i.e. not the one behind the commander) one populated with an aerial. A cut away in another book answers why; it shows a radio on the left side, no doubt manned by the Loader fir short range troop communications. The right hand one is for a Troop/Squadron Commander to have a long range second radio set for communications in the wider world (squadron net).
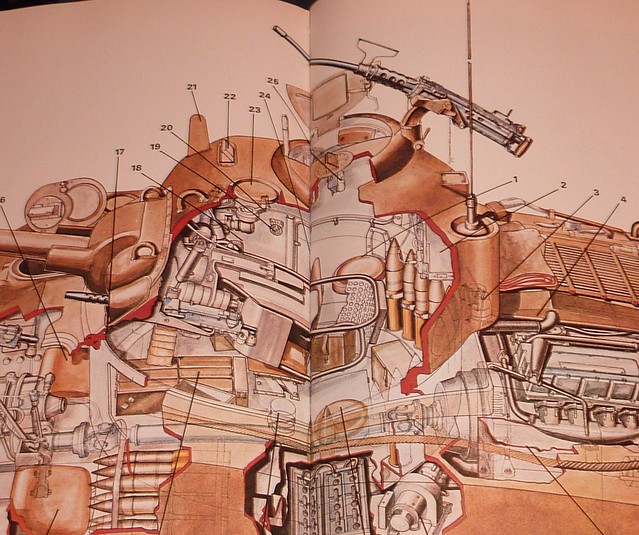 |
| From "The Great Tanks" by Chris Ellis and Peter Chamberlin - used without any permission whatsoever |
Generally, British and American tanks have the loader man the radio. So an American tank will have the radio and aerial on the left and British WWII tanks will have it on the right (I have no idea why we have the loader on the opposite side during WWII - it appears to standardise on the american methodology postwar).
Setting the Radio Up
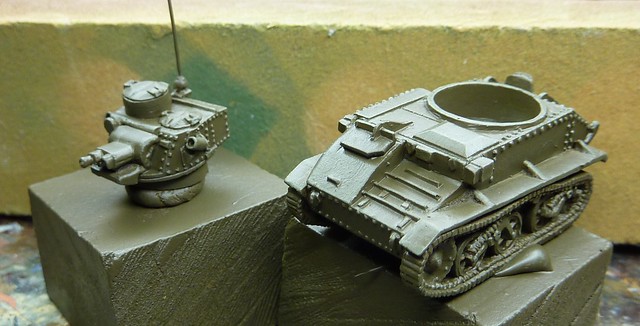
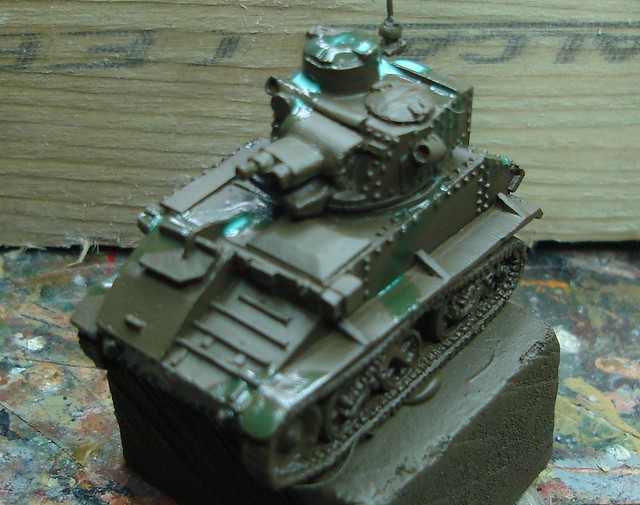
Now we've worked out where we're putting the aerial we need to get on and fit it! I've used one of my A13 I'm working on as an example.
First, clean up the aerial position.
 |
| No doubt not the only knob on the tank... |
Now, get a 0.5mm drill bit
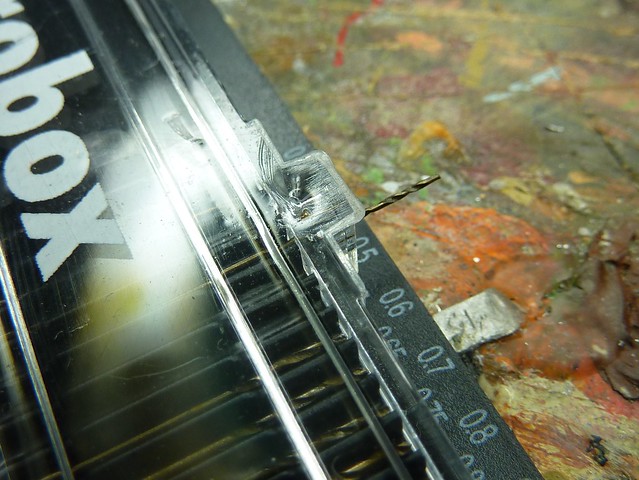 |
| definitely not compensating |
Put it in a Dremel or Pin Vice depending on your tool of choice. And drill baby, drill!
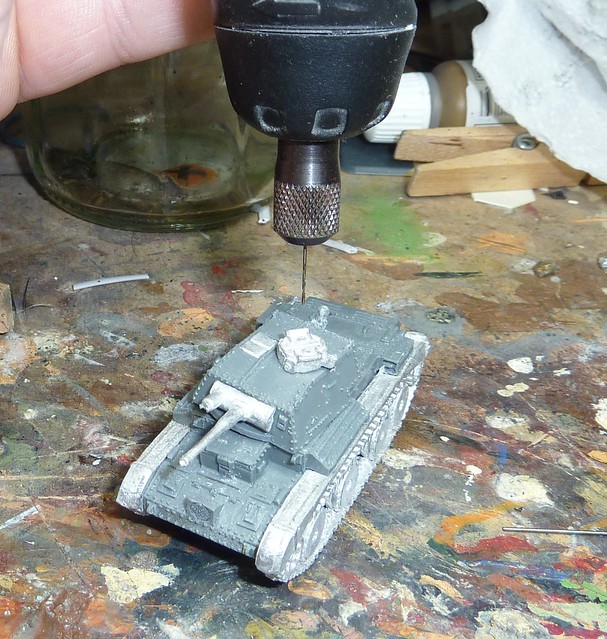 |
| There is a slight alignment issue in this staged shot. |
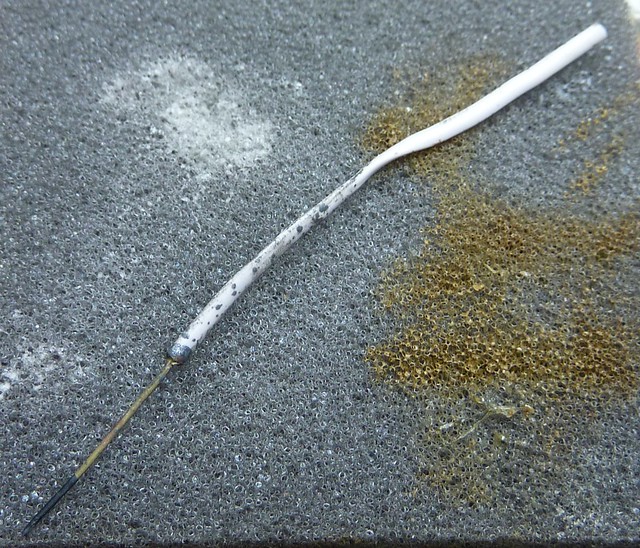
Now to find a suitable aerial. I used to use sandwich bag ties. This is think gauge wire wrapped in plastic/paper. Just strip that outer off and you have a thin metal aerial ready to go (also good for pinning). It's a bit thick but it can be molded to shape. the big issues is that paint does tend to flake off and it can be an arse to fit into a figure case.
 |
| The most boring photo I've ever put on this blog? Quite possibly! |
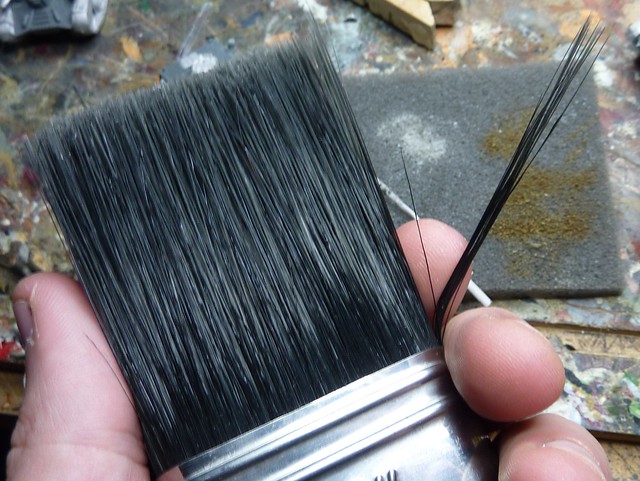
I've switch over to Brush bristles. What I do is get a decent synthetic hair decoraters brush and take a few bristles off. A little goes a long way. This brush populated my BEF army and then got used to paint my brother's flat!
 |
| Hopefully my brother never reads my boring geek blog to find out what I've been doing with his brushes... |
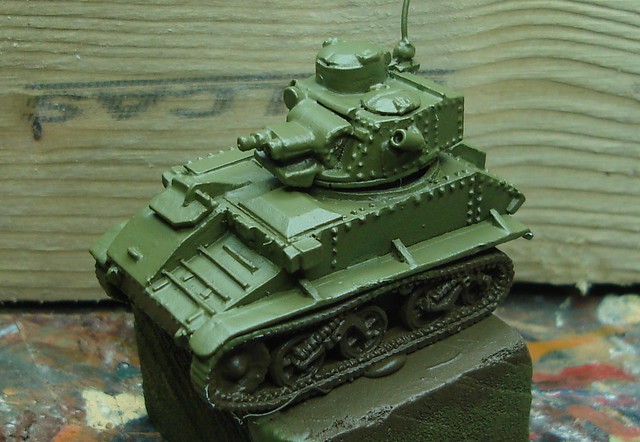
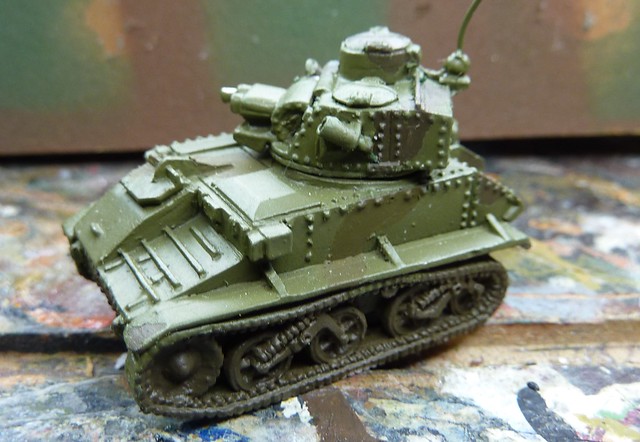
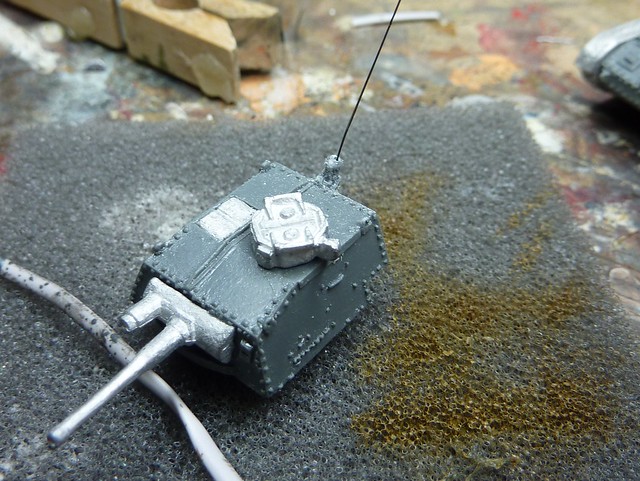
No matter which method you use, dip one end in some superglue and put into place. Trim to size and paint black to finish off!
 |
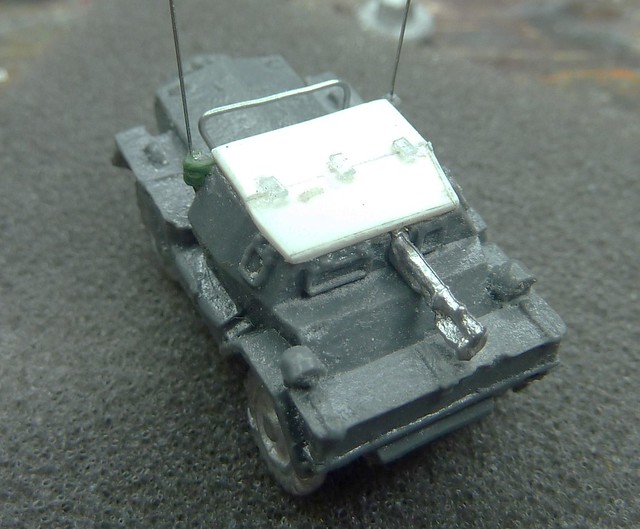
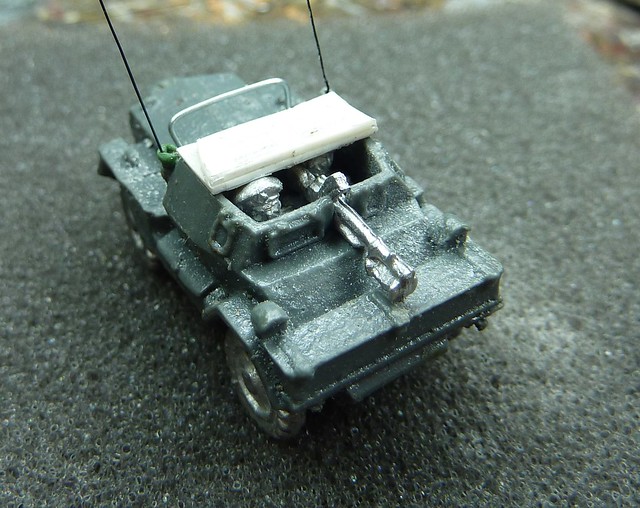
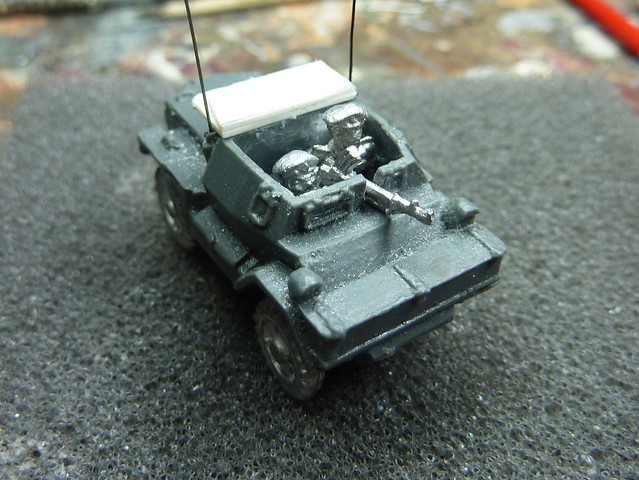
| Job Done! |
So, there you go. See you all next week!

