
As promised, we're going to look at the final steps to completion on the Vickers Light Tank Mk VIb, after I managed to avoid buying into Dystopian Wars for at least another pay day. These stages are mainly related to weathering and markings.
By this stage I've already incorporated some weathering (the streaking of the paint) and detail work (the Vision Blocks and Search Light), so that leaves:
- Tracks (rust and dirt) and Guns
- Exhaust (red oxide finish and soot marks)
- Unit markings
- Hull Dirt
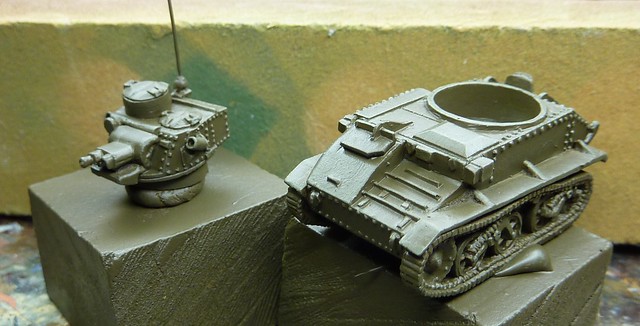
Firstly, the tracks and muzzle of the guns are blacked out (actually done at the same time as marking out the vision blocks and search light in black). This gives a good base for the following stages.
Next, I mixed Vallejo 'German Grey' and 'Gunmetal' in a 50:50 ratio and covered the muzzle, just leaving a small line of black where it joined the gun cowling. I then painted over this in 'Gunmetal' before painting the very edge in 'Oily Steel' for a highlight.
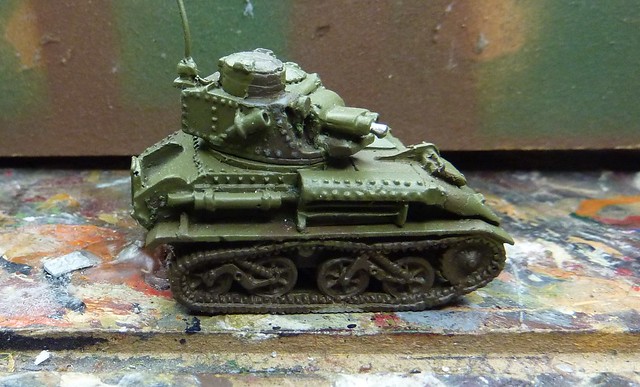
The Tracks were dry brushed in 'Gunmetal' and washed in 'Black Shade'. This gets them to their natural state as it were.
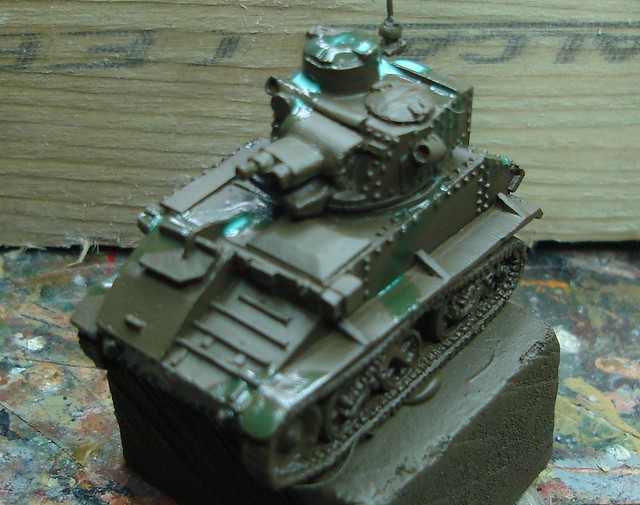
Next, I covered the exhaust in 'Flat Brown' to give a base for the 'red oxide' finished exhaust that period tanks seem to have.
I then applied a highlight of 'Red Leather' On the most recent batch of Vickers (the ones I'm currently working on) I actually applied some mottles of 'Red Leather' to give a more 'uneven weathering' look to the exhaust.
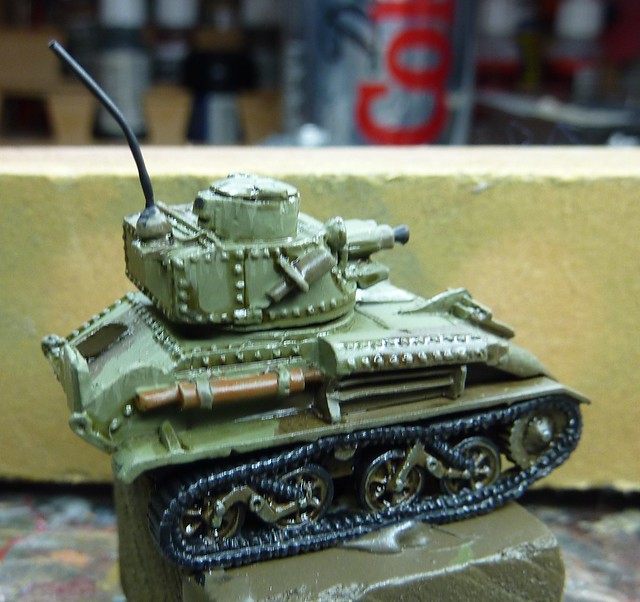 |
| Does Kwik Fit have an Exhaust for a 1939 model Vickers VI? |
I also applied a wash of 'Red Leather' to the tracks and suspension to give the impression of localised surface rust on areas likely to be soaked by river fording and use on wet ground.
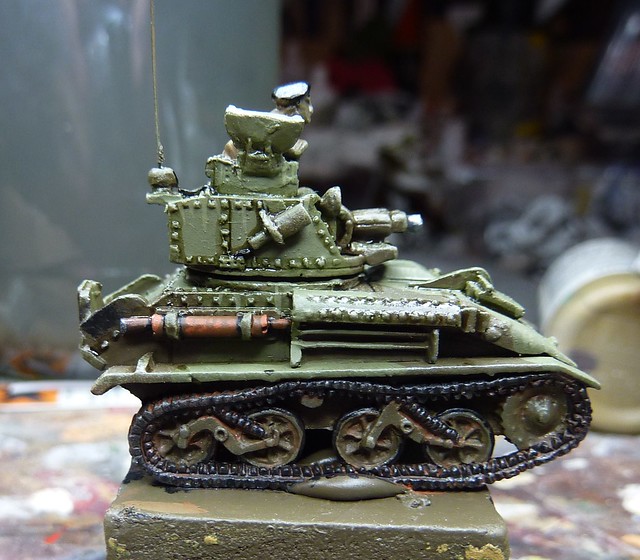 |
| It's a bit rusty. Time for some Hammerite! |
I also experimented with using the watered down 'Red Leather' to give the impression of rust streaks. This appeared to give the right look but I decided to not apply it to the BEF tanks. They just didn't survive long enough to get rusty! One to save for a Late war Sherman army (especially the run down Shermans 3RTR received in the rush to reinforce the Ardennes in the Battle of the Bulge).
 |
| Rumours that the dust streaks are experimentation for Dystopian Wars are vastly exaggerated... |
Finally I stippled on some black paint to give a soot smudge effect. I found the best way to do this was in two stages. The first was to stipple on wet black paint using an old dry brush. I then semi-dry brushed on black paint to get the main smudge. I think it gives a nice impression of the soot that would build up near the exhaust over time.
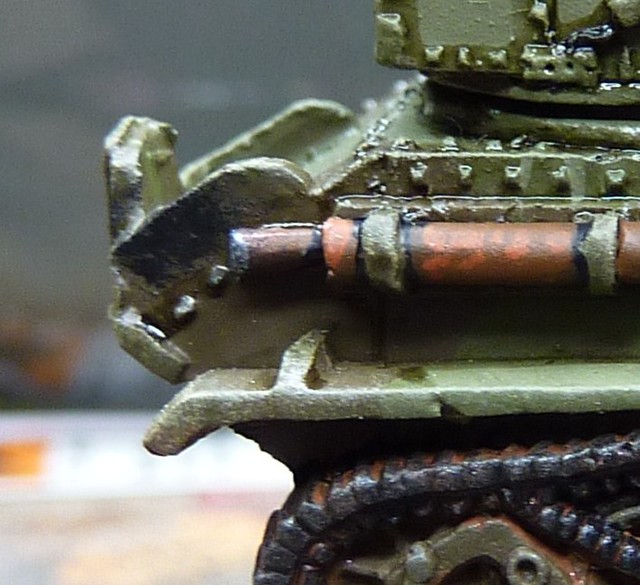 |
| It looks good now. But the RSM is going to make them clean it off with toothbrushes later... |
I needed to get the markings on next so that the dirt wash would go over the top. It's important to get the narrative of the weathering correct. Having markings over weather sticks out like a saw thumb (unless its a deliberate re-marking late in a vehicles life). Other effects need some thought given to circumstances. Similarly the dirt should go over rust as the rust is even more in grained than this mornings run through a stream but dust over or under an oil stain may be equally applicable.
For reference Armoured Acorn lists the markings for various tanks used in 1940 France and 3RTR is well represented on all marks, including The Vickers IVB.
As with all my projects, I did markings free hand rather than use Transfers. Transfers and me never seem to get on well. I use a GW Standard Brush (fat enough to carry paint but a fine point to give a decent line) and the paint thinned down slightly more than normal. The markings are as follows:
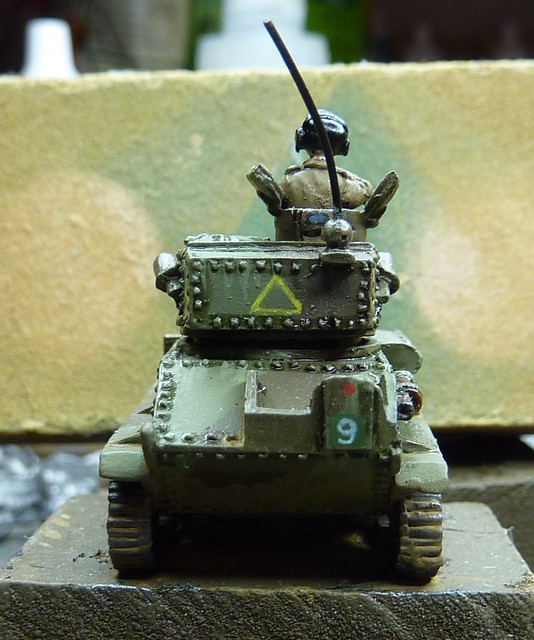
1. Bridge rating - 'Deep Yellow' circle with 'Black' No. 6 in centre. Located only on front hull.
2. Arm of Service Marking - Green square (50:50 mix of 'Luftwaffe Cam. Green' and 'Yellow Green') with 'White' No.9 in centre. This is on the centre of the front hull and the rear board.
3. 1st Armoured Division symbol - A White Rhino within a white outline oval. I painted an oval first and then two overlapping teardrops to give a rough rhino body shape). Looks okay! This is only on the front hull.
4. Squadron Marking - A Yellow Triangle for 'A' Squadron. This is on each side of the turret with a small marking on the turret front unfortuantely unable to fit due to the way the Search Light is modelled not leaving enough space.
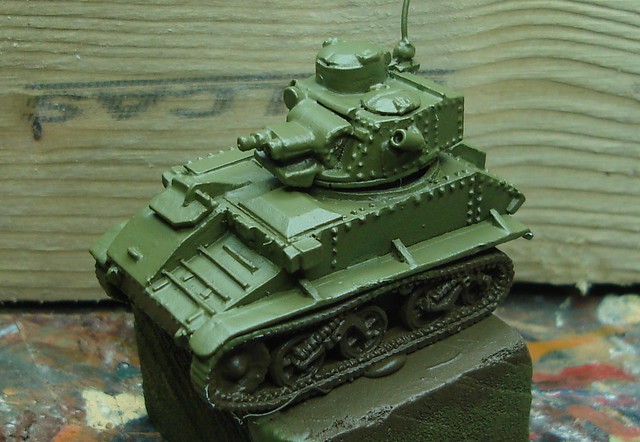
With the markings applied I watered some 'US Field Drab' down to a wash and applied it liberally over the lover half of the tanks and carefully along areas where dirty was likely to gather as water evaporated off (the front hull strakes, the rear bin, around hatches - no doubt carried by dirty boots.
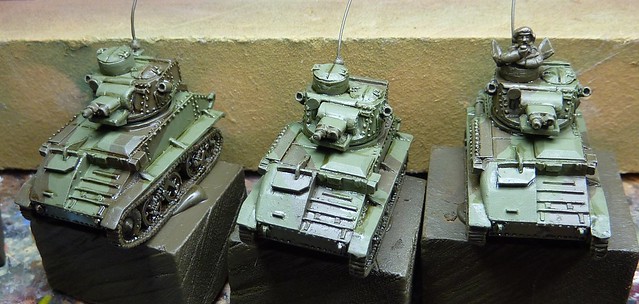
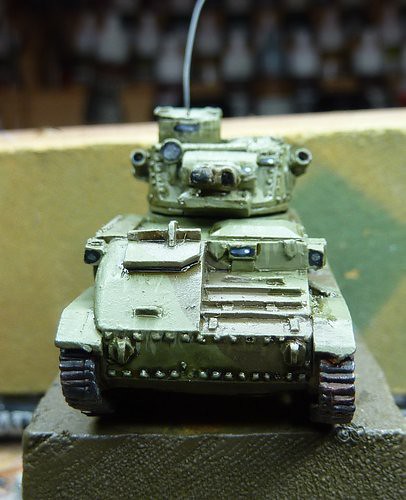
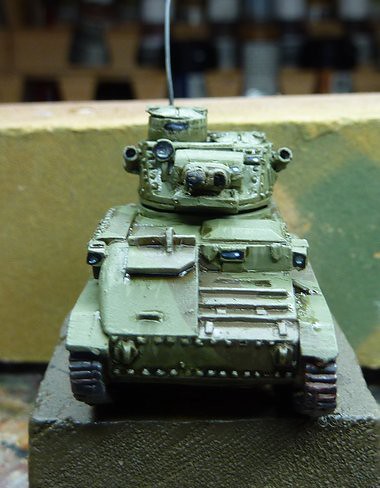
This completed the Vickers Light Tanks. Here are some shots of the finished tanks.
So there you go! First Troop done, seven more to go. Plus Dingo. Plus Infantry.
Whimper...
For reference Armoured Acorn lists the markings for various tanks used in 1940 France and 3RTR is well represented on all marks, including The Vickers IVB.
As with all my projects, I did markings free hand rather than use Transfers. Transfers and me never seem to get on well. I use a GW Standard Brush (fat enough to carry paint but a fine point to give a decent line) and the paint thinned down slightly more than normal. The markings are as follows:
1. Bridge rating - 'Deep Yellow' circle with 'Black' No. 6 in centre. Located only on front hull.
2. Arm of Service Marking - Green square (50:50 mix of 'Luftwaffe Cam. Green' and 'Yellow Green') with 'White' No.9 in centre. This is on the centre of the front hull and the rear board.
3. 1st Armoured Division symbol - A White Rhino within a white outline oval. I painted an oval first and then two overlapping teardrops to give a rough rhino body shape). Looks okay! This is only on the front hull.
4. Squadron Marking - A Yellow Triangle for 'A' Squadron. This is on each side of the turret with a small marking on the turret front unfortuantely unable to fit due to the way the Search Light is modelled not leaving enough space.
With the markings applied I watered some 'US Field Drab' down to a wash and applied it liberally over the lover half of the tanks and carefully along areas where dirty was likely to gather as water evaporated off (the front hull strakes, the rear bin, around hatches - no doubt carried by dirty boots.
This completed the Vickers Light Tanks. Here are some shots of the finished tanks.
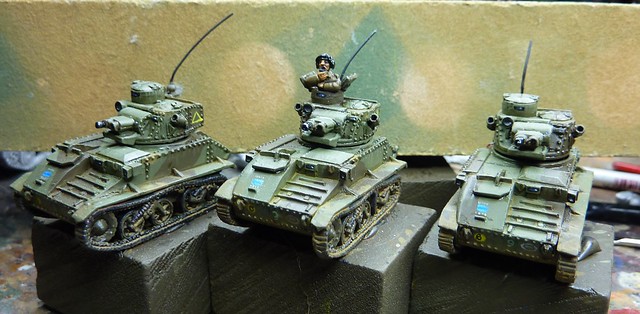 |
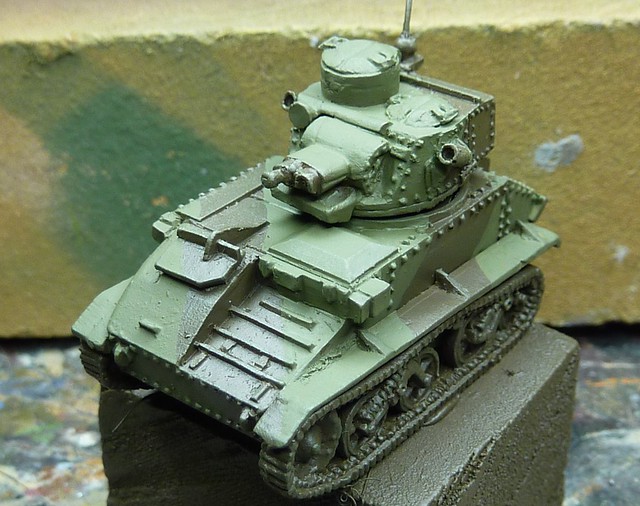
| Vickers IVB of A Sqdn 3RTR, 1st Armd Div |
 |
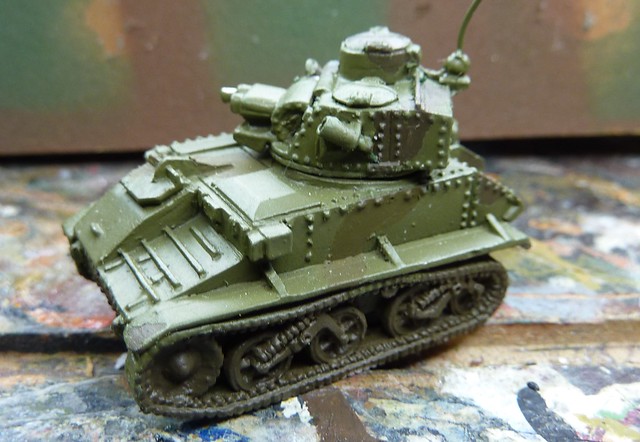
| Troop Commander - Front (yes, I bodged the '6' up on his tank to the extent it looks like a sigma!) |
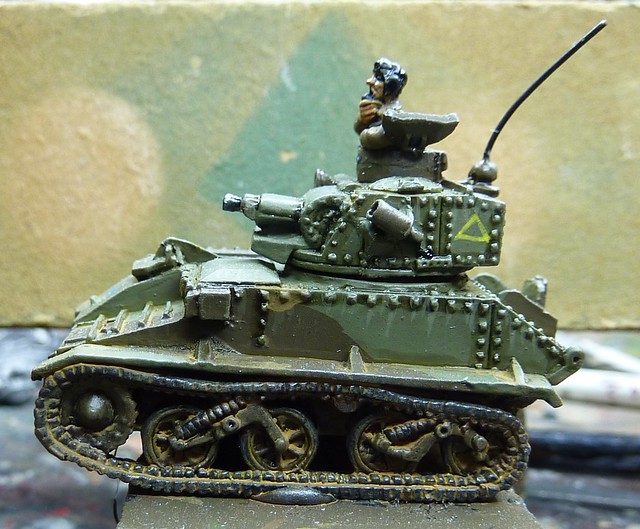 |
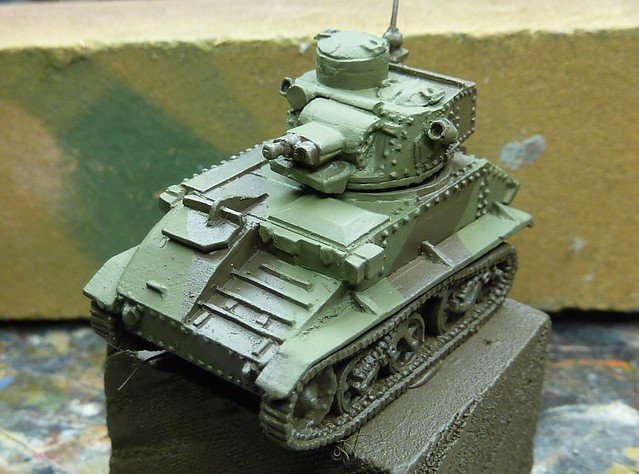
| Left Side of Troop Commander |
 |
| Backside (huh huh) of Troop Commander |
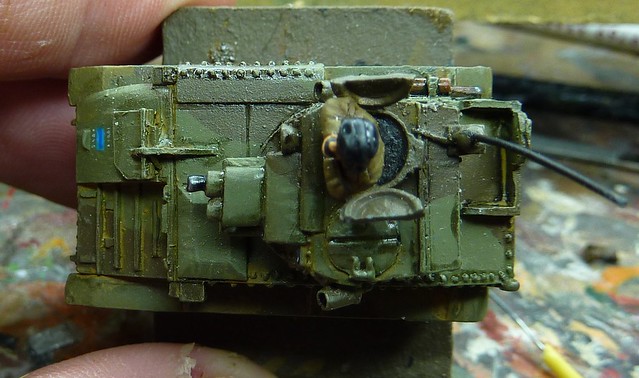 |
| Top Surface |
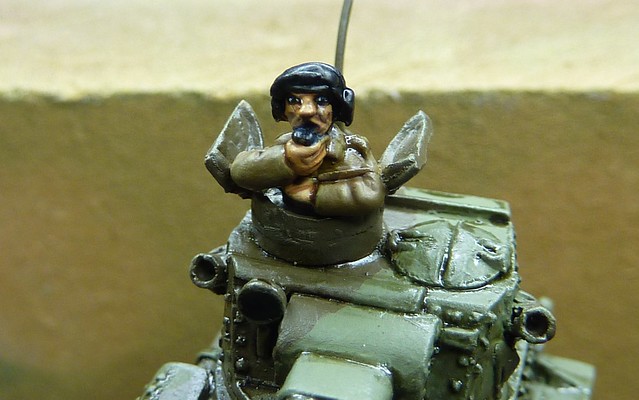 |
| The Troop Commander! Like I said, we'll look at painting the commander and other infantry in the future |
So there you go! First Troop done, seven more to go. Plus Dingo. Plus Infantry.
Whimper...

.JPG)