
This week I thought we'd look at how I do the basing. It's something that I usually get asked by the new guys and I know its one aspect that a lot of the chaps at Brighton Warlords seems to hate!
I've experimented with various methods since my first army. Initially I just stuck the figures on the bases and covered in sand, a direct throwback from my transition from 28mm Games Workshop!
 |
| MY EYES! |
As you can see, it lacks...charm but it is relatively simple and could be easily improved by building the sand up around the figures to blend their individual pedestals in.
After the first two platoons, and on the basis of a few examples on the old Battlefront website, I started experimenting with Poly-filler and have pretty much stuck with it ever since.
Now, there's two camps of thought on using poly-filler:
The first camp just covers the base with poly-filler and then sticks the figures in, relying on the poly-filler to hold it in place. Benefits? It's quick and easy. Downsides? It can leave the poly-filler sitting away from the figure's pedestal (which can be hidden by other basing materials) and can leave the models susceptible to parting ways with the base over the course of a game!
The second camp, the one I fall into, sticks the figures to the base and then applies the poly-filler around the figures. This is a lot more time consuming, messy and fiddly but, in my opinion, gives a better finish and certainly gives a stronger bond between model and base.
So, how to do this without going mad? Let's look at the process:
Materials
So, all polyfiller's are equal? In my experience, no. - The mix-yourself stuff can be good but, honestly, I'd rather spend an extra quid or so and not spend half the evening trying to nail the ideal consistency!
- The cheap "generic" ready-mix was, on both tubes I ever used, way too liquid and a nightmare to work with.
- My ideal choice is the branded ready-mix. A tube goes a long way so I don't see an issue with the extra cost and it always seems to be in a nice, fairly dry, mix that is easy to work with.
Interestingly, I don't advise using the ready-mix for decorating as it dries too hard and is a bitch to sand down. But I disgress...
Tools
I use a few tools when working the filler:- Old GW sculpting tool - the one with a knife edge on one end and a scoop like end.
- A metal pick - perfect for poking between the legs - oo-er!
- A spare base. Just to place excess polyfiller off the blade edge till its needed.
Method
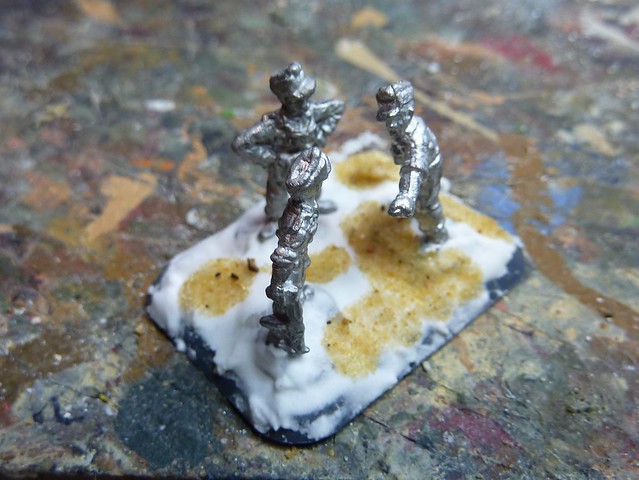
First step, stick all the figures to the base, painted or otherwise. I prefer doing all this before painting but it should work out okay with painted models with a bot of care. Now, drop a pea sized dollop of poly-filler on the base, somewhere away from the figures.
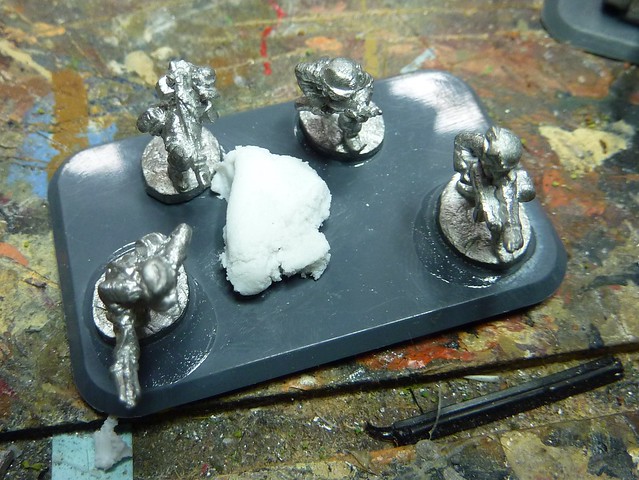 |
| Atchung! Filler! |
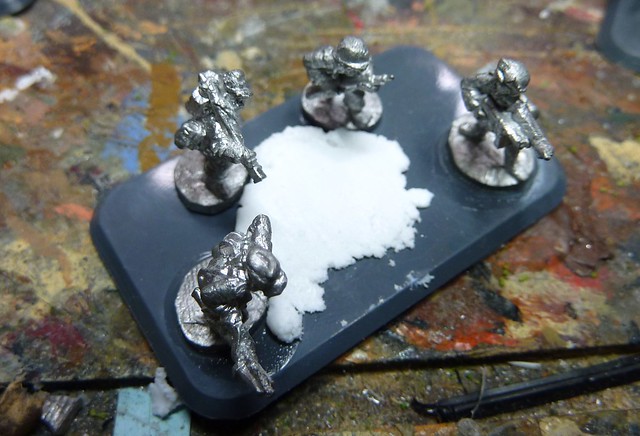 |
| This, of course, would work well for Eastern Front snow bases :) |
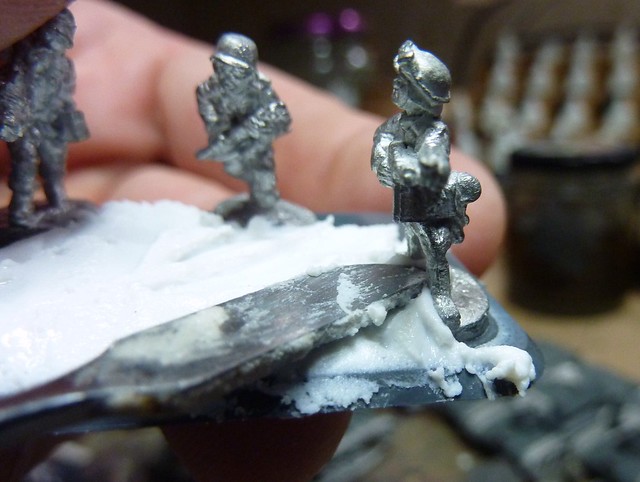 |
| Sculpting Tool to the nads - definitely not Cricket! |
 |
| "Wet look" is in this season |
 |
| "And over here we'll add the fuher water feature. Oh Hans, it will be magnificent!" |
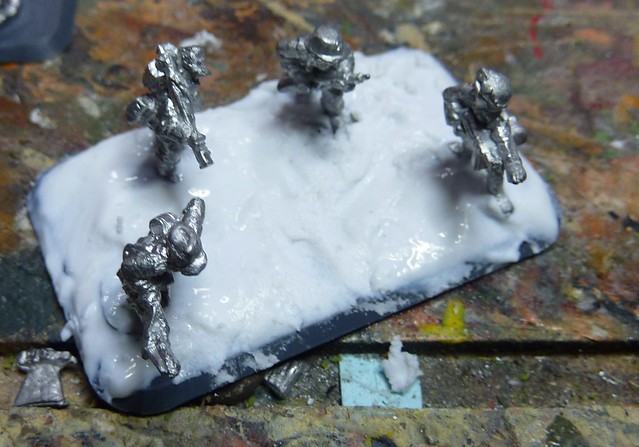
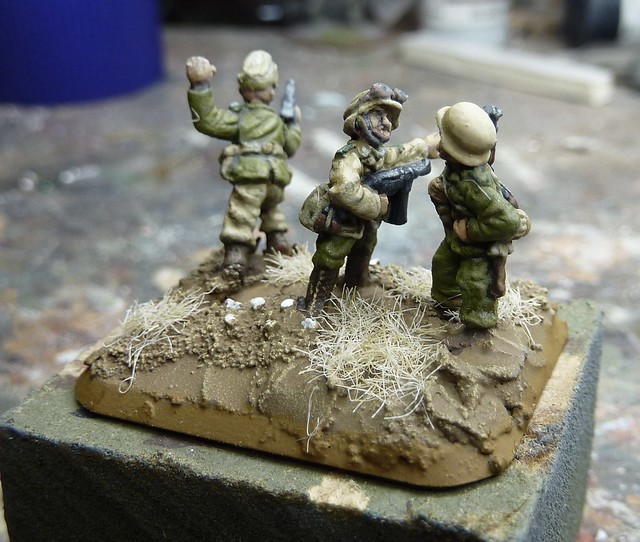 |
| See! Multitude of Sins successfully hidden. |
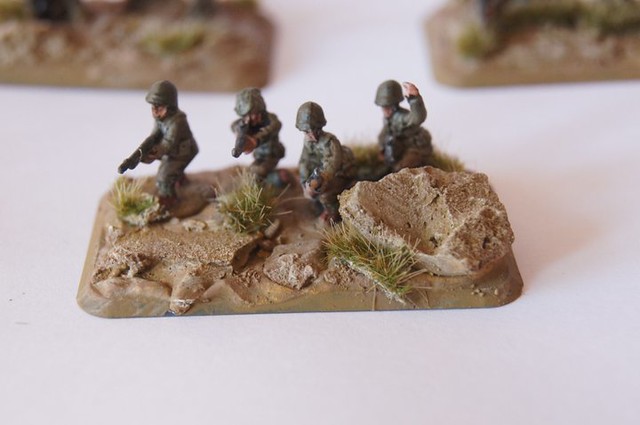
Stone Cold Paul Austen has also done something similar. He cracked the dried Poly-filler out of the container he uses to mix it and got some very large bits to add flavour to the base. he was kind enough to let me have some of hos photos to show the technique off. Cheers Paul!
 |
| He does try and claim bullet-proof cover all the time though... |
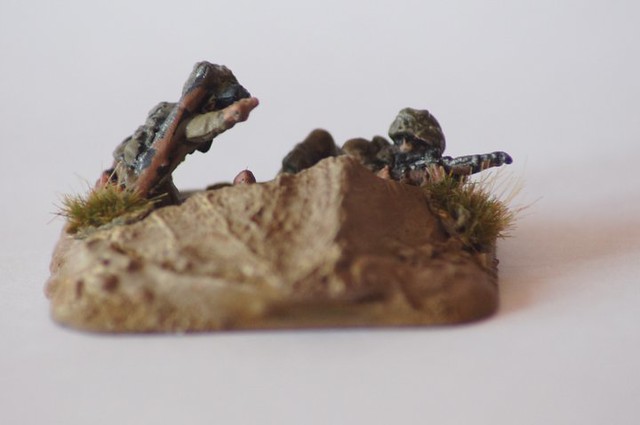 |
| Paul's bunker-busting sniper team |
See you next week.
No comments:
Post a Comment