Tuesday 28 June 2011

Aerial Warfare

Hello!

Firstly, thanks to the guys over at "All Along the Watchtower" for the shout out and kind words.  Keep up the hard work guys!

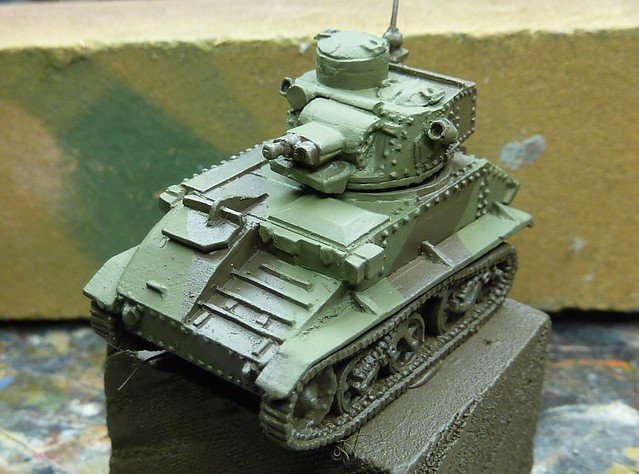
Okay, just a small update this week.  I'm going to take a quick look at fitting tanks out with aerials.  It's a small detail that often takes mere seconds to do but really adds to the look of the tank.  These days I fit out all of my AFV (and some of my soft skins) with aerials.  There really is little reason not to!

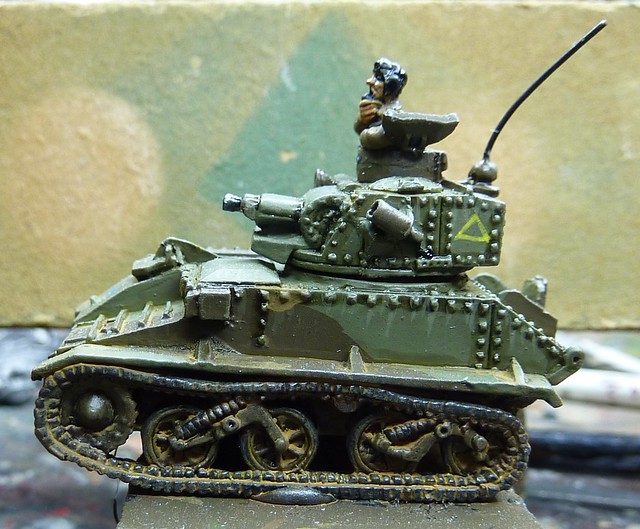
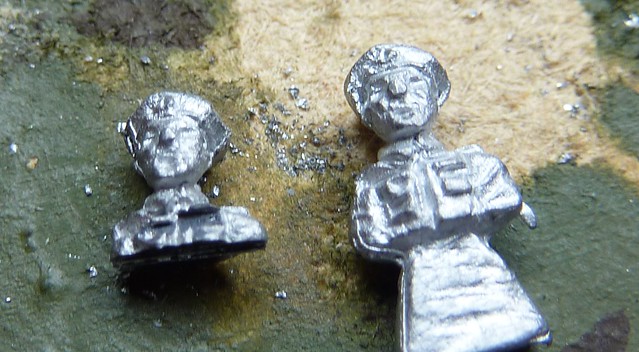
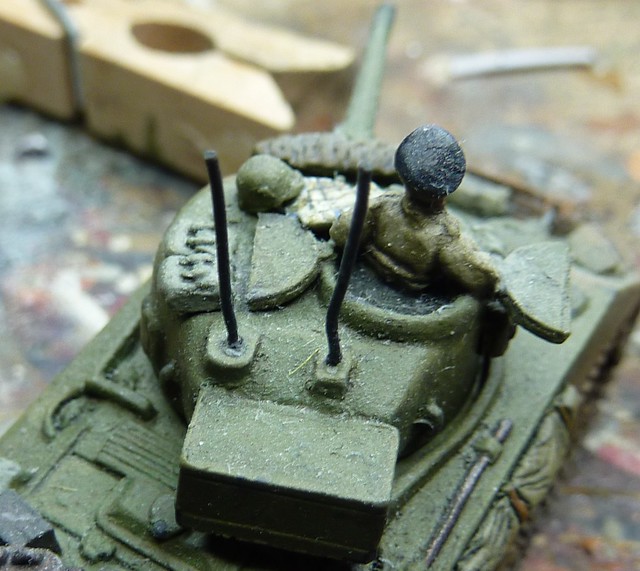
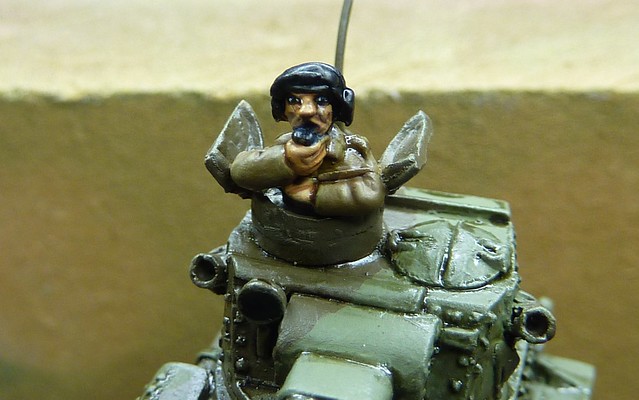
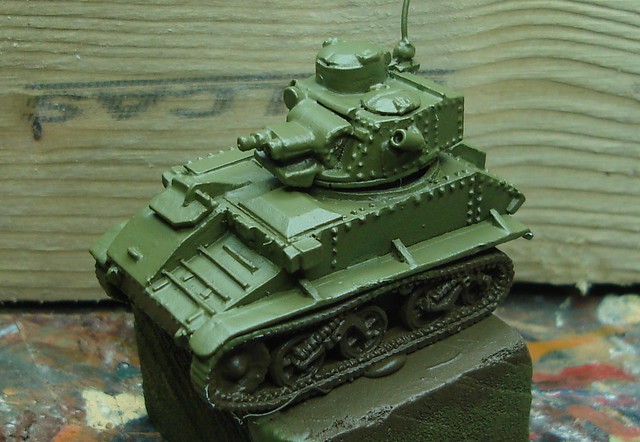
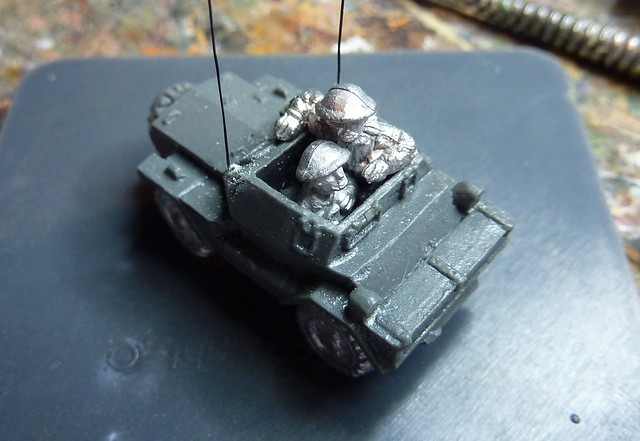
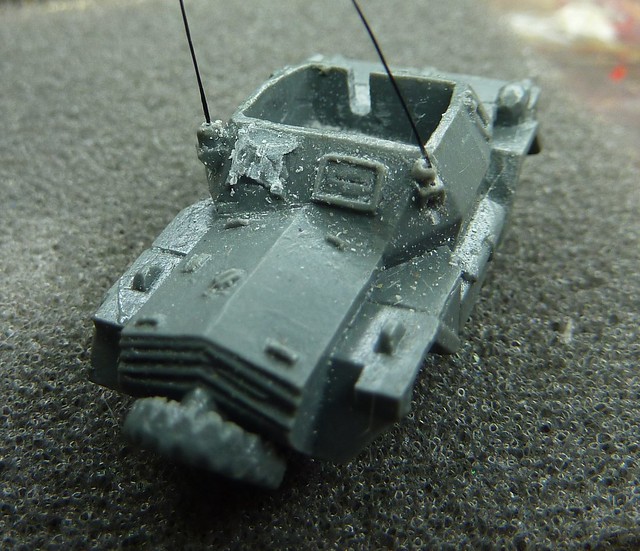
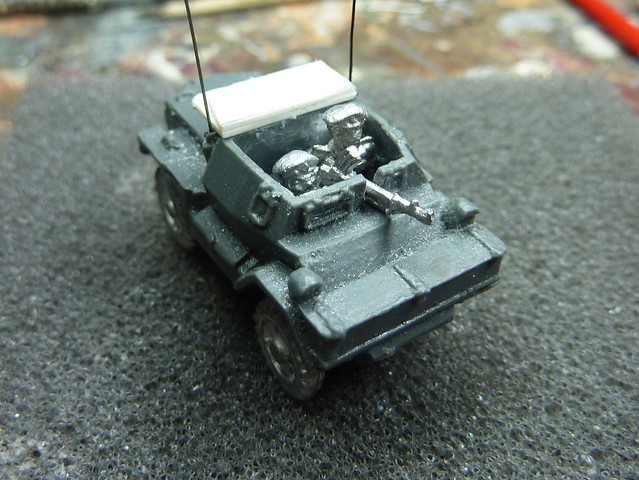
Two aerials for extra bling - maybe
Research
First stage as ever is research.  The time spent flicking through reference books and conducting web searches is rarely ill spent and can pay dividends.  Whilst conducting research the following questions should be in the back of your mind:

  1. Where are the aerials located?
  2. Where they always fitted?
  3. If multiple aerials are present, are they the same length?
The exact answers will largely depend on the tank, its role in the platoon and what in the war your at.  For example and Early Russian T-34 may not have a radio!  Photos of tanks are especially handy although aerials are sometimes difficult to make out.  museum tanks often don't have them fitted.  hyper modeller sites can prove useful but try and verify they are doing it right! Most models, certainly in the Battlefront range at least, will also have the aerial mounts cast in to be used.
P1010728
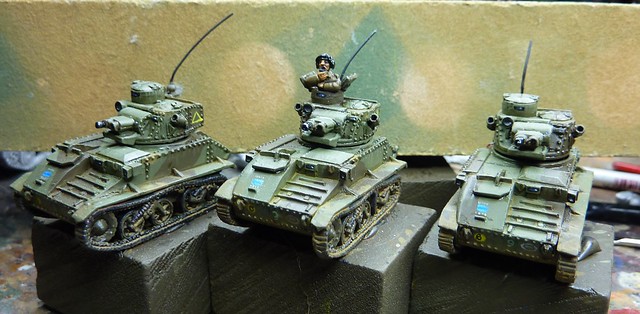
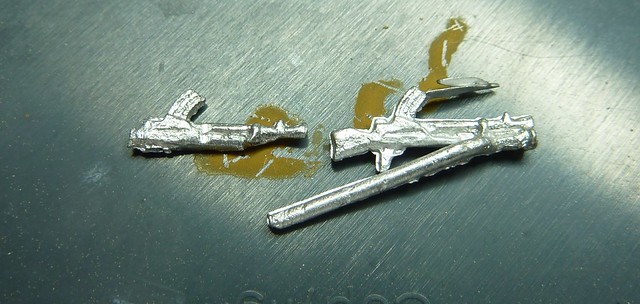
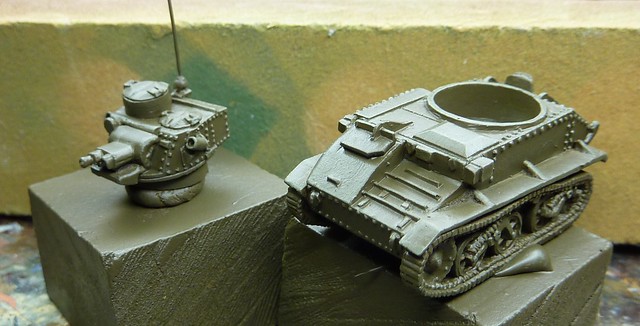
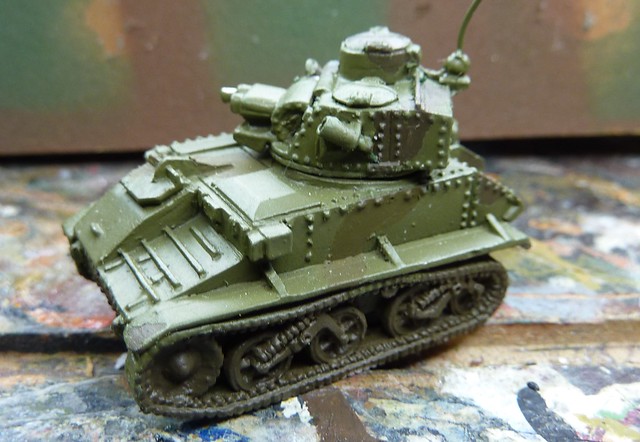
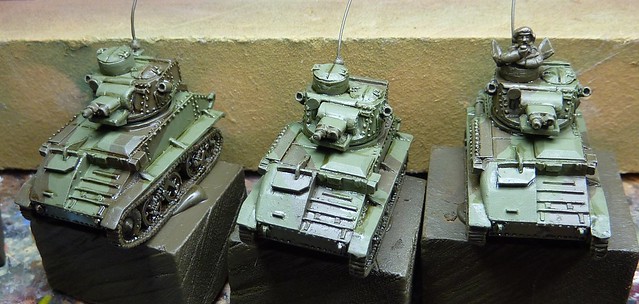
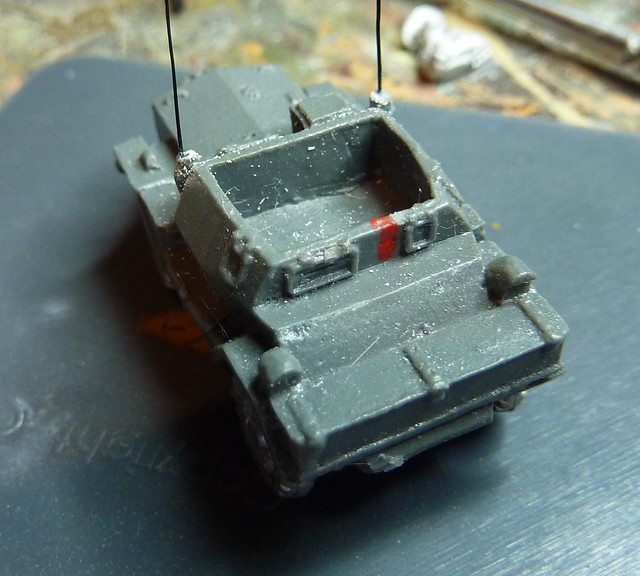
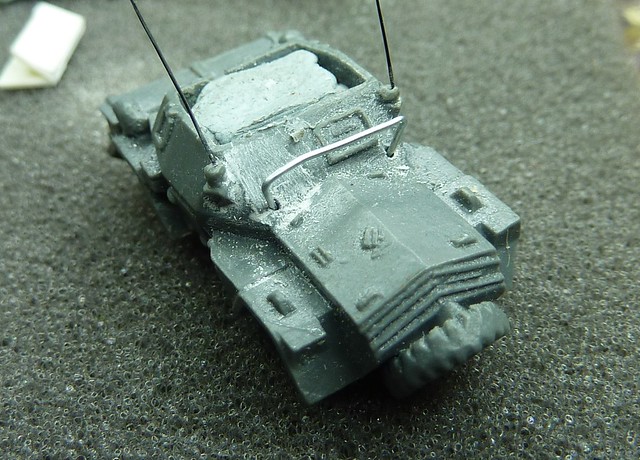
Left one should always be present.  Right one should only be present on the Troop Target, I mean Commander 

As an example, I researched the Sherman V (again, having already done this before).
The Sherman has two radio aerial positions:

  • One on the hull behind the commander cupola
  • One on the left rear opposite it.  
  • Incidentally there is a third mount on the lower hull near the assistant driver's position.  Never seen it populated with a radio mast though in any pictures.

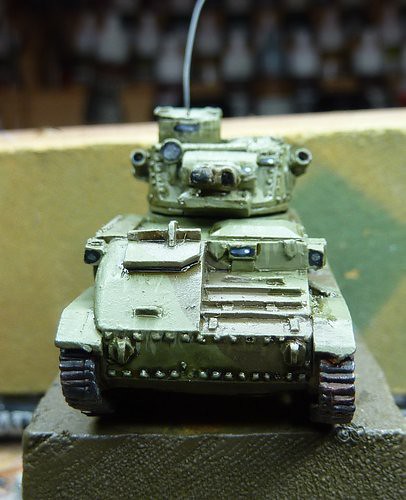
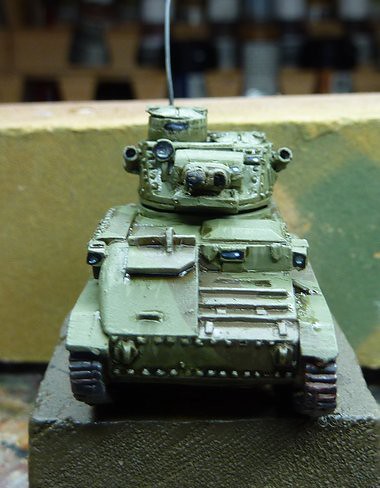
Now, photos on the net and in my books generally show the left (i.e. not the one behind the commander) one populated with an aerial.  A cut away in another book answers why; it shows a radio on the left side, no doubt manned by the Loader fir short range troop communications.  The right hand one is for a Troop/Squadron Commander to have a long range second radio set for communications in the wider world (squadron net).
P1010736
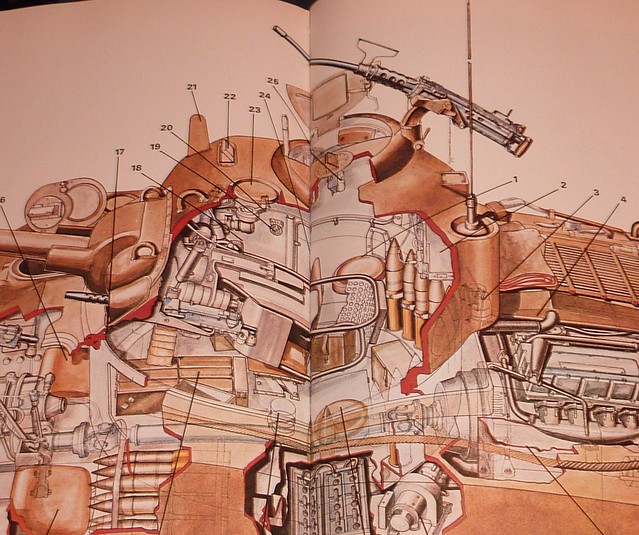
From "The Great Tanks" by Chris Ellis and Peter Chamberlin - used without any permission whatsoever

Generally, British and American tanks have the loader man the radio. So an American tank will have the radio and aerial on the left and British WWII tanks will have it on the right (I have no idea why we have the loader on the opposite side during WWII - it appears to standardise on the american methodology postwar).

Setting the Radio Up
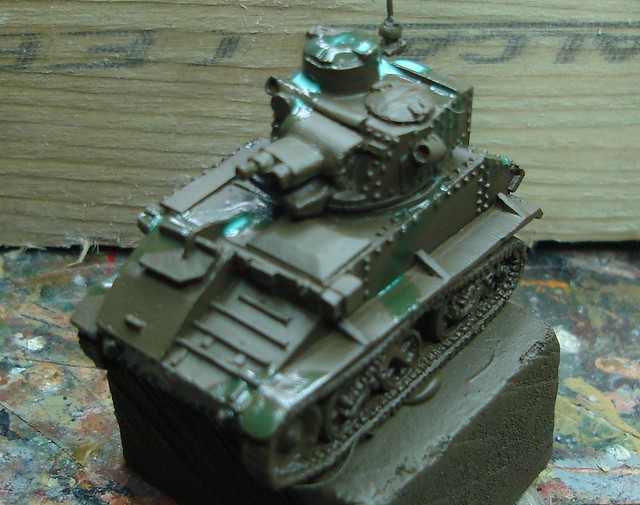
Now we've worked out where we're putting the aerial we need to get on and fit it!  I've used one of my A13 I'm working on as an example.

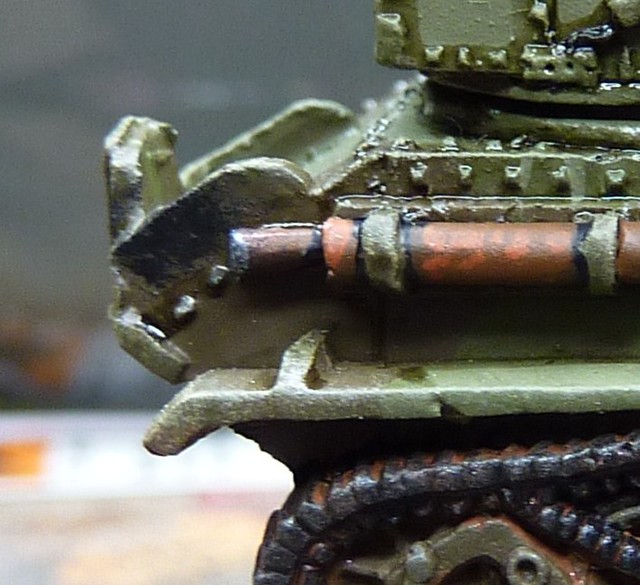
First, clean up the aerial position.
P1010729
No doubt not the only knob on the tank...

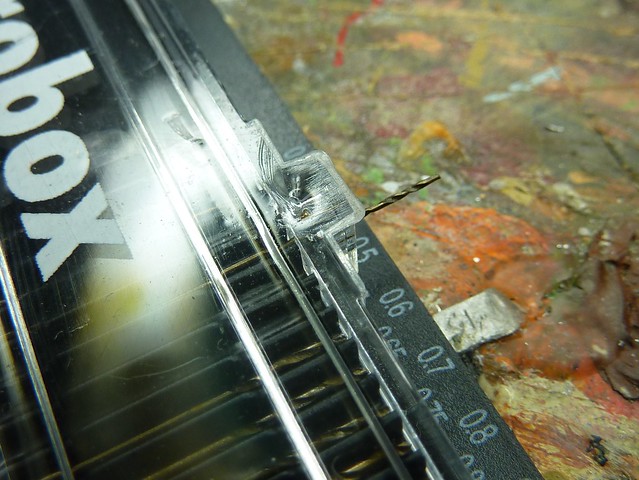
Now, get a 0.5mm drill bit
P1010730
definitely not compensating

Put it in a Dremel or Pin Vice depending on your tool of choice. And drill baby, drill!
P1010731
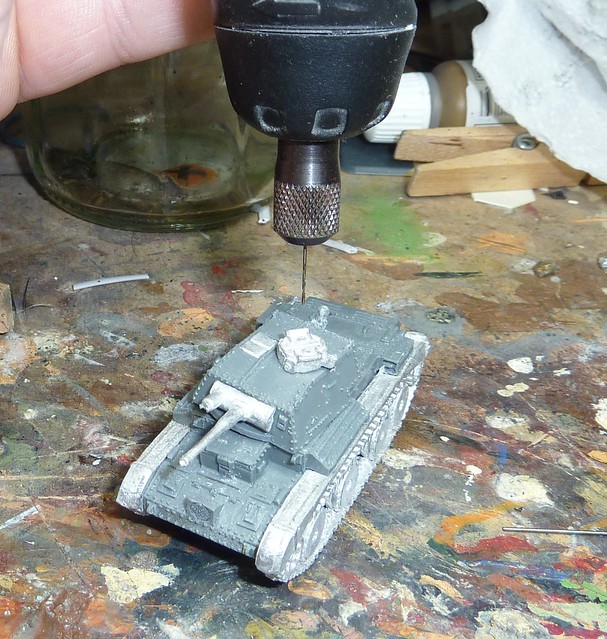
There is a slight alignment issue in this staged shot.

Now to find a suitable aerial.  I used to use sandwich bag ties.  This is think gauge wire wrapped in plastic/paper.  Just strip that outer off and you have a thin metal aerial ready to go (also good for pinning).  It's a bit thick but it can be molded to shape.  the big issues is that paint does tend to flake off and it can be an arse to fit into a figure case.
P1010732
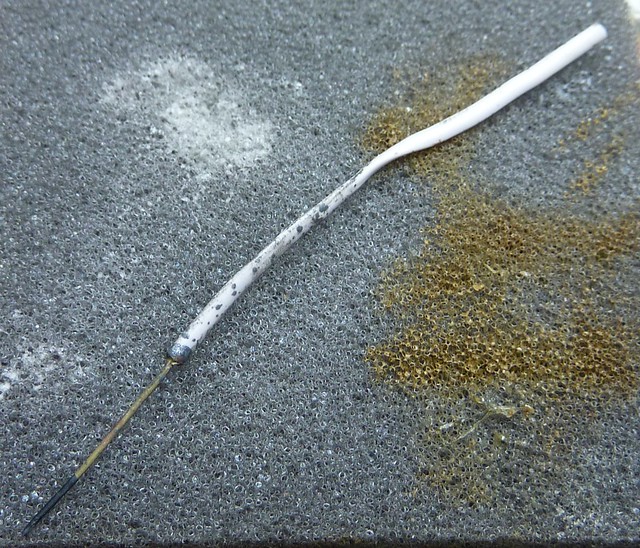
The most boring photo I've ever put on this blog?  Quite possibly!

I've switch over to Brush bristles.  What I do is get a decent synthetic hair decoraters brush and take a few bristles off.  A little goes a long way.  This brush populated my BEF army and then got used to paint my brother's flat!
P1010733
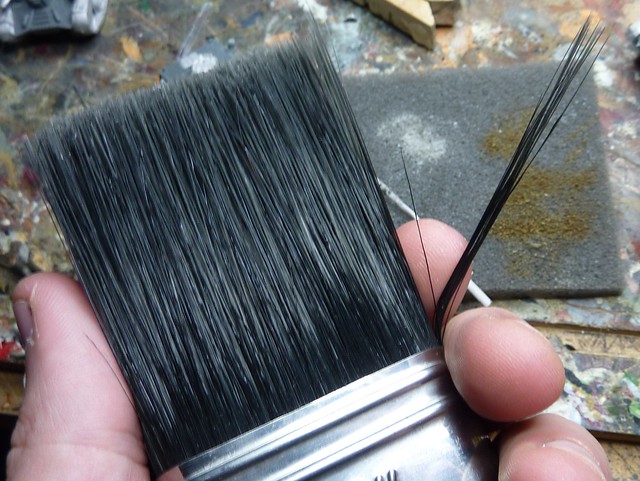
Hopefully my brother never reads my boring geek blog to find out what I've been doing with his brushes...


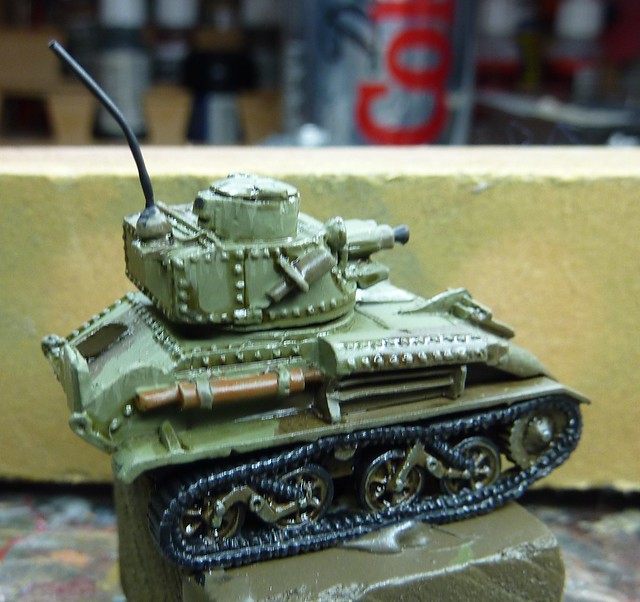
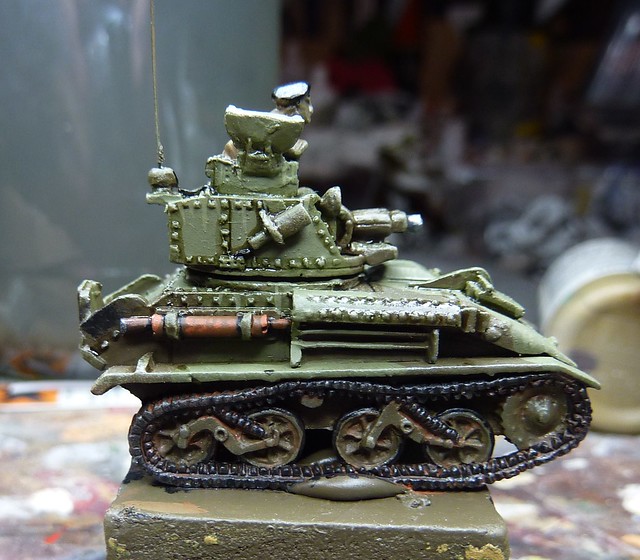
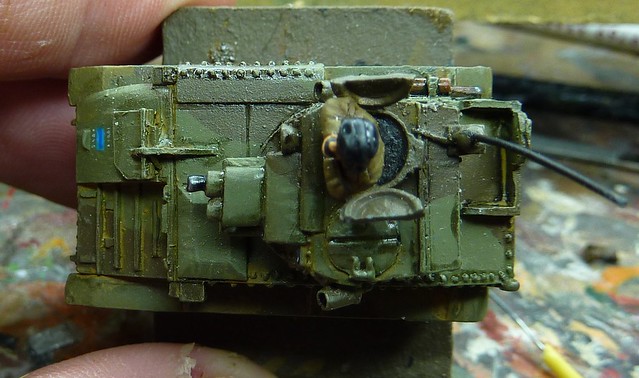
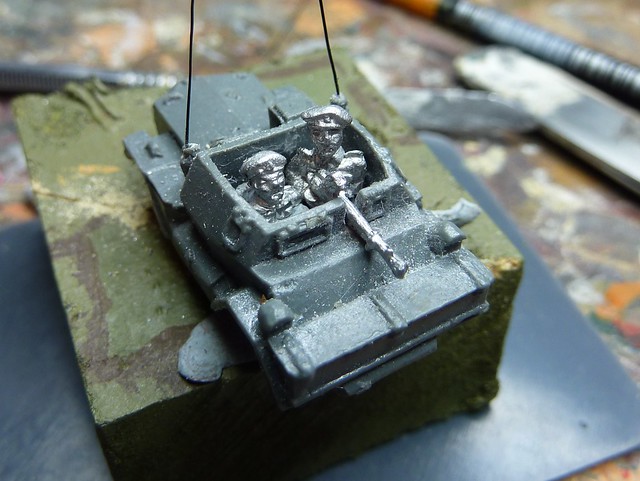
No matter which method you use, dip one end in some superglue and put into place.  Trim to size and paint black to finish off!
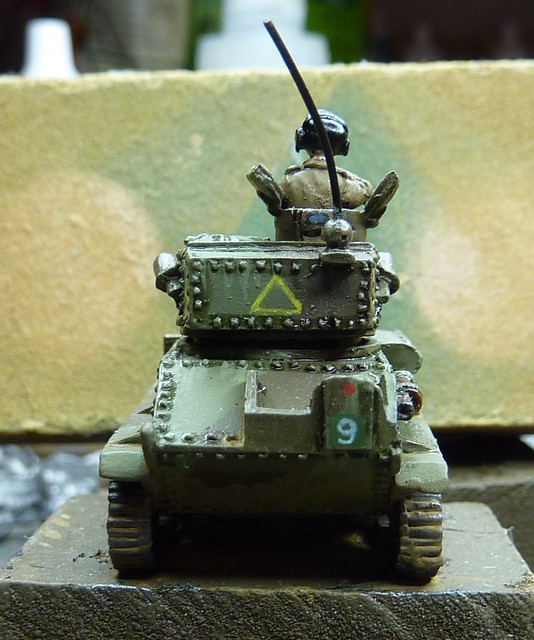
P1010734
Job Done!

So, there you go.  See you all next week!

Wednesday 22 June 2011

Laying Down Some Dirty Tracks (and other weathering techniques)

Hello,

As promised, we're going to look at the final steps to completion on the Vickers Light Tank Mk VIb, after I managed to avoid buying into Dystopian Wars for at least another pay day.  These stages are mainly related to weathering and markings.

By this stage I've already incorporated some weathering (the streaking of the paint) and detail work (the Vision Blocks and Search Light), so that leaves:
  • Tracks (rust and dirt) and Guns
  • Exhaust (red oxide finish and soot marks)
  • Unit markings
  • Hull Dirt
Firstly, the tracks and muzzle of the guns are blacked out (actually done at the same time as marking out the vision blocks and search light in black).  This gives a good base for the following stages.

Next, I mixed Vallejo 'German Grey' and 'Gunmetal' in a 50:50 ratio and covered the muzzle, just leaving a small line of black where it joined the gun cowling.  I then painted over this in 'Gunmetal' before painting the very edge in 'Oily Steel' for a highlight.

The Tracks were dry brushed in 'Gunmetal' and washed in 'Black Shade'.   This gets them to their natural state as it were.

Next, I covered the exhaust in 'Flat Brown' to give a base for the 'red oxide' finished exhaust that period tanks seem to have.
P1010612
Does Kwik Fit have an Exhaust for a 1939 model Vickers VI?
I then applied a highlight of 'Red Leather'  On the most recent batch of Vickers (the ones I'm currently working on) I actually applied some mottles of 'Red Leather' to give a more 'uneven weathering' look to the exhaust.  
I also applied a wash of 'Red Leather' to the tracks and suspension to give the impression of localised surface rust on areas likely to be soaked by river fording and use on wet ground. 
P1010721
It's a bit rusty.  Time for some Hammerite!
I also experimented with using the watered down 'Red Leather' to give the impression of rust streaks.  This appeared to give the right look but I decided to not apply it to the BEF tanks.  They just didn't survive long enough to get rusty!  One to save for a Late war Sherman army (especially the run down Shermans 3RTR received in the rush to reinforce the Ardennes in the Battle of the Bulge).
P1010722
Rumours that the dust streaks are experimentation for Dystopian Wars are vastly exaggerated...
Finally I stippled on some black paint to give a soot smudge effect.  I found the best way to do this was in two stages.  The first was to stipple on wet black paint using an old dry brush.  I then semi-dry brushed on black paint to get the main smudge.  I think it gives a nice impression of the soot that would build up near the exhaust over time.
P1010721 - Copy
It looks good now.  But the RSM is going to make them clean it off with toothbrushes later...
I needed to get the markings on next so that the dirt wash would go over the top.  It's important to get the narrative of the weathering correct.  Having markings over weather sticks out like a saw thumb (unless its a deliberate re-marking late in a vehicles life).  Other effects need some thought given to circumstances.  Similarly the dirt should go over rust as the rust is even more in grained than this mornings run through a stream but dust over or under an oil stain may be equally applicable.

For reference Armoured Acorn lists the markings for various tanks used in 1940 France and 3RTR is well represented on all marks, including The Vickers IVB.

As with all my projects, I did markings free hand rather than use Transfers.  Transfers and me never seem to get on well.  I use a GW Standard Brush (fat enough to carry paint but a fine point to give a decent line) and the paint thinned down slightly more than normal.  The markings are as follows:
1.  Bridge rating - 'Deep Yellow' circle with 'Black' No. 6 in centre.  Located only on front hull.
2.  Arm of Service Marking - Green square (50:50 mix of 'Luftwaffe Cam. Green' and 'Yellow Green') with 'White' No.9 in centre.  This is on the centre of the front hull and the rear board.
3.  1st Armoured Division symbol - A White Rhino within a white outline oval.  I painted an oval first and then two overlapping teardrops to give a rough rhino body shape).  Looks okay!  This is only on the front hull.
4.  Squadron Marking - A Yellow Triangle for 'A' Squadron.  This is on each side of the turret with a small marking on the turret front unfortuantely unable to fit due to the way the Search Light is modelled not leaving enough space.

With the markings applied I watered some 'US Field Drab' down to a wash and applied it liberally over the lover half of the tanks and carefully along areas where dirty was likely to gather as water evaporated off (the front hull strakes, the rear bin, around hatches - no doubt carried by dirty boots.

This completed the Vickers Light Tanks.  Here are some shots of the finished tanks.
P1010622
Vickers IVB of A Sqdn 3RTR, 1st Armd Div

P1010627
Troop Commander - Front (yes, I bodged the '6' up on his tank to the extent it looks like a sigma!)

P1010624
Left Side of Troop Commander

P1010625
Backside (huh huh) of Troop Commander

P1010628
Top Surface

P1010606
The Troop Commander!  Like I said, we'll look at painting the commander and other infantry in the future

So there you go!  First Troop done, seven more to go.  Plus Dingo.  Plus Infantry.

Whimper...

Tuesday 14 June 2011

G3 Khaki Green - Or "WTF? Are we camouflaging this for a Disco?"

Hello

There is always one peril with historical wargaming.  Having someone in the past do something stupid with no regard for how it will affect generations of players later!  Sadly, playing Brits in WWII one tends to run into them far too often but it does build character.

BEF Tank camo, specifically for the Armoured Divisions, is one of these areas.  Seriously, luminous green as a tank camo?  I'm not sure if this is Battlefront making a bad call, there are a few colour charts that agree with the colour choice, but what the hell is going on with Cruiser Green?  Did someone think there was rain forests in the Belgium?  Did they let the raver mix the paint and he dropped some glow sticks in?  What was going on?  sadly this is the same military that came up with the wonderful idea of not bothering with a HE round  for the main gun...

Research
Needless to say, I was going to stray a little away from reality here and it doesn't seem to be too uncommon.  Looking around I found a few examples that don't seem to agree with the colours in 'Blitzkrieg'.  This model of a 3RTR A13 on Missing Lynx shows something that looks closer to Russian Uniform and the Bovington Tanks (I found some photos here and here) concur.  It's always dangerous relaying on museum tanks, often they are repainted in.. interesting interpretations of the original colours but it was a straw I could grab onto!
Interestingly Phil Yates, one of the BF rules monkey's (if not *the* head rule monkey) also went with Russian Uniform.  He put his thoughts in two articles (here and here) and also in the forum and certainly guided me in my choices when it came to the paint job.

Execution
Now, I had a 'brainwave' when it came to painting up the BEF quickly.  Quoting myself
"I'm opting for base coating with US Armour spray coat (basically Brown Violet) then...masking and spraying over with British Armour spray to get the same effect."
Yeah...  That didn't work out too well.  The issue was the mask.  I sprayed the model using Army Painter/Battlefront "US Armour" and then used the liquid mask that comes in the Vallejo/Battlefront utility set.  Firstly, this stuff destroys brushes!  It dries on the brush whilst your applying the mask, even washing the brush in-between areas didn't help.  You also can't over mask an area that is already masked as it tends to lift.
P1010581
Brown Violet - Not particularly violet but versatile none the less!

DSC05046
"Mask!"  Not Mobile Armoured Strike Kommand
I eventually got the model masked off, cheating by using blue-tac to hide the tracks so that the lower hull would be in the original colour, and decided that I would proceed with just one Vickers tank until I knew if it worked.  That was probably the only good call of the day!  I sprayed the "British Armour" spray and left it dry overnight.
DSC05048
Bright green - not luminous green!

Removing the mask was a complete bitch.  Trying to lift the mask off with tweezers scratched the Brown Violet paint below and I really had to dig it out, using a cocktail stick, from the various nooks and crannies.  I easily spent 30 minutes to an hour trying to do this and still had masking present!

P1010609
Note scratches and little scraps of liquid mask gripping for dear life around smoke dispenser

P1010608
More scraps stuck around searchlight and gun mantle.  Scratches near exhaust.

I eventually admitted defeat and put the model aside for stripping (I'll cover that process at a later date).  I then decided to paint it by hand instead.

Execution Take II!
So, three more Vickers undercoated in 'US Armour'.  This time I decided to highlight the Olive Drab before laying down the lighter green as I was worried about trying to drubrush the camo without straying onto the lighter colour.
So, I grabbed a large flat drubrush and did a heavy drybrush of Vallejo 'Brown Violet' (the paint is slightly lighter than the spray) followed by a lighter drybrush of Vallejo 'Khaki'.

That done, I then painted on Vallejo 'Russian Uniform in broad irregular strips aiming to cover 2/3rds of the model and carrying the pattern over the turret aligned forward.  I left the paint off the lowest surface of the front and rear plates, on the gun cowls and below the track guards.  These are areas that Phil Yate's research suggested would be 'skipped' by the crews when they repainted as they were a bugger to paint.  Makes sense.
P1010583
Makes you wonder why I bothered painting the Olive Drab seeming as I covered most of it!

I then mixed in 'Tan Yellow' to provide a light, bright highlight.  I used a smaller flat drybrush and carefully applied it to the Russian Uniform areas, trying to avoid the Brown Violet patches.
P1010584
Perhaps a bit pale.  May try adding some Yellow Green next time.
Next, I did my normal wash stage.  I made a 50:50 mix of Vallejo 'Black' and 'Brown' washes then watered down.  I used a GW Standard Brush (the orange tipped one) to carefully apply the wash to panel edges, around detail and the rivets.
P1010586
The Troop after washing
That gets the basic armour done. I applied some weathering at this stage in the form of rain and UV lines but I'll cover this next week.

I marked the vision blocks and lights out in black.  The vision blocks had Luftwaffe Uniform applied and a tiny dot of white in the corner.  A very simple 'glass reflecting sky' look.  The search lights were picked out by painting a hemisphere of 'Gunmetal' on the lower half of the black disc.
P1010614
"I can clearly see now/the vision slot is painted"

Then an 'Oily Steel' arc on the 'Gunmetal'
P1010615
Oily Steel sounds like it should be a porn name.
Then a thin line and a dot of white to complete.
P1010617
"and lo.  The Commander said, let there be light"
You'll note that I've ignored the Commander.  I tried a different technique on him and we'll revisit this on a later blog.

We'll leave it there for this week.  Next week I'll pick up on tracks, markings and weathering to completion.

Finally, a quick plug for the chaps over at "All Along the Watchtower" podcast who have launched a forum.  It's quite a diverse group with forum members from outside of Brighton and is also home to forum exclusive content.  Give it a try!

Enjoy.

Sunday 5 June 2011

Back in Action!

Hello!

After a somewhat length hiatus I'm dusting the blog off and actually doing an update.  Apologies for the rather length intermission.

Whilst I've been off the air I've been working away on my BEF era 3RTR.  There's been a few hiccups trying to find a quick and easy way of painting the shear quantity of tanks (25) that makes up the force without sacrificing quality.  It's been a learning experience but the the first troop of Vickers light tanks is done and the next two, plus HQ Vickers, are underway.

P1010622
Possibly the finest tank of the war (that was called 'Vickers Light Tank')

I'll go into more detail on the Vickers next week but want to go with what I've been doing over the last week, some mild converting on the Daimler Dingo troop.

One of the things I wanted to get into my army was a troop of these little scout cars.  The Dingo was lightly armed (a single Bren LMG!), lightly armored but fast and nimble, serving throughout the war and on into the late fifties.  3RTR's recce troop in and around Calais were equipped withe the vehicle and the Daimler Fighting Vehicle website has a good account written by Major Bill Close, then a troop sergeant.

Coming into the project, there were two things I wanted to reflect in the model:

  1. that the crews looked suitably tankee like!  Black Berets were a must, even if somewhat doubtful from a historical perspective.
  2. that the Dingo looked like a Mk I or II variety, the type most likely in Calais, rather than the late war variant depicted straight out of the blister.
Here's how a Dingo looks using the bits in the blister (AA Bren not shown and I've already added aerials).  One of my pet peeves is how exposed the crew is.  The driver should be a lot lower in the Dingo and the commander looks like he is out on a Sunday drive!
P1010629
It's a little bit crowded!
The major difference between the early and late Dingos is the roof.  Dingo Mk I and II have a combined sliding and folding metal roof. The front half hinges back on three hinges allowing it to be partially open.  The hatch, still folded, can then be pushed all the way back, where it sits on a metal frame.  The best detail I could find on this arrangement was this project log on a Dieppe diorama which has period photos and a very nice scale model Dingo.
This sliding hatch was apparently very prone to shooting forward under braking, costing more than a few crew some serious, possibly fatal, head injuries.
Later in the war, the folding metal hatch was exchanged for a canvas roof and what looks like a seat fitted behind the commander on the right (I suspect this is a perch from which to fire the AA MG).

The Bren gun could be fired though a hatch in the hull front and the Blitzkrieg book lists the Bren as a 'Hull MG' which implies that's how the Bren should be depicted, not on AA mount.  Wikipedia has a good photo of the Bren so fitted.  It also shows the canvas roof adopted later in the war.

The first thing I did was to set about cutting the firing slot in.  This is a notch in the front plate running from the top of the vertical plate to the bottom and can be closed over when not in use.
P1010630
Just cut along the red line...
Annoyingly I couldn't find the large diameter collet for my Dremel so I couldn't just whack in a cutting/grinding disc and do this in a few seconds!  Instead, I used a drill bit to drill a few holes then, using gentle side pressure, started joining them up.  Annoyingly, on the last one and the one I was going to photo, I slipped and did a diagonal cut!  A thin rectangular file quickly sorted that out.
P1010648
Oops!
P1010649
Firing Slot open
Next, I set about making some crew.  I wanted one Dingo fully unbuttoned, one with the front hatch folded back but still slid in place and one fully buttoned up.  The fully unbuttoned Dingo would need a bit more detail on the crew whereas the partially unbuttoned one would have them mostly out of sight.  The fully buttoned up Dingo wouldn't need any at all.
The BEF army box comes with a tank commander for each tank so, having only used one commander per troop, I had plenty to spare.
The driver (and crew of the partially buttoned Dingo) was simply one of the commanders cut down to shoulder height.  I'll probably green stuff in the top of the steering wheel and driver's seat but the main thing is to get him low and forward like this photo shows the seating arrangement.
P1010637
I guess he uses "Head and Shoulders"!
The commander is a bit more involved.  I chose the commander Depicted as leaning on his hatch as the arms are more or less in the right position.  I want the commander to have the Bren's stock in his shoulder with left arm steadying the top of the Bren.  I cut the AA monopod, stock and pistol grip of the Bren off.
P1010632
It's mah Bren gun!
I then started filing the chest and right arm of the commander until the whole thing looked about right.  I also filed the torso of the commando down so that he sat lower in the compartment and leaned slightly forward.  The commander's arms and the stock of the Bren will all be green stuffed on later.
P1010636
The Dingo is so small only one armed crews were selected
This is how the crew look blue-tacked in roughly.
P1010631
Still not roomy but at least we're armed!
Next thing to tackle is the hatch.  Firstly the old protrusion was cut off using a pair of clippers then sanded flat.
P1010641
Clippers 1 - Resin 0
I then drilled two holes in the Dingo's rear plate, towards the base where it joins the engine deck, using a 0.4mm drill bit.  The wire from sandwich bag ties was extracted from its plastic outer.  I then bent it up at each end, leaving about the length of the front plate flat.  This was glued into the two holes as shown.

P1010645
Wire work
That just leaves the hatch.  I filled the crew compartment with blue tack to hold so think (0.5mm I think) plasti card in place and marked the outline so as to follow the hull quite closely.  I then scored the line for the front hatch so that it could either be folded back (on the unbuttoned ones) or follow the slight dip of the front hull (buttoned Dingo).

This leaves the Dingo's looking like this:
P1010650
Buttoned
P1010652
Partially buttoned or partially unbuttoned?
P1010651
Unbuttoned and fancy free
This gets the majority of the hardwork done.  Still to do:
  • Green stuff hinges and handles onto the hatch
  • Green stuff the compartment and crew of the unbuttoned Dingo
  • Possibly remove the spare wheel - Can't find any photos of the Dingo with one fitted as depicted.
The Dingo's will go on the back burner for the moment.  We'll look at the Vickers Light Tank next week.

See you all then!