Firstly, what is Zimmerit? It's an anti-magnetic mine paste that was applied to German tanks. If you've ever seen a German tank that looks like its got a bad case of cellulite, then that is Zimmerit. Here's a close-up photo I took of a JagdPanther at the Imperial War Museum, London that features it.
 |
| Nothing a bit of moisturiser wouldn't solve. |
The paste is not anti-magnetic, it is just non-magnetic. It provides sufficient stand-off that a hand deployed panzer-knacker magnetic mine can't find purchase and will fall off. Based on this, the Geramns decided to apply it to all of their front-line tanks from the end of 1943. There was just one problem... Only the Germans used magnetic mines.
The Germans had, once again, made a massive assumption that everyone else would follow suite (like heavy tanks). Sadly the opposition's thought process went more or less like this:
- USA - Why'd I want to throw the mine when I can launch it on a rocket?
- Britain - Why'd I want to use a magnet when I can use glu-OH LORD! IT'S STUCK TO MY LEG!
- Russia - Why'd I want to use a mine when I can send wave after wave of my own men to use up their ammo?
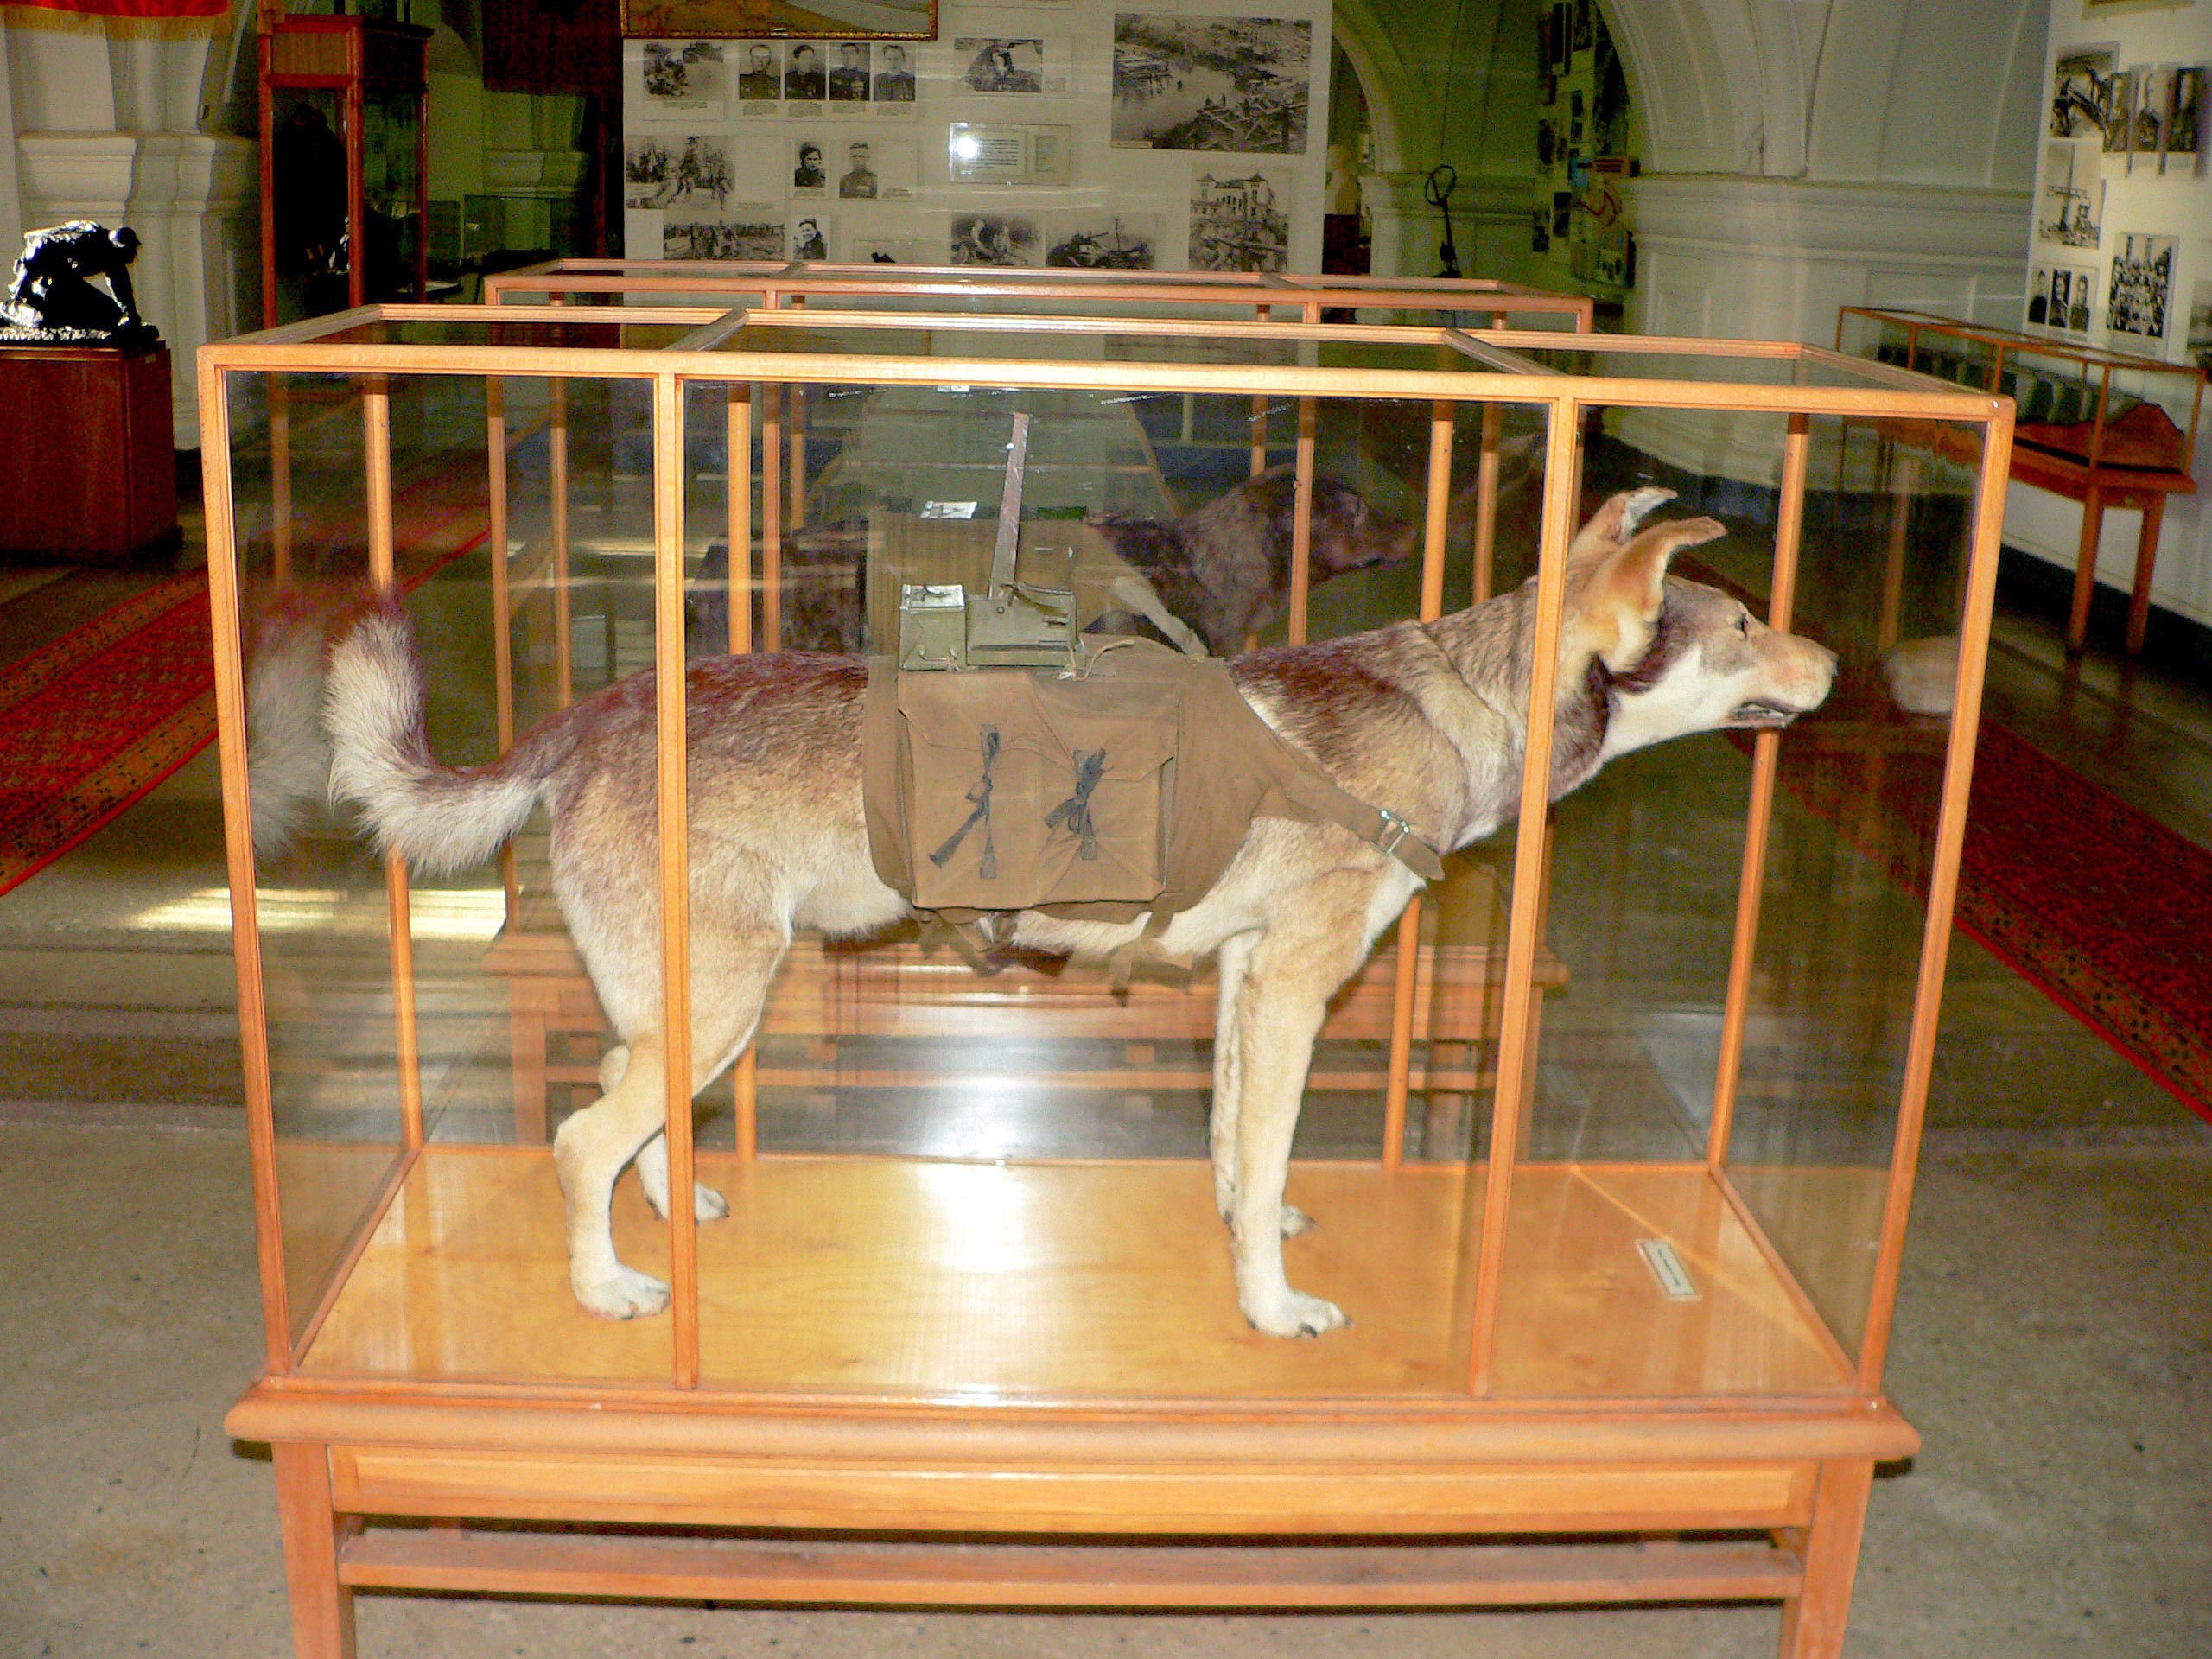 |
| Also, Dog Mines |
Now, the Plastic Soldier Company have been producing some fantastic plastic kits of late, but all the German kit is 'sans Zimmerit'. That's fine for stuff pre December '43 or post September '44 but, for the admittedly quiet bit in between, the models are technically incorrect.
So what's a boy working on an early 1944 army to do? There's two obvious choices here:
- Ignore it. At 1:100 the Zimmerit is barely visible beyond a slight surface patterning and a softening of the edges.
- Try and sculpt it on.
Looking at the patterns of Zimmerit used, I decided that the columns of horizontal lines (pattern 1 here) would be the easiest to replicate (although the waffle scheme - no.6 - was pretty common on StuGs and does look cool). I also decided to try three methods of replicating it:
- Paint on green stuff, sculpt lines as soon as applied
- Paint on green stuff, sculpt lines as soon as the green stuff darkens and dries
- Paint on green stuff, leave overnight, then sculpt in lines the next day.
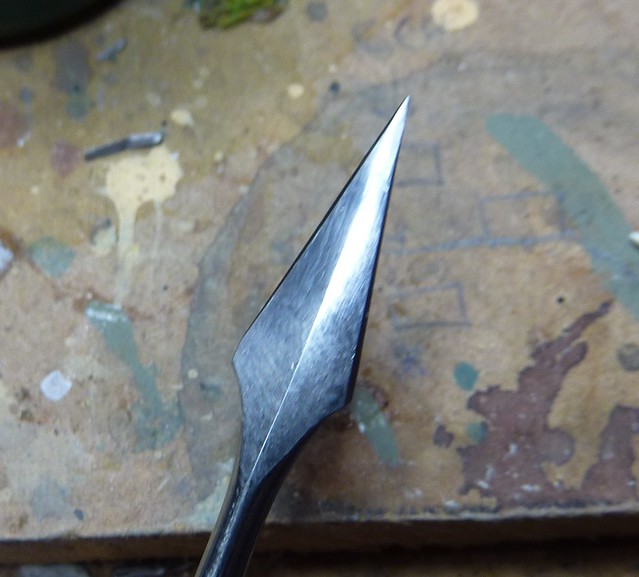 |
| Also, kind of looks like a xenomorpth tail |
Approach 1 - Wet Sculpt
I used a standard GW paint brush to apply some liquid breen stuff evenly over the armour plate. It's important to get the thickness right. The yellow plastic underneath should not be showing through. I applied the green stuff to one location then used the sculpting tool to sculpt the lines in. If I was doing a whole tank I'd then proceed to do the next location, and so on, always sclupting the green stuff as soon as its applied and not letting it dry. As it was, I only did the one panel to assess the look.
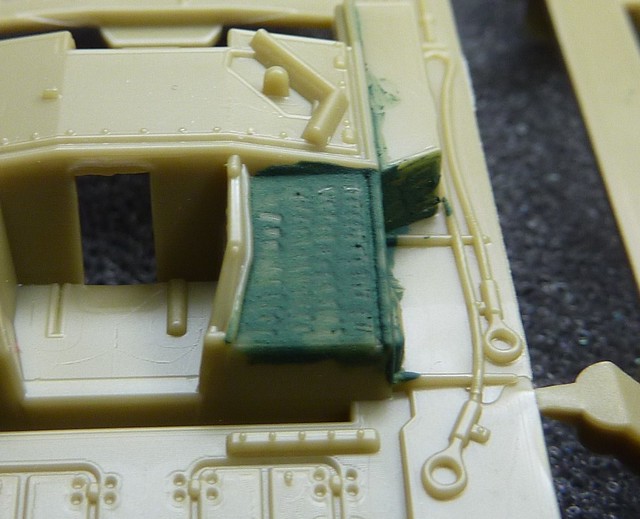 |
| Approach 1 - Sculpted straight after application |
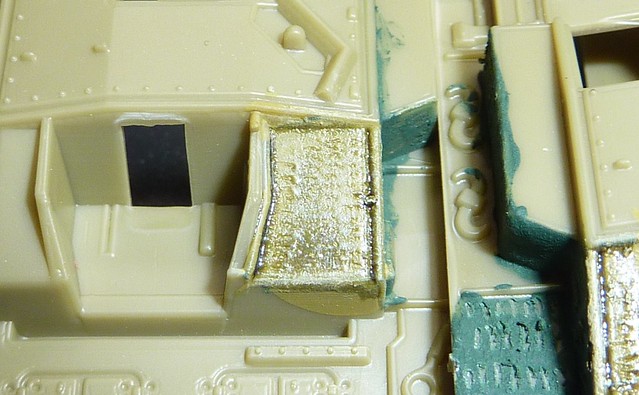 |
| Approach 1 - allowed to dry and painted |
Approach 2 - Short Dry Sculpt
I used the GW paint brush to apply liquid green stuff on all panels. I should not that the real zimmerit wasn't applied all over a tank (this large scale photo-etch kit shows where it should be), I just wanted plenty of area to experiment with.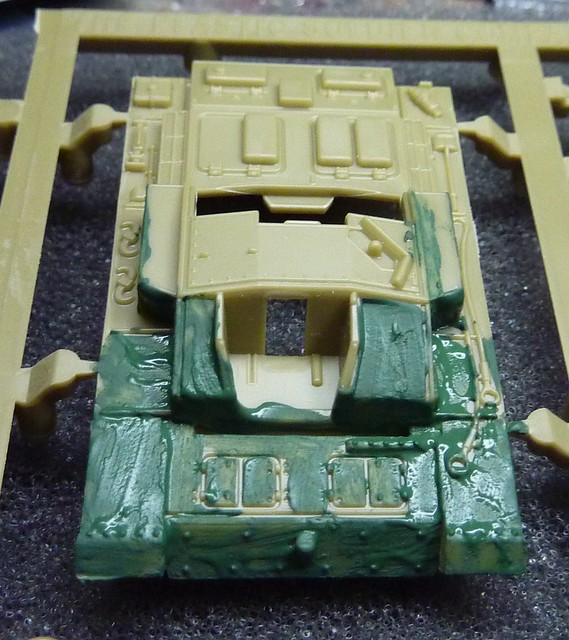 |
| Very reminiscent of my early "Space Crusade" era work. Thick, blotchy and un-even. |
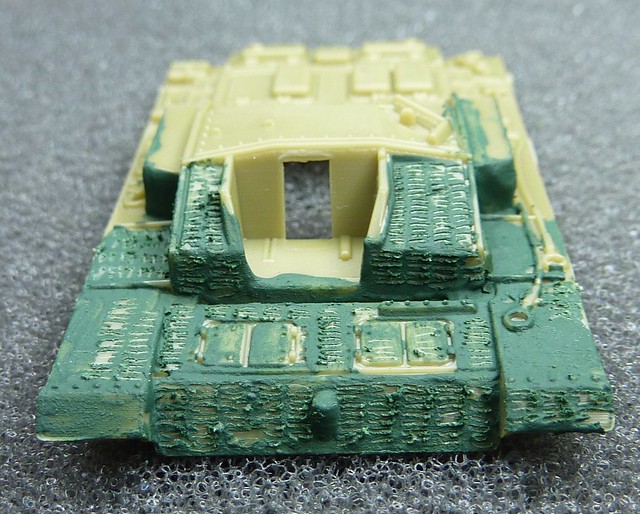 |
| Approach 2 - Green stuff applied all over and allowed to dry sufficient for colour to darken |
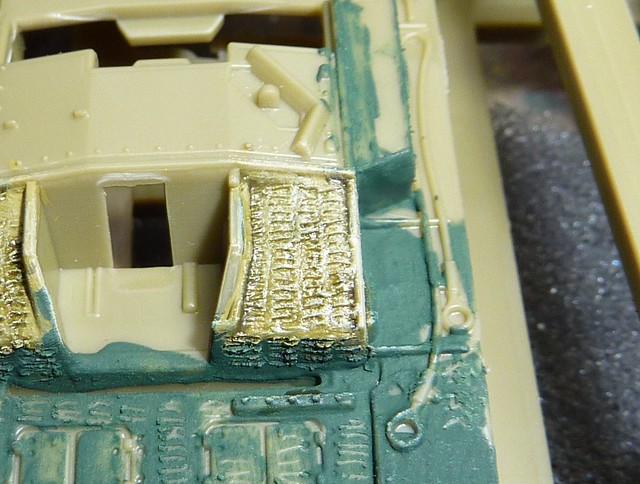 |
| Approach 2 - Painted |
Approach 3 - Long Dry Sculpt
The liquid green stuff was painted on at the same time as Approach 2 but left overnight. The next morning I used the sculpting tool to sculpt in the lines. I found that it was a lot harder to get a decent line as the tool tended to stick in the solid green stuff. Teraing seemed to be minimesd though.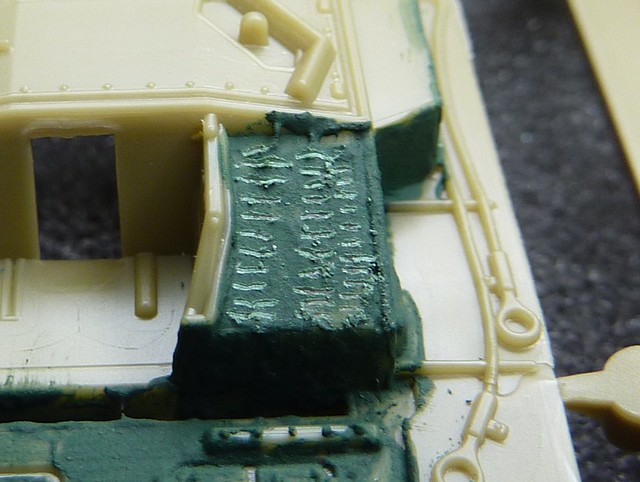 |
| Approach 3 - Allowed to dry overnight before working |
 |
| Approach 3 - Painted |
Conclusions
I'd have to say that Approach 2 works the best based on the painted results. It's also probably the faster approach to use too. Approach 1 is too slow to do and far too subtle. The texture does not come through the paint. Approach 3 was equally underwhelming and difficult to work.I painted up the Approach 2 example fully (or at least the modded area) to get a better look at the end result.
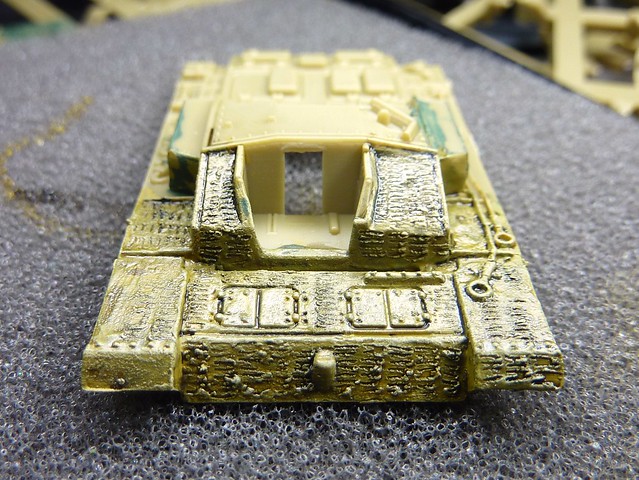 |
| As mentioned - Zimmerit wouldn't be on track skirts and lower hull top surface as I depicted here. So don't copy it! |
But, I'm still not convinced the end effect is worth it. The result is far too subtle and really just merges into the paint scheme. I'll probably stick to non-Zimmerit on the StuG battery but it does seem possible to apply it if it really bugs you.
I'd appreciate some feedback on this. Which do you think works better? Is it worth doing at all? Feel free to leave a comment below.

I tried both methods mate, but I never got around to posting the results on my blog. I had the same problems as you.
ReplyDeleteTo be honest I'm in doubt if the effort is worth it.
As you say the effect is very subtle using liquid greenstuff. I hope to find some time to try it with very thinly rolled out greenstuff and see if that makes a difference. I can see a more prominent effect but applying it to the plastic model will be a pain me thinks.
Yeah, the greenstuff did seem to struggle to adhere. Standing the plastic may be necessary to give the greenstuff something to bite into.
ReplyDeleteYeah, the greenstuff did seem to struggle to adhere. Standing the plastic may be necessary to give the greenstuff something to bite into.
ReplyDeleteMate, the effort you've gone to! The rolled out green stuff method is the one i've seen pretty recently, and it worked although i thought it was a lot of effort, i'm trying to track it it down, i showed it to patton, maybe he'll remember... It's not the BF one.
ReplyDeleteHave you tried using both, using the liquid as a glue?
Nah, I decided to run with a zimmerit free look. Should have some photos up of the 1st zug by the end of the week!
ReplyDeleteYou know you wanna! ;)
ReplyDeleteCool, with the riders?