Still no A13. My own fault for not picking up the glue gun when at Mike's. Doh! Thankfully I have that back now.
However, it has been somewhat overtaken by events. Those who follow me on Facebook/Google+ or whom frequent the Brighton Warlords or Flames of War Forum will know that we've just announced a Flames of War, late war, 1750pts axis vs allies tournament in mid January.
The last tournament we ran spurred me on to create enough road for 16 tables, two winter tables, about a square meter of cornfields and more cabbage patches than probably existed in Northern France. It made for some pretty tables but it also pretty much burnt me out on terrain making until about now.
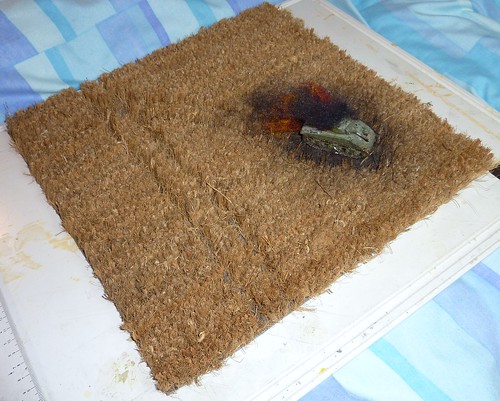 |
| "Welcome! Beware of 88's" |
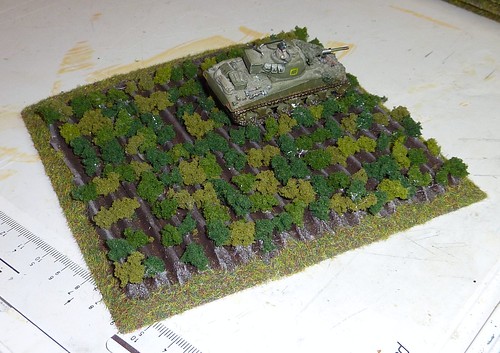 |
| You can't see it, but there's an M-10 lurking in this photo ready to mess that Sherman up. |
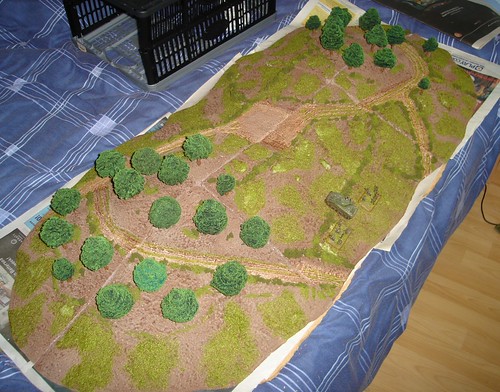 |
| King of the Hill - FoW style |
Now, one of the first bits of non desert terrain I made was a massive hill complex, covered in trees. The trees were made from scouring pads stuck on a BBQ bamboo skewer. Spray black and drybrushed green, they were surprsingly effective. Before the tournament I then revisited the concept and skipped the black undercoat. This wasn't quite as pretty but could be made quickly and still worked when mixed in with the older ones.
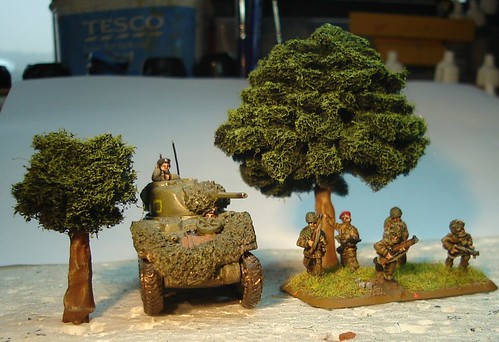 |
| "Scour that tree line, men!" |
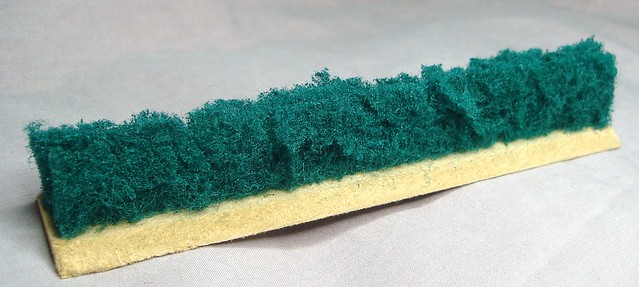 |
| Okay, maybe I'm a little harsh... |
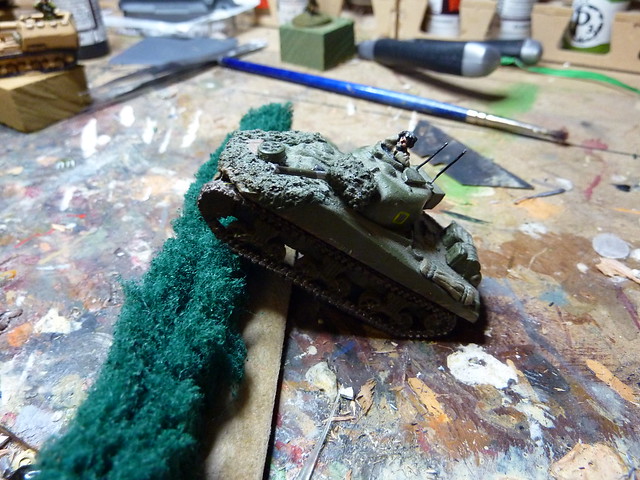 |
| How not to clean tracks... |
Skip forward a few years and whilst flicking through the stats for my Blog I came across this tutorial over at "Another Slight Diversion" that is sending me some traffic. This was pretty much the missing link in the development of the hedge and I rushed to try it out to see if it would scale up. I had the dregs of a can of Leather Brown and found some flock in my basing drawer. Now, I can't remember the last time I used flock, but apparently I'm a pack rat and never throw things away.
After following the steps on the blog, I was left with this
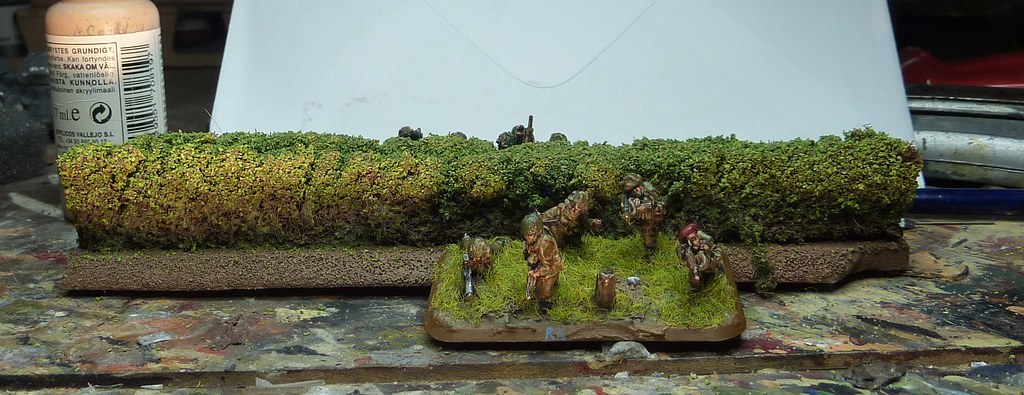 |
| Over the 'edge lads! |
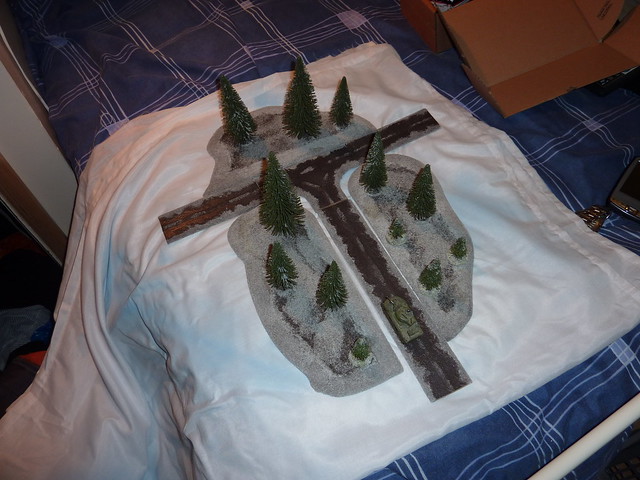 |
| Some of said winter stuff. |
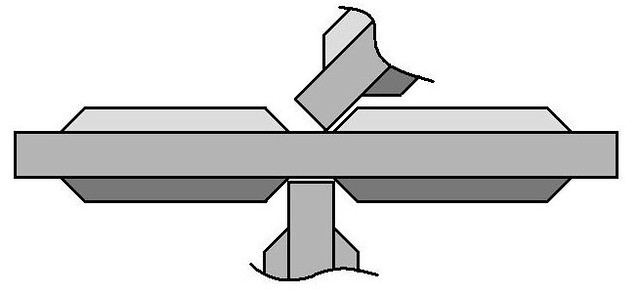
The next thought was to make the hedge so that it didn't need junction pieces. Basically, create a shape for the base that allowed the hedge to be butted up to another piece in any way that would be required. Here's a sketch:
 |
| Behold the awesome power of MS Paint! |
I cut the end of the prototype to match, you can see it on the right of the "over the 'edge" photo.
The base could also be used for wall sections. I plan to knock up about 16ft of wall sections using foam card that I retrieved from the skip at work. It's slightly warped, but given the short sections required I think it wont be noticeable. This is my first proof of concept.
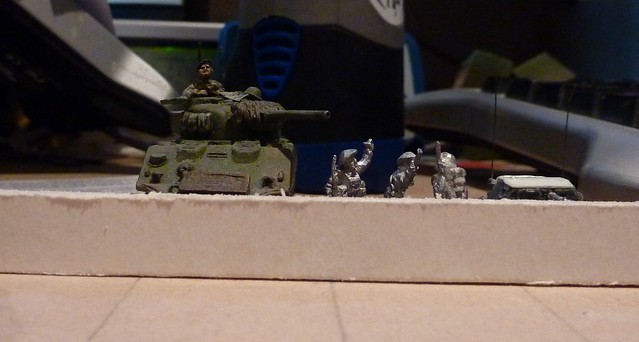 |
| Yeah, Dingo's are that low. |
I want to spruce it up a bit by adding posts at one and the centre point so that when the walls are combined it looks like an evenly spaced distribution of posts. The posts would be made from high density polyester foam, cut into a column with a hot wire cutter. The whole lot will then be covered in textured masonry paint, washed with thinned down decking stain and dry brushed to resemble a weathered, rendered, white washed wall that one could reasonably expect to run into all over Europe (alternatively, I'll scribe a brick/drystone texture into the foam). I may even use cardboard to add a slate tile cap.
So, that's the start of a plan. Hopefully over the next couple of months I'll be able to bash that out, with help from the rest of the Brighton Warlords FoW community, and start looking at some extra projects to round out the tables (embanked and cobbled roads, irrigation ditches, a few ridge lines).
Times ticking...
As a final note, updates may be sporadic again until September. I'm helping the rest of the family with a few building projects so free time may be at a premium!

Some excellent stuff there and looking good. I'm going through the same process of trying to get enough scenery together to actually have a game myself! The hedges look good and thanks for the shout. I may try the B&Q route to cut costs for my next lot. I've seen some thicker scourers and am contemplating doing some for my 15mm stuff as well. Like the idea of the 'joins' as well.
ReplyDeleteCheers
Andy
Much better with the flock. Nice one. See that's that kinda hedge i'd accept bogging on.
ReplyDeleteCheers peeps. Hopefully I'll be able to crank out a few working prototypes of both the hedges and walls over the next few weeks, DIY projects permitting.
ReplyDelete"There and back again" a modellers tale, awesome, did you ever bother with the tapered hedge base, cos I think I'd like that. Also how time consuming were the walls?
ReplyDelete