Hello,
Another short post this week whilst I'm in-between projects. Hopefully next week I'll be under way with the A13 but this week has been a bit hectic. Instead, lets take a look at one of my many 'work in progress' side projects, the fearsome FlaK 36 or "88"!
When I started my DAK force I knew I wanted a pair of these fearsome dual purpose guns in the force. They've always struck fear into my 8th Army force with the gun able to pick off even Sherman II at long range with ease!
I wanted to have the 88 firing from the limber. The carriage and trail of the 88 was quite ingenious. Two, non-folding, legs of the cruciform trail form a spine to which wheel units are attached. The way the carriage is designed allows the 88 to be fired from the carriage, albeit with a limited arc of fire. Quite handy in the mobile warfare of the North African deserts.
 |
| Schnell! |
The two remaining legs are hinged and fold down in action to form the rest of the cruciform trail. The legs don't bend beyond 90°, so when firing from the carriage they sit sticking out quite awkwardly (as can be seen above). A video I saw of an 88mm firing like that in Normandy appeared to show the 88 tipping over then bouncing off these feet to right itself (
Here at 0:30). Hairy stuff!
This site has some good pics of the 88 on its carriage.
The first thing I did was to form the base. With all eight crew modelled, the 88 needs a lot of real estate and being mounted on the carriage makes the beast even bigger. To get round this I planned to stick a FoW medium base to the back of the large base.
First I lined the bases up using a steel ruler turned on its side.
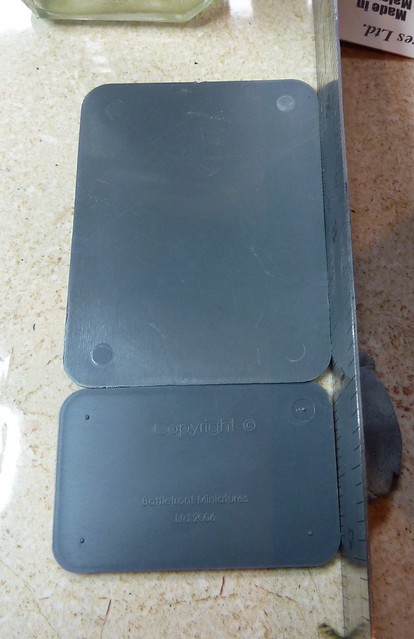 |
| Precision Engineering |
I then glued plastic cut from a blister to bridge the gap, a strip on top and one on the bottom. When I polyfiller the base later I will fill this in and sand down to hide the join.
Next I glued the wheels to the carriage units and the carriage units to the trail. I also glued the gun to the pedestal leaving me with two main sub assemblies: the carriage and the gun.
Next I got the Dremel out and, using a 0.5mm drill bit, drilled holes in the legs, carriage and the base of the pedestal. I then inserted lengths of the cable tie wire I mentioned alst week to form pins. I kept the wire coming out the Pedestal fairly long to allow it to rotate in the carriage (and be removed to fit in the case, did I mention its big?) whilst still being stable.
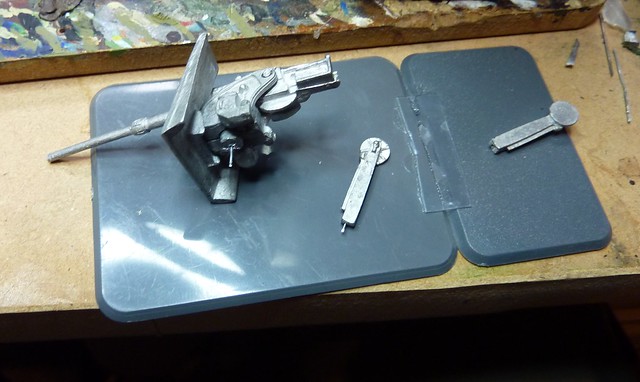 |
| Pedestal and one Trail Arm drilled and wired. Note also the plastic strip on the base. |
Next I glued the arms to the carriage, guiding the wire into the mating hole I had drilled.
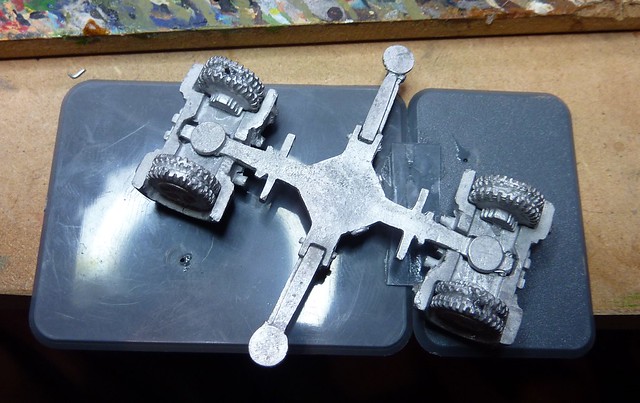 |
| An upturned 88mm. Certainly a site that would make most allied tankees happy! |
You can probably also see that I've drilled and pinned the wheels to go into holes in the base. This is just to give the carriage a fair chance of staying stuck to the base in day to day use!
That leaves the 88 looking something like this:
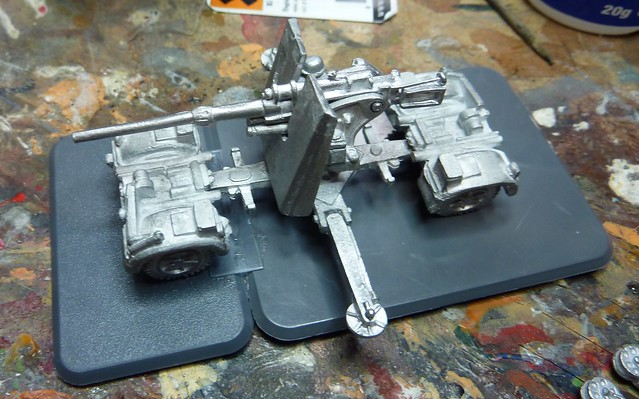 |
| Arms down and ready to fire! |
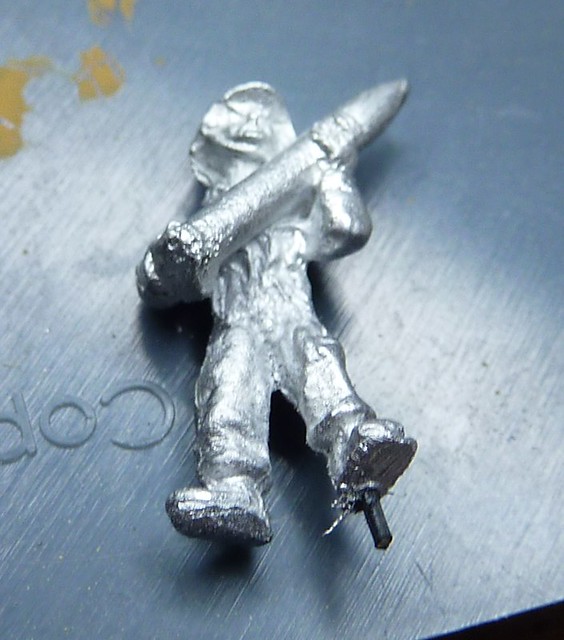
That pretty much gets the gun done (I'll add the wire spools and towing arm later). The crew is the next to receive my attention. Most of them will be one the base as per normal but I wanted one or two per gun to be on the carriage, loading. Obviously the circular bases would not really bled in with the carriage so we need to get busy with the side cutters!
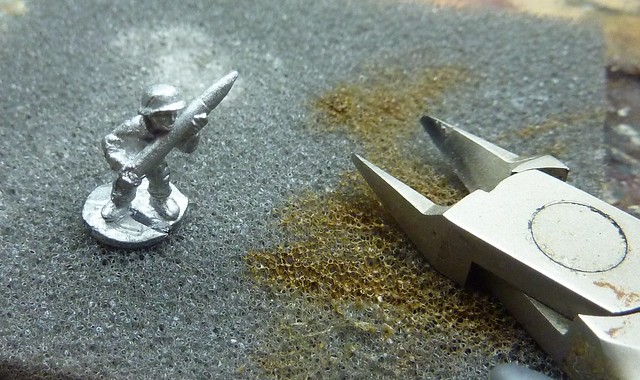 |
| "Atchung!" |
Firstly, I cut off the majority of the base leaving just an area around the foot.
 |
| Rough cuts |
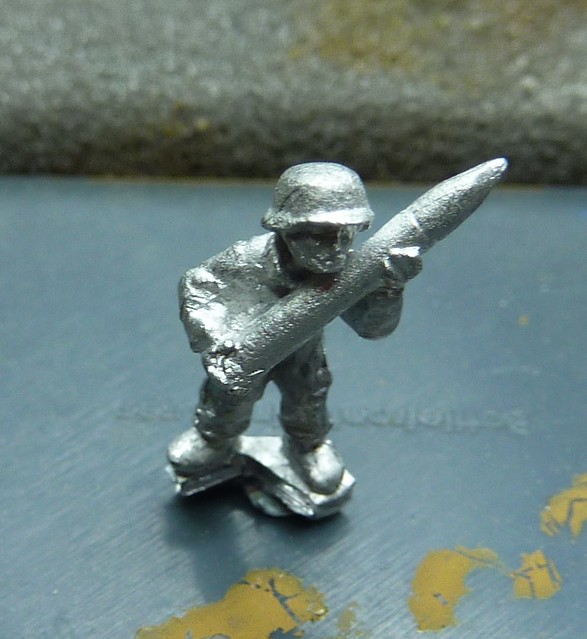
Next, I carefully cut away the material under the foot. I find its best to err on the side of caution and file down an excess rather than try and rebuild a foot from scratch!
 |
| "Do your worse! I'll never talk!" |
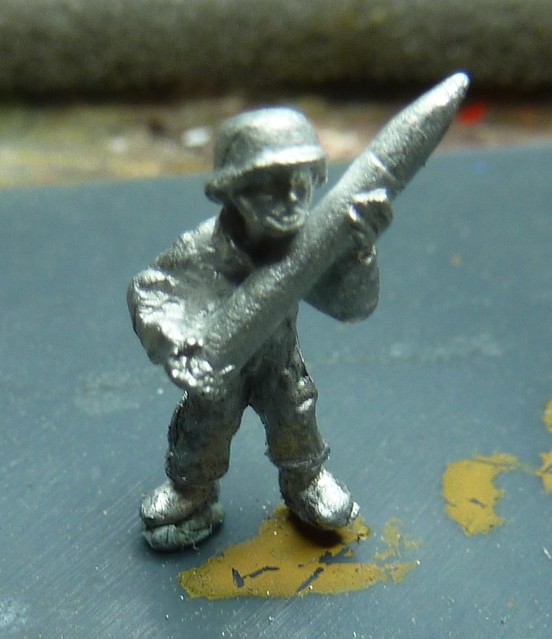 |
| Footloose and fancy free |
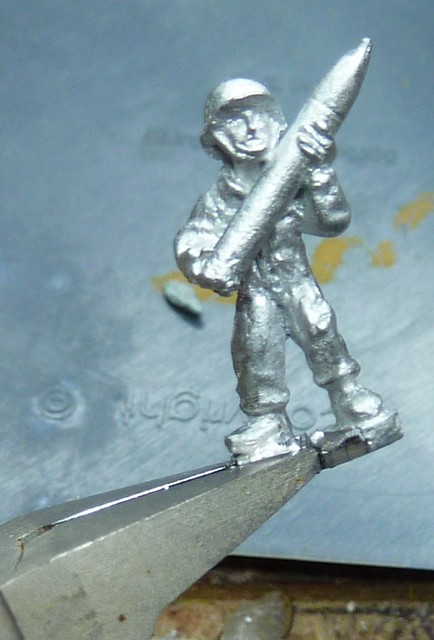
Next, I use the trusty 'ol Dremel and pin the foot.
 |
| Worse than standing on Lego |
It's then just a case of drilling a corresponding hole on the Carriage. Obviously I'd recommend doing a dry run with some blu tac first to work out the narrative of the base (who's where and who's doing what) rather than leaving the carriage looking like Swiss cheese from aborted drilling runs!
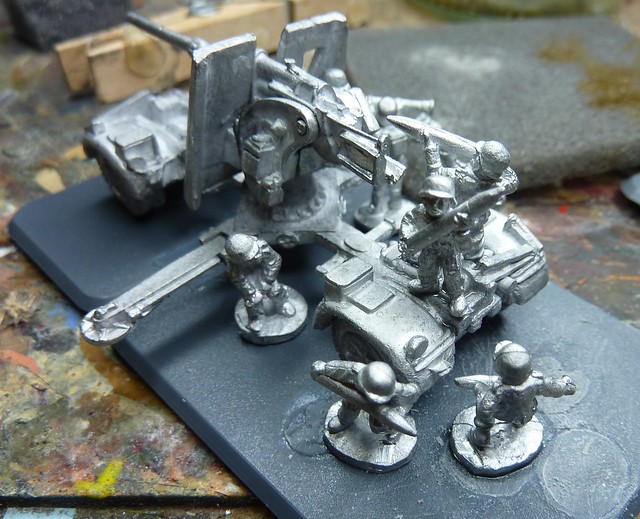 |
| Earning that Rate of Fire of 3! |
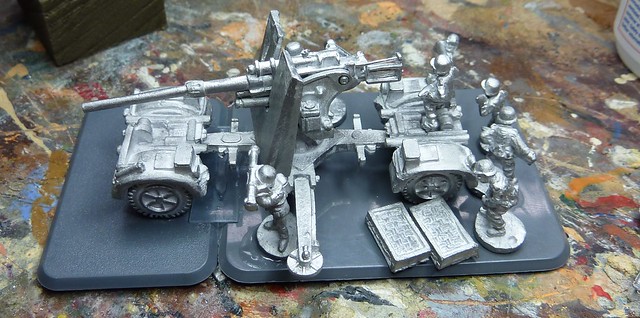 |
| A fully kitted out Jerry super weapon (shortly before the 25pdr got the rotter!" |
So there we go. Two 88 ready for painting and then a visit to the table top to terrorize some Englanders!
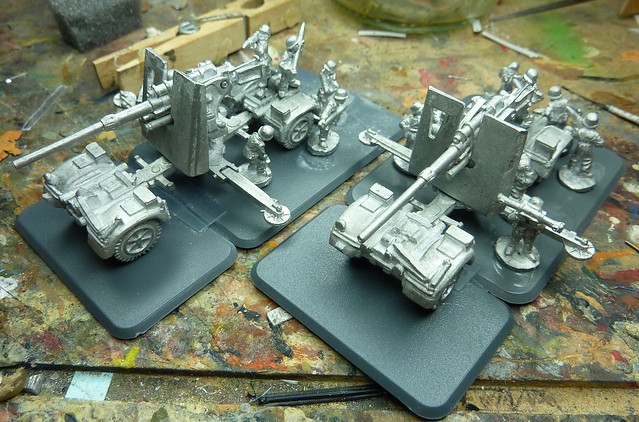 |
| Well, I make that six dead Grants... |
That's it for this week. Hopefully Everest will have my hot glue gun for em and I can prep the A13 Cruisers next week. See you then.

No comments:
Post a Comment