Wednesday 23 February 2011

The (AH Mk.1) Lynx Effect

Getting bored of 6mm Infantry and Armour yet?  Yes.  Frankly, I am too.  So I decided to put the last batch of Infantry to one side for the moment and go rotary wing.

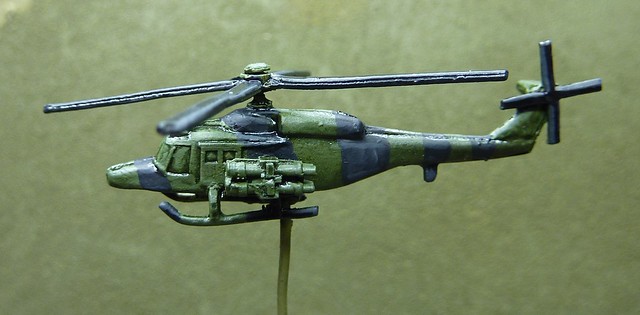
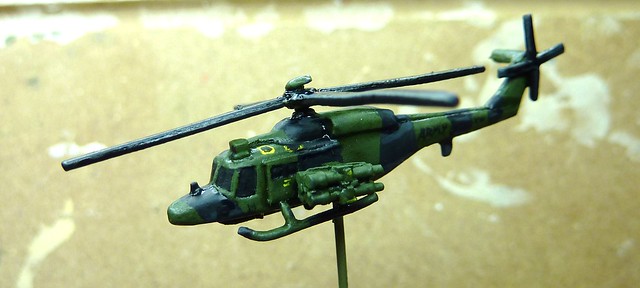
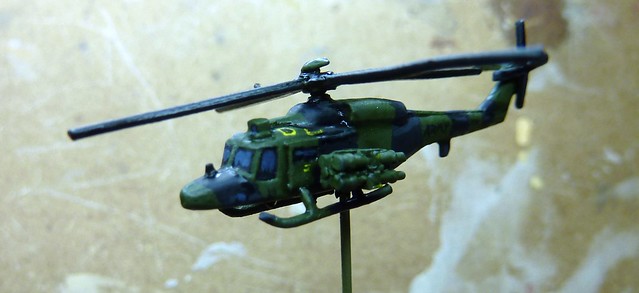
I picked up a pair of Heroic and Ros Lynx AH Mk.1 helicopters (UKMA402).  Until the introduction of the rather fearsome Apache gunship in UK service, the Lynx was the main attack helicopter of the Army Air Corps. Whilst nowhere near as well armed or armored as the WAH-64 in use today, the Lynx combined eight TOW anti-tank missiles to a relatively nimble and fast airframe that would be used to help (a little) even the odds in the event of a Russian armored column making a dash for the Channel ports.

Preparation
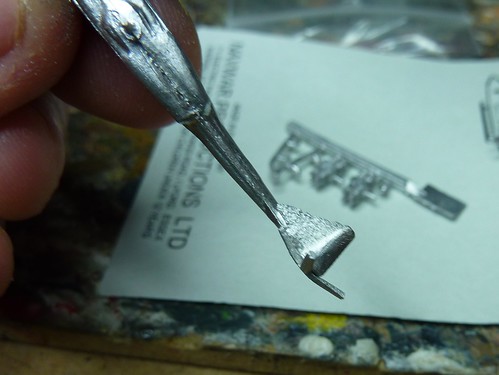
I'll be writing a detailed review H&R Lynx for Mighty Miniatures soon, but suffice to say that they are nice models for the money.  The only real issue was the rather nasty flash.
P1000938

P1000939
Up to the normal high standards of post 60's UK Aerospace build quality!

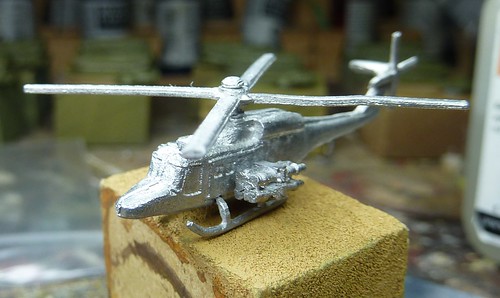
That took a chunk of time to clear but soon I had both Lynx built up.  Unlike the fixed wing aircraft, the H&R helicopters are multi-part models and come with external stores as appropriate.  In this case, the Lynx came with two quad TOW launchers each.
P1000943
A snip at an SDR friendly £1.50

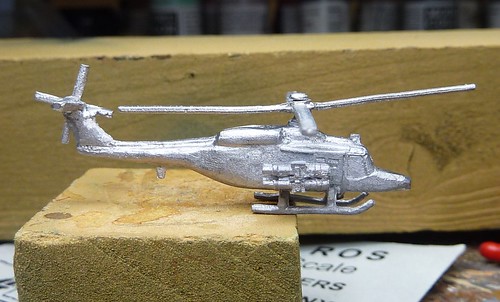
I used a 1mm drill bit fitted to the Dremel to drill a relatively deep hole in the base of the fuselage at what I figured was about the centre of gravity of the model.
P1000950
If at first you don't succeed in finding the CoG...  You'll bend the rotors.

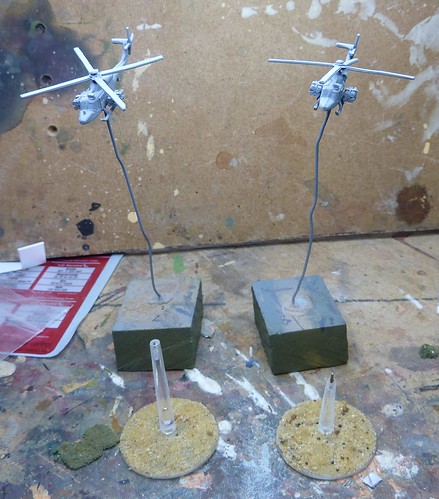
I then unfolded a pair of NATO standard paper clips and superglued them in, sticking the remaining free end into a couple wooden blocks.  These will act as a handy stand for undercoating and painting so that the flying bases remain paint free.
P1010134
Flying High!

Basecoating and Research
Research so late on in the section?  normally its the first section?  Yeah...that bit me in the ass.  I made my first mistake of the project and sprayed the models Army Painter 'Uniform Grey'.   Being used to modern Lynx's in their green and grey scheme I made a rather foolish assumption that they had always been painted that color.  Turns out they weren't, as I quickly found out whilst trying to work out what shade the green should be!  Apparently, back in the eighties until some point in the early nineties, British army helicopters were painted green and black, like the tanks.  Thankfully I found some good period photos (yay for aircraft spotters) scattered around the net.  These two in particular proved handy.  Photo 1 / Photo 2.  The photos gave a good view of markings and the TOW launchers and they would prove useful later.

So, a quick spray of Army Painter/Battlefront's 'British Armour' followed, making the Lynx probably some of my best primed models in the CWC army!
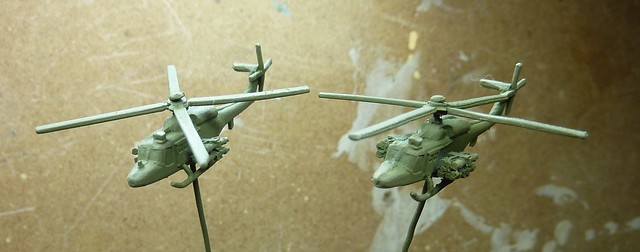
P1010142
Needless to say, I'm getting through a bit of 'British Armour' green at the moment!

Now, British Armour isn't quite right for the shade.  The photos made it look less brown/green than that shade and darker to boot.  I had a bit of a play around with the shades of green I have and Vallejo 'Reflective Green' seems the closest shade without mixing.  That's a bit of a pisser as 'Reflective Green' is a horrid colour to work with.  Anyone who uses Vallejo paints is used to spending a minute shaking the paint to unleash the magic but no amount of shaking ever seems to get Reflective Green from being a runny, poorly mixed, mess.  In the end I opted for shaking the pot, rubbing the pot in my palms (seriously, this is necceary!) and still had to go with  three thin coats when one would normally suffice.  I'm still not entirely sure the end result was what I had in mind or worth the effort!
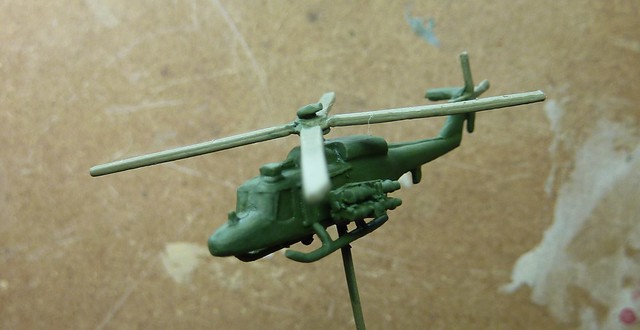
P1010144
Not really that reflective

Wanting to preserve the shade of green as much as possible I decided to forgo the 50:50 mix of Vallejo 'Brown' and 'Black' shades.  Instead I used thinned down 'Black' shade on its own, applied all over the model.  Once dry, I gave the whole model a heavy drybrush (well, given the runny nature of the paint it was more of a wet brush) of 'Reflective Green' and then a lighter drybrush of a 50:50 mix of 'Reflective Green' and 'Yellow Green'.
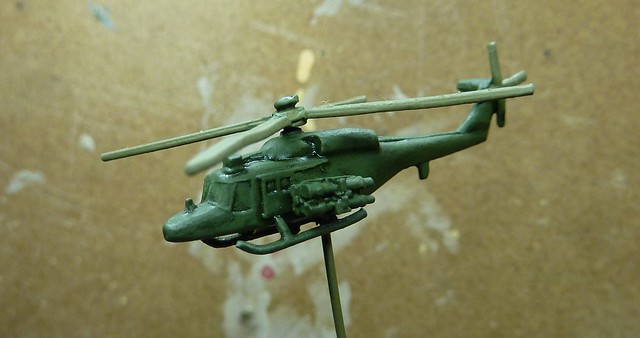
P1010147
Shaded and Highlighted

Camouflage
As mentioned, the Lynx were painted in a two tone green and black camo.  I painted the black camo much like I had with the tanks, using a 'German Grey'/'Black' mix in a 25:75 ratio to give a 'charcoal' colour that seemed about right for a partly sun faded paint.  I also painted the rotors this shade too.
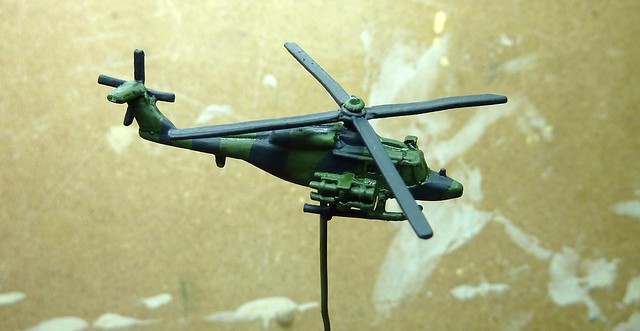
P1010149
P1010150
See!  The model does have a right hand side!
This was highlighted in neat 'German Grey' which, looking at it now, was probably too light a highlight.  Maybe a 59:50 Grey/Black may have worked better.  Ah well.  I applied a little 'Black' shade into the crevices to add some shading and moved on to the detail stage.
P1010152
Maybe too sun faded
Fine Detail
Well, now the, IMHO, fun bit of the project.  Going to town with fine detail.
Looking at the photos there were a few things I wanted to make sure the model captured:
  • Rotor tip markings
  • Engine and blade safety markings
  • Roundels and service markings *i.e. "ARMY")
  • A decent glazing effect on the canopy and TOW sight.
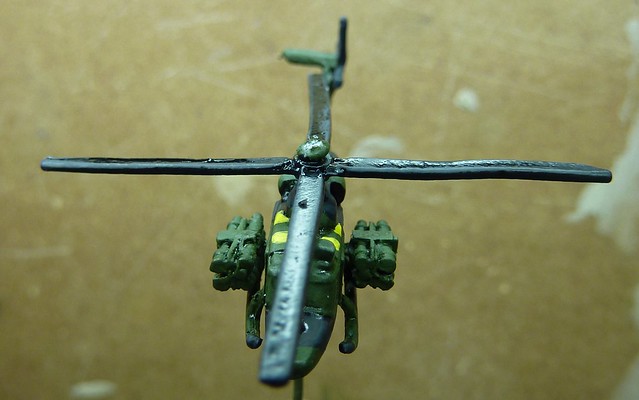
The first markings I did were the yellow/black markings near the engine cowling.  I'm not sure if these are marking covers or 'step' regions but they are pretty prominent.  This picture of the Blue Eagle's display team Lynx doing a loop shows them off well.  They are just behind the top Canopy glaze.

They were relatively simple to paint.  First I painted a 'Deep Yellow' box in each location. I also added a few squiggly lines of 'faux text' to the cabin door and TOW launchers in place of yellow stenciled text that can be seen on the photos.
P1010155

P1010156
Before: A bit of colour on the model!
I then filled in the box with 'Black', leaving the yellow at the edges. I also used the black paint to fill in the windows (as well as paint a small rectangle for the missing lower hull windows).  I then thinned the black down to a consistency suitable for very fine detail and  carefully painted the words "ARMY" and the registration "X1111" (I used the same number on both.  Its just to give the impression of writing without having to do squared off stencil numbers at this scale.)
P1010157
After: Colour eradicated to be replaced by grim dark blackness
Next, I used 'Luftwaffe Uniform WWII' as a fairly neutral blue'grey to add some colour to the glazing.  I left an irregular black strip at the bottom of each window (including the pane for the TOW sight, the thing sticking out on the left of the canopy roof and the painted on lower hull window).  This gives the impression of a dark 'twilight/dawn' ground being reflected back.  You'll note that I tried painting the incorrect two windows on the cabin door as a single large window.
P1010159
'Luftwaffe Uniform' - Not just for 'Herman Goering' division!

'Next, to give the impression of reflected light, I thinned down some 'White' paint and painted on diagonal lines to the windows.  I also used the 'White' paint to start the Tail Rotor markings and the warning sign just below them and the main rotor as well as edge out the painted on Lower hull windows (what would actually be the interior of the cockpit showing through)
I then painted a small circle of Dark Blue on each side of the hull.
P1010160

P1010162


I then used 'Red' paint to add the small red circle to the roundel, a small red rectangle to the Tail boon warning marking, the tips of the tail rotor and a small warning marking just below the engine exhaust.
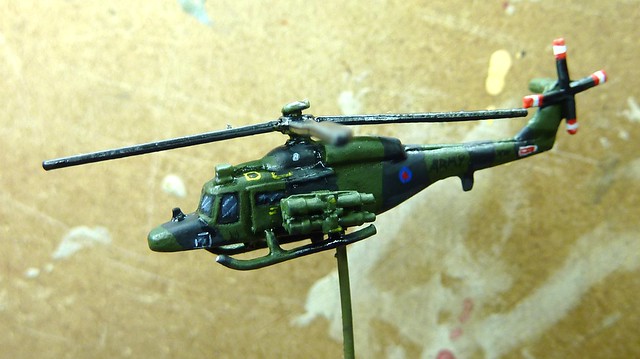
P1010163
All but finished!

I used 'Gunmetal Grey' to paint on the intake dust shield and the exhaust manifold (both missing from the model).
Finally I applied a thin wash of 'US Field Drab' to the base of the skids and 'US Dark Green' to pick out the TOW missile tubes within the lighter green launcher..  I did ponder the idea of adding some exhaust marks to the hull but couldn't find any evidence to support that this occurred so there wasn't much weathering applied compared to the armour!
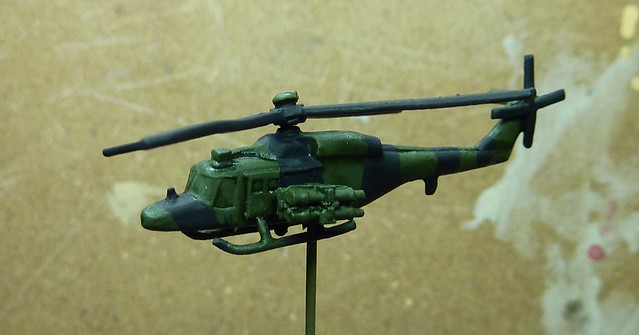
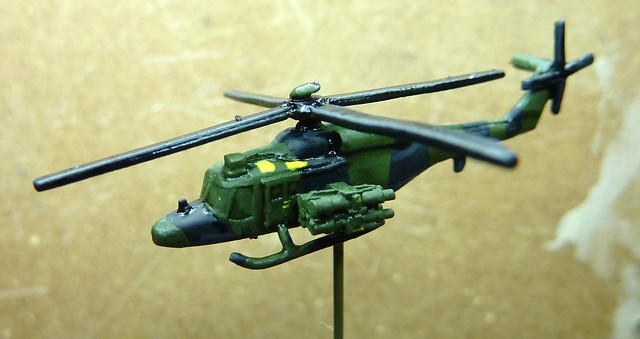
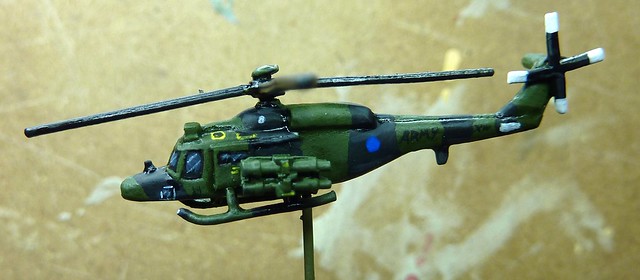
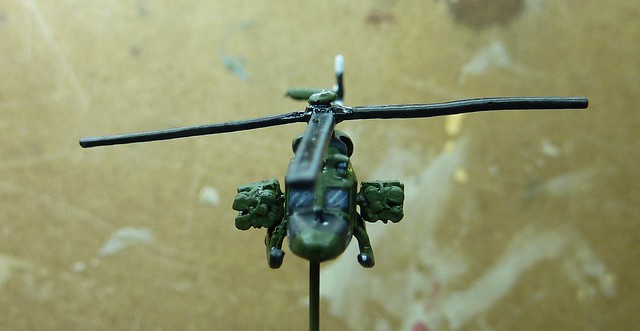
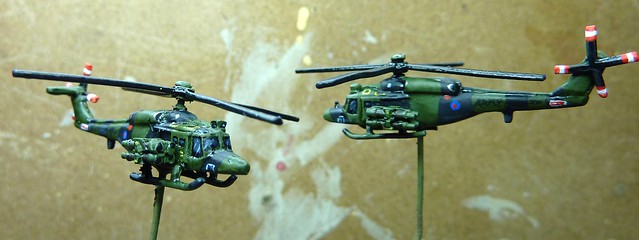
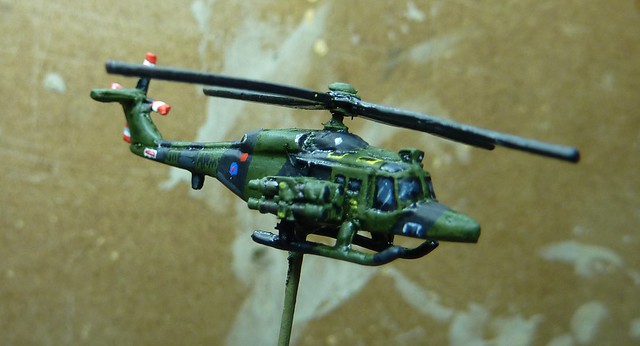
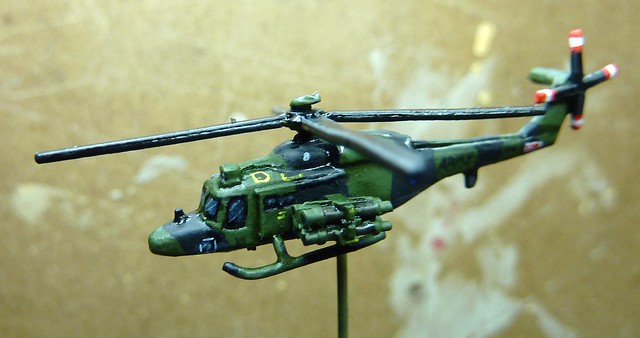
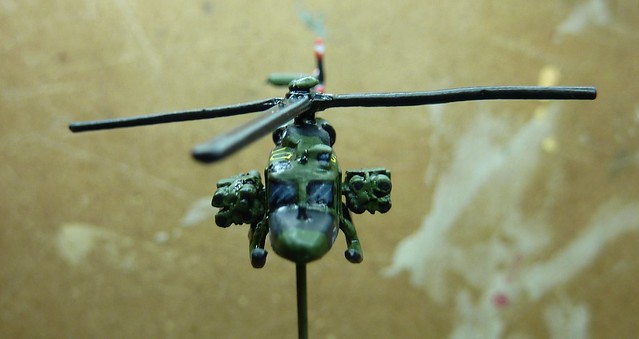
This leaves the Lynx looking like this.
P1010166

P1010168

P1010169

P1010170

All that's left is to apply some varnish and clip off the paper clip handle, leaving enough to stick into the flying base.

Update - Had a massive failure of the varnish stage.  I think I may have rushed putting the second coat on, or maybe it was too humid, but the end result is that the Lynx have gone from the look above to this:
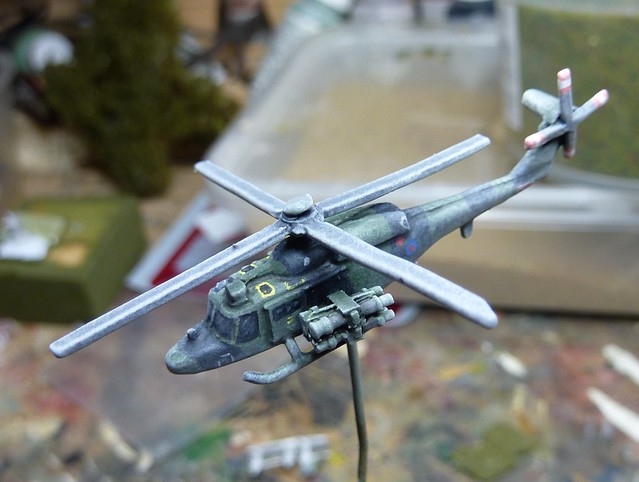
P1010171
:(
So ends a bad week really.  The Lynx are still usable but its really knocked the paint job down.

Wednesday 16 February 2011

Madness? No...This! is! DPM!

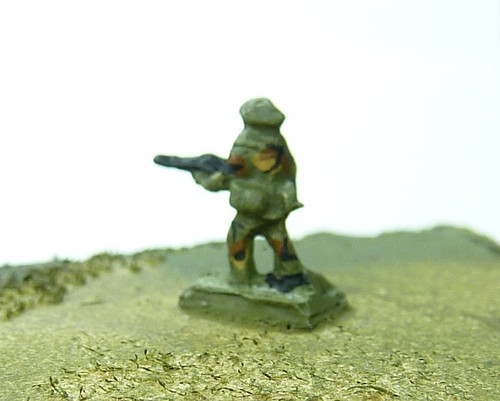
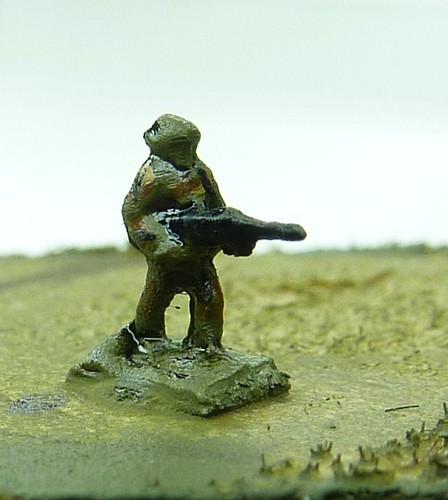
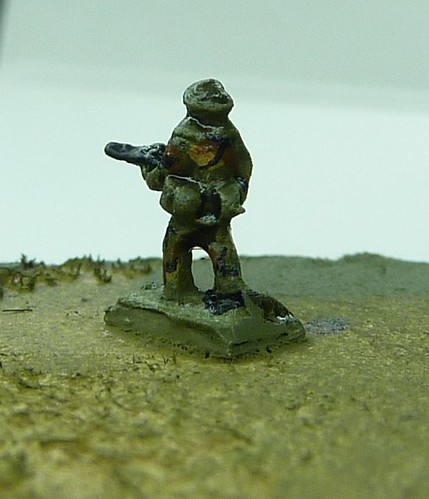
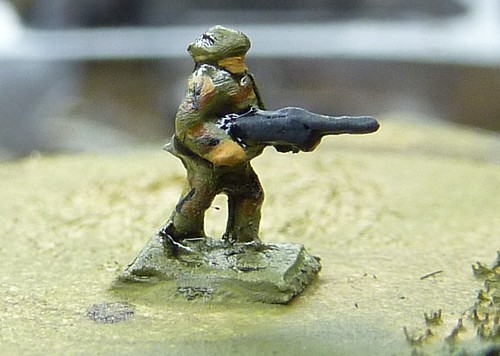
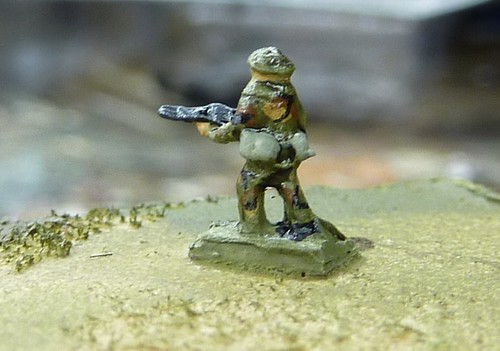
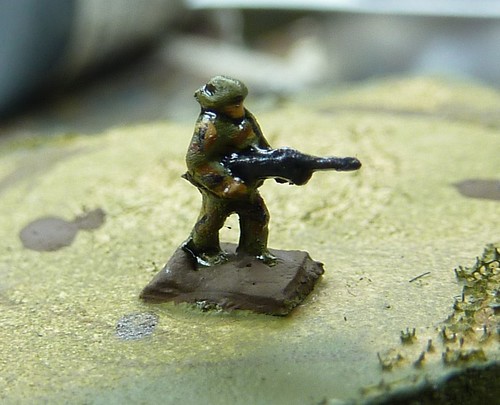
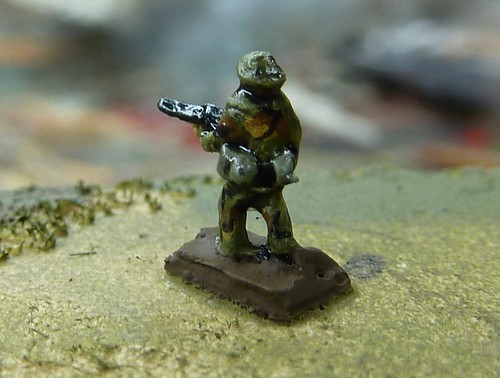
I'm sure the few people reading this are regular listeners of the All Along the Watchtower podcast.  If so, you'll recall back in Episode 2 Mike Everest mentioning me painting DPM (Disruptive Pattern Material - British camo basically) on my 6mm Cold War Commander Infantry.  He also called me insane for doing it!

Well, Mike wasn't kidding on either count!  When we first started looking at CWC I was quick to decide that I wanted to do Brits and I wanted to have any infantry in DPM.

Research
A bit of history (a more comprehensive one can be found here); The British Army's first foray into a camouflage pattern uniform was the Denison Smock of WWII.  This consisted of a sand colored material hand painted with irregular green and brown swashes.  15mm Denison smocks are a feature of my Flames of War Paratroop force and covered here.

The Denison smock remained in use after the war with the Paratroops and Royal Marines.  A variation of the pattern was used to produce the '68 pattern DPM Combat Suit and the British became the first nation to issue a camouflage patterned uniform to all arms (rather than ad-hoc or to special forces).  This was gradually introduced over the seventies although the Paras and RM held out with Denison Smocks over 1960 pattern olive combats for a little while longer, mostly to be unique and wonderful snowflakes (as referenced, tounge in cheek, here).

Translating to Scale
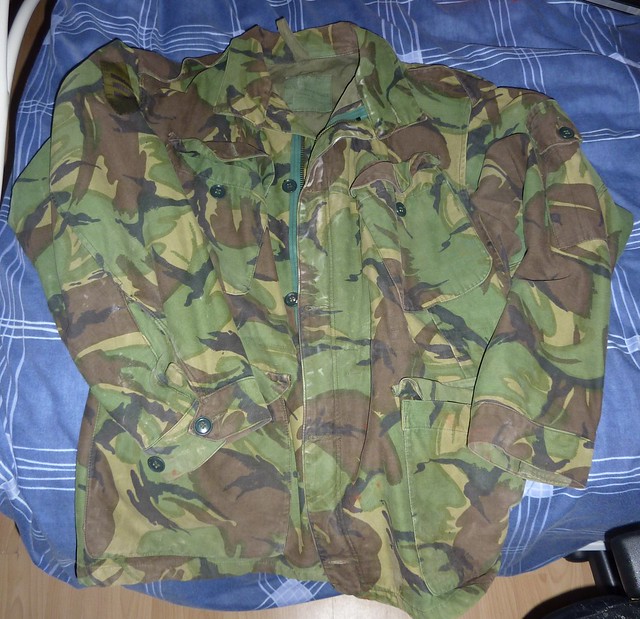
Let's take a look at an example.  This is my Uncle's old combat smock and probably reflects a later issue of the pattern.
P1010080
One '68 pattern jacket - slightly used

As you can see, compared to the Denison pattern, the '68 pattern is biased towards green rather than Ochre and the '68 pattern has introduced small black swashes over the other colours.
I decided to keep the pallete similar to the Denison smocks and used the following Vallejo paints:
Green = "Russian Uniform" (it looks ligher than the "Reflective Green" of the Denison)
Brown = "Flat Earth" ("Chocolate Brown" may be more suitable if you don't use a shading wash)
Ochre = "Green Ochre" although "Middlestone" may also work on larger scale models.
Black = "Black".  Dur!

Now, the colour is important but the other element is the pattern.  '68 uses the distinctive 'jagged brush strokes' of the Dension Smock.  It starts off with a green base, then yellow (or is it yellow over green?), then brown, then black.

Trying to copy a camo pattern exactly at scale is a hiding to nothing.  It'll look messy and it'll do its job and disrupt the pattern of the model!  It's better to exaggerate the size of the pattern and try to capture the flavour and colour.  For me this meant making sure the colours stayed roughly in proportion and sequence.

Dressing Up
Seeming as I neglected to take photos during the actual painting of the bulk of the troops I had to go back and do a solitary example.  Normally I glue the figures to the base and paint in a group rather than painting one at a time!

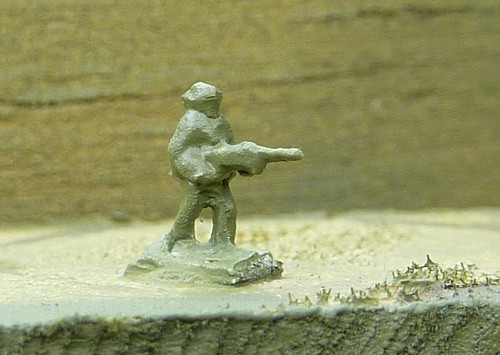
Now I'm going to apologise right here.  Heroics and Ros make some nice helicopters and okay vehicles but their infantry (British at least) leave a lot to be desired.  A little defining detail would be nice!  Maybe Epic spoiled me...

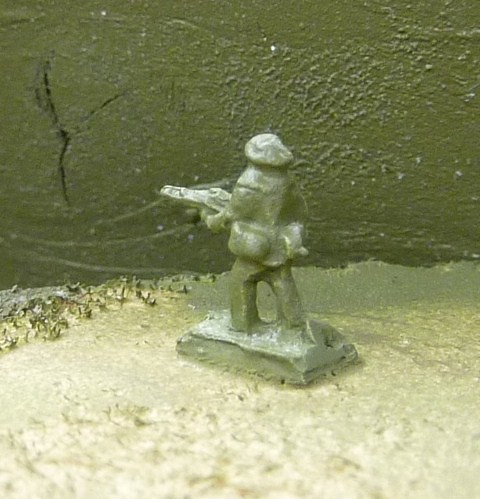
First, I gave the model a good spray of Battlefront/Army Painter "British Armour".  The coverage was sufficient to not require an overpaint of watered down "Russian Uniform" which was nice!
P1010088
P1010081
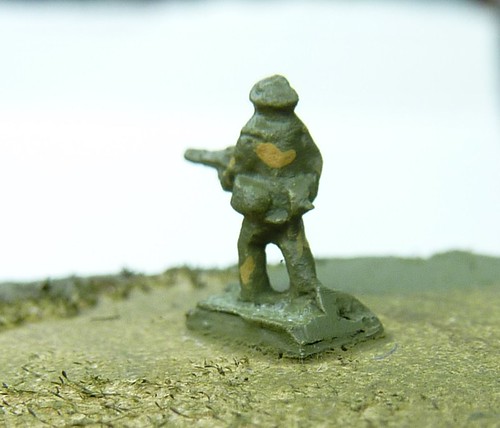
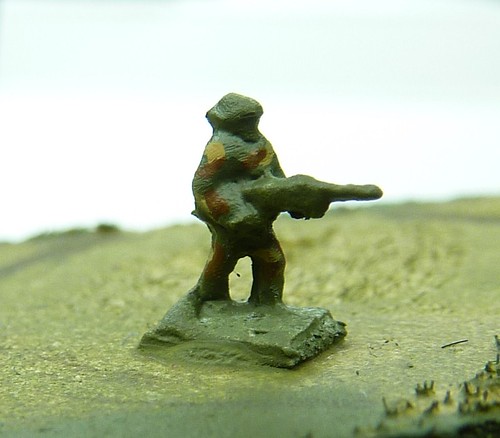
Heroic and Ros' underwhelming British Infantry - This guy is a GPMG gunner (hard to tell I know)
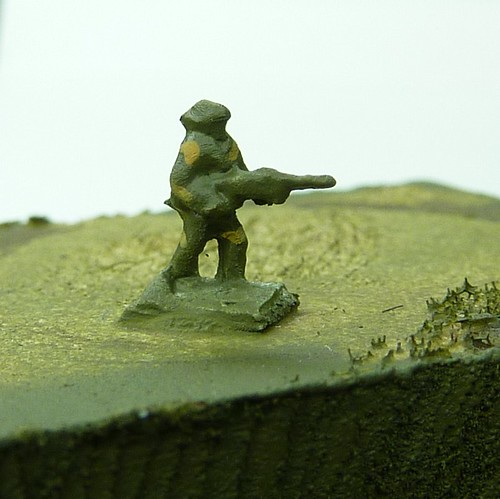
Next I used a GW standard brush and applied a few small swashes of "Green Ochre".  I tried to keep to one-two swashes for each bit of the body.  I kept the paint only slightly thinned down so that the paint kept where I wanted it!  It's important to keep the swashes fairly irregular in shape and length.

P1010092

P1010091
He's got a yella streak on his back!
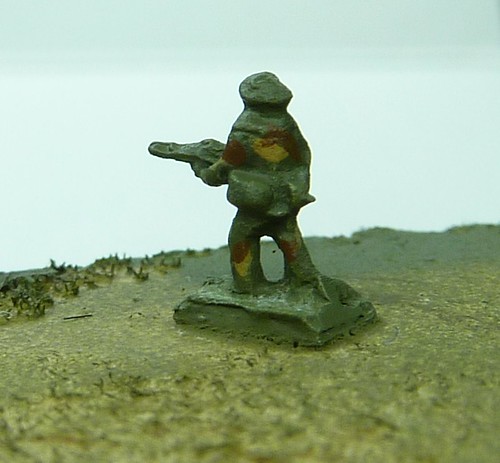
Next I applied "Flat Earth", trying to intersect the "Green Ochre" without fully obscuring it from view
P1010093
P1010094
Next I added thin 'forked' lines of black.  These intersected some of the other colours and bordered others, much like 'Black' does on DPM.  I also decided to block out the GPMG at this point.
P1010095

P1010096
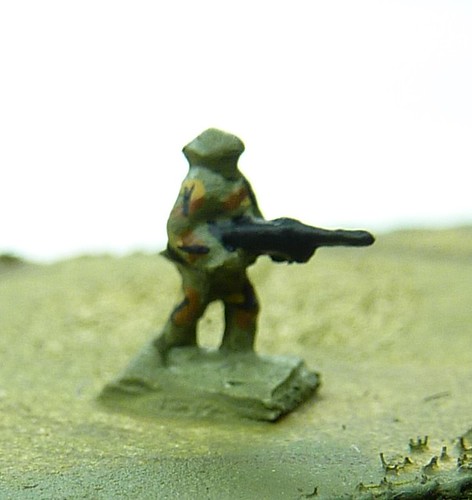
Because clearly Denison wasn't colourful enough.  Add Black!
Next, I used  a 50:50 thinned mix of Vallejo 'Black' and 'Brown' shade to wash the whole model.  Finally, once dry, I then lightly drybrushed the model with 'Russian Uniform' to tie everything together and add some shade/highlight contrast.
P1010097
P1010098

Only another sixty to go...

Detail 
There isn't a huge amount of detail to paint here.  It's basically, skin, webbing pouches and weapon.

I painted the skin 'Medium Flesh Tone' and the pouches 'Grey Green'.  The General Purpose Machine Gun (GPMG) is a licence built FN MAG and they are basically all metal with either plastic of wooden buts and trigger groups. As such, I painted all I could see of the GPMG a 50:50 mix of 'German Grey' and 'Gunmetal Grey'.
P1010102
P1010105

I then applied a highlight of 'Flat Flesh' to the edges of the hand and centre of face.  I also applied a highlight of 'Gunmetal Grey' to the GPMG.  Finally I applied 'Black Shade' to the GPMG and pouches to shade and outline.
This leaves the model in this state, ready for basing (I painted the base Chocolate Brown just to illustrate) and mat varnishing (to take the shine off the model) .
P1010107
P1010108
Quite literally - "Shiny!"

Gallery
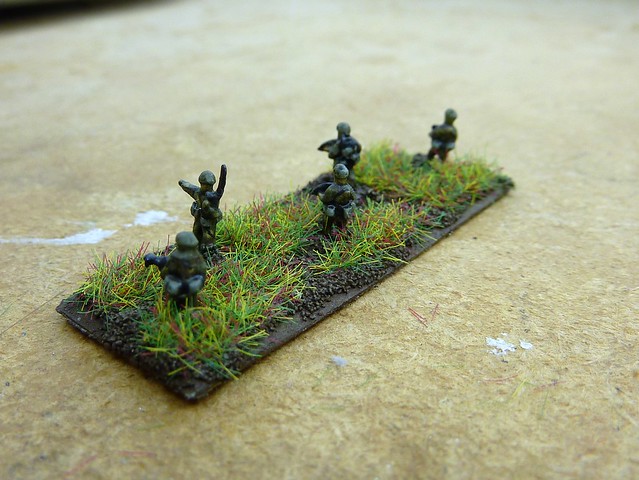
At this point I've got a big chunk of my CWC stuff painted so lets take a look at some of the examples of DPM in my army.  Photos are a bit dark.  Need to work out a better method for photographing 6mm.
P1010109
Blowpipe MANPAD team
P1010116
Infantry Section (Front)
P1010117
Infantry Section (Rear)
So, that's how to paint DPM!  Should you also have no life...

Next week...I don't know.  I'm tempted to switch back to Flames for a bit and paint up my DAK 88mm Platoon or the long neglected British Glider Pilot Platoon.  On the other hand, I should probably finish this 6mm stuff off.

Decision, Decisions.  Got an opinion?  Post a comment below.

Wednesday 9 February 2011

Paving the Way

There's two things that you must know about my day job:
1.  Occasionally I have to go away on business, as was the case last week and the last two days this week.  
2.  I can be really pedantic about air-ground ordnance.

Now this impacts the blog this week in two ways:
1.  I haven't done any painting so I need to put together a blog entry REALLY quickly with little material.
2.  Thankfully, my pedantic nature has seen me chopping up very small bombs to make very small CORRECT bombs.

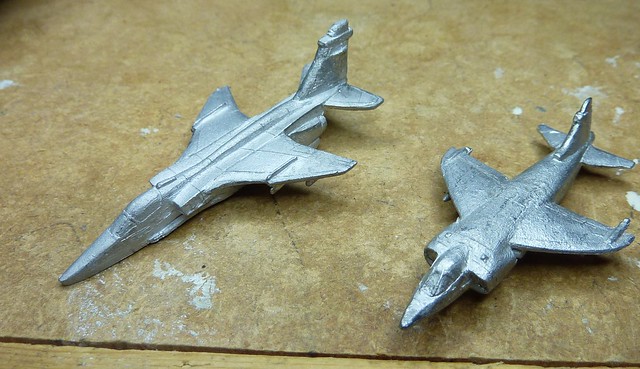
A while ago I bought some Heroics and Ros aircraft; two Jaguars and two Harrier I.  Compared to H&R generally excellent helicopters, the jets are a little bit underwhelming.  One of the shortfalls is a lack of external stores.  Whilst my H&R Lynx AH.1 have separate TOW launchers the jets come surprisingly slick.
P1010077
Heroics and Ros Jaguar (Left) and Harrier (Right)
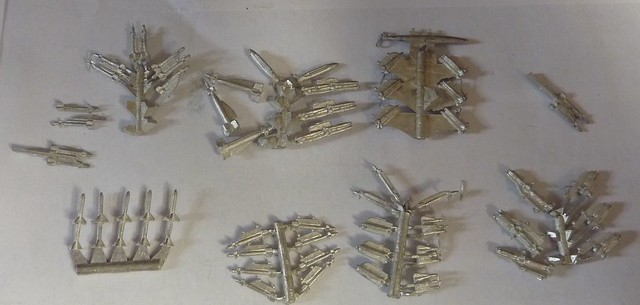
To rectify this, I ordered GHQ's NATO Weapon Pack (reviewed by me over at the Mighty Miniatures blog).  The pack contains a wide variety of US air to ground munitions but non-NATO stores are painfully absent.  Most people won't care but the UK has some pretty unique weapons and it's the sort of detail that would slowly drive me bonkers.
P1010005
More Weapons than the average South American air force
So, armed with a little inside knowledge, side clips and green stuff, I set about 'correcting' the stores.

LGB
First up, the Pack comes with three GBU-10 2000lb Pavway Laser Guided Bombs.  These would normally be seen under an A-6 Intruder or F-111 for the purpose of bringing down bridges.  They're not a likely sight under a CAS platform like the Jaguar and a 1960's vintage Harrier I wouldn't even get a pair off the ground!

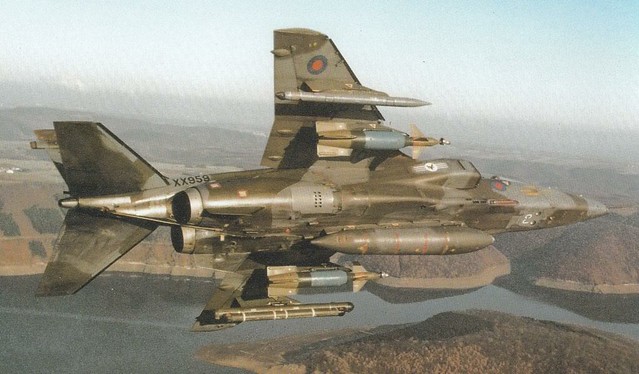
However, back in the 80's the UK modified Paveway kits to fit to a UK 1000lb warhead.  Unlike the US, whom developed a series of sleek aerodynamic bomb bodies called the 'Mk-80' series, the UK still used squat WWII throwbacks that are a good deal shorter and a good deal wider.  Thankfully this meant our 1000lb wasn't too far off the diameter of a Mk-84 Bomb body and so the GBU-10 aerodynamics could be made to fit.  

IMG
A Jaguar GR Mk.1 with two Paveway II (UK)
The Paveway II (UK) was far more likely to be seen on a Jaguar than the GBU-10 and was used by the Harrier in the Falklands too.

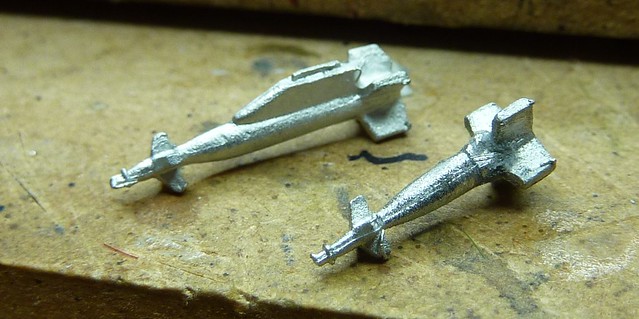
So far so boring?  What this means is that its pretty easy to modify the GBU-10 in the pack to look superficially like a Paveway II (UK).  Firstly, I cut the pylon off the bomb body (wrong shape for a Jag).
P1010064
Before and After!   As you can see I haven't cleaned the stores up at this point.
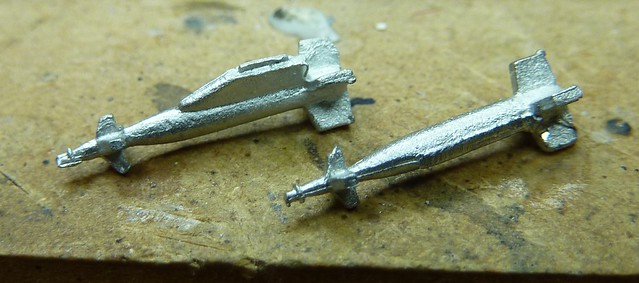
Next, I used a pair of side clips to cut away the tail off.  I then cut the bomb body back until it looked right (you could scale it off if you were REALLY an anorak) and stuck the tail back on.  Job done!  
P1010066
Instant Paveway II (UK), just add side clips!
I'll paint the tail and seeker Brown Violet (providing I can get my pot back from Mike E) and the warhead Bronze Green with a Yellow stripe to denote HE (rather than the blue training warhead shown in the photo above).

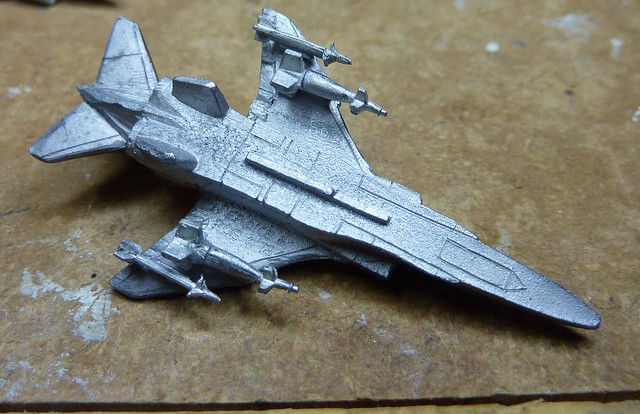
Throwing on a few Sidewinder Rails (I pondered the idea of doing overwing rails but apparently that didn't appear until the '91 Gulf War so not correct for 1980's Cold war) left me with this:

P1010078
Bombs are probably a bit TOO short now.  Ah well.
Rockets and Gun
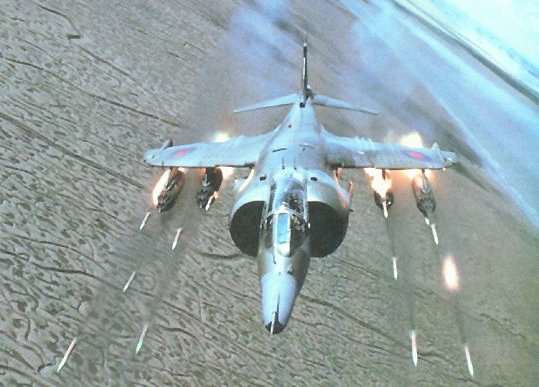
So, what about the Harriers?  At this point I was all out of PGB so I decided to go for the classic rocket strafe look.
hargr3_1
Nothing quite says "DIE!" like a four pod rocket salvo.
The Weapons Pack comes with four Sparrow AAM which, frankly, aren't much use to me.  The shape is a pretty good match for a SNEB Rocket pod so I chopped it off just in front of the wings.  It's a little undersized but its good enough.

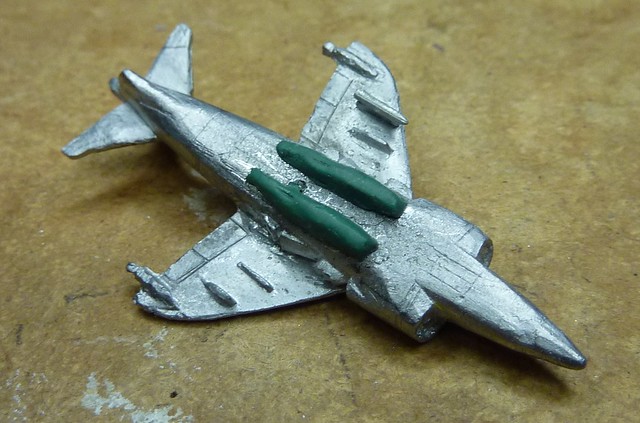
Finally, The H&R Harriers lack the Aden 30mm Cannon pods that were a regular feature on the Harrier I.
Trying to find a decent shot online was tricky but this website has some decent shots of a very nice scale model of the pod.

I mixed up some green stuff and put the rough shape onto the under fuselage, trying to use the Pegasus engine's nozzles to gauge the length.  I let this dry for about 30 minutes then used a sculping tool to and a wet finger to nudge the pods into a better shape.

P1010079
First stab at the gun pods and one SNEB Rocket Pod under wing.

At this stage, the pods still need a bit of filing to remove some odd lumps and I need to add two blisters for the spent ammo chutes.

Future Work
At this point I still haven't started the gun pods of the second Harrier but it does have its SNEB pods.  I only had enough Sparrows to make four SNEB pods so right now both Harriers have empty inboard pylons.  Given a Harrier's short legs, maybe they punched off external tanks (always carried inboard) before they reached the table?
Another minor annoyance is that the nose is wrong on the H&R model.  The conical nose disappeared in the seventies when the GR3 upgrade added the 'Snoopy' nose containing a Marked Target Seeker.  I may cut the noses off and remodel as snoopies using green stuff.  Depends how brave I feel.

 The Second Jag lacks any stores beyond its Sidewinders.  The weapon pack contains US Cluster Bomb Units (CBU) which the Jag was cleared for use during the Gulf War.  It wouldn't be unreasonable to think that the Jag would have been similarly cleared as a prolonged Cold War conflict drew down UK stocks.  The only issue is that the CBU are all modeled mounted to a three round eject launcher (called a TER) so I'll need to try and carefully cut them off.

I'm working on the aircraft as and when as my priority is the ground vehicles and Infantry.  You should, however, see some more progress on these soon.

That's this weeks somewhat impromptu update.  Next week we'll be back to the ground war.