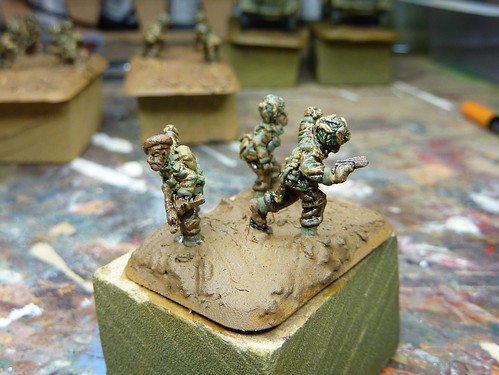
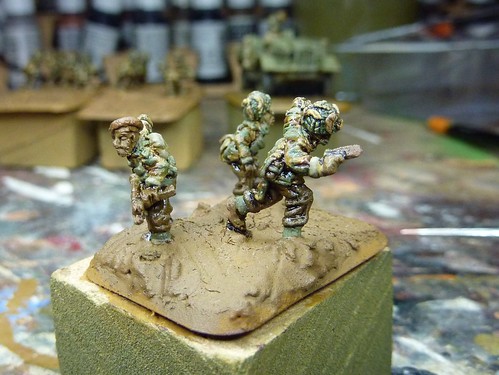
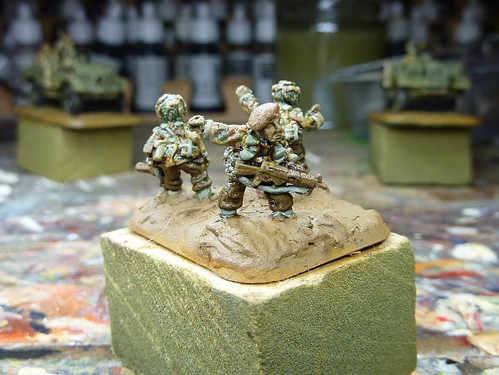
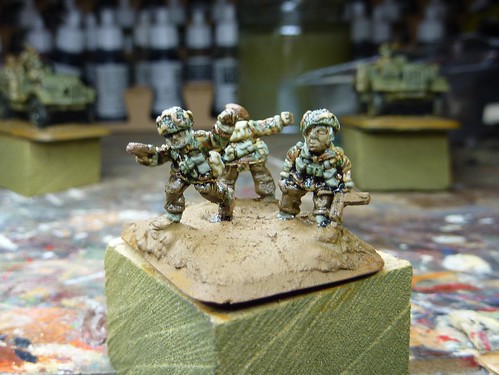
I've spent the last six days doing all the semi-fine detail. This consists of:
- Webbing
- Firearms
- Flesh Areas (faces and hands
plus, on paratroops, the maroon beret.
Webbing
British webbing is a tricky subject. The basic webbing was supplied in one of two colours (Sand or Khaki) and troops then used a substance called Blanco to stain and waterproof the canvas. As such, the webbing can vary from a 'buff' colour to a pale green depending on how well it was 'blancod' and how weather beaten its got since. There is some decent information here.
I tend to paint British webbing 'green grey' but for this unit I've experimented with painting daysacks and some pouches Khaki. The basic technique is the same either way and it's only the three colours that are used that vary. As always, I tend to thin the paints down by about 30%-50% (best practice with Vallejo) and use a GW 'Standard' Brush
Firstly, a shading colour is laid down on the webbing areas. I use 'Green Brown' for Khaki areas and 'Russian Uniform' for the green grey regions. A little care needs to be taken here as its easy to ruin the smocks or trousers with a missed stroke. Getting paint onto the entrenchment tool, canteen or weapons isn't too bad as we have still to paint them yet.
Shade Colours on
It should also be noted that Binoculars and Grenades were painted at this point. Shade: 'Reflective Green', Base: 'Russian Uniform', Highlight: 'Green Grey'. It's quite convenient to paint them at the same time as the webbing point as the pallet is mostly the same after the 'Reflective Green'.
Once that's applied, I then add the base colour;'Khaki' or 'Green Grey' keeping the shade colour showing in the recceses, under flaps or near where the webbing/sling/sack joins the rest of the model. The black wash alter will help of the shade does get covered too much, but it does give a better gradient if its visible to an extent.
Base Colours on
Finally, the highlight is applied to edges and raised areas of the webbing. 'German Camo. Beige' highlights Khaki and 'Stone Grey' highlights 'Green Grey'.
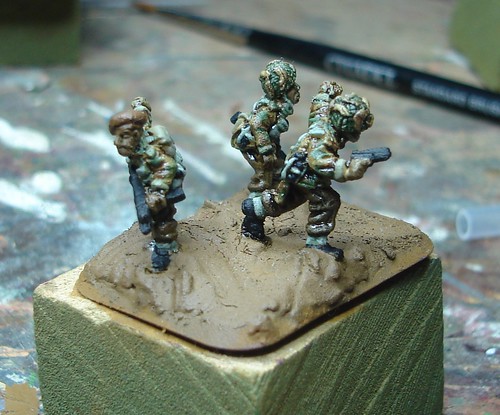
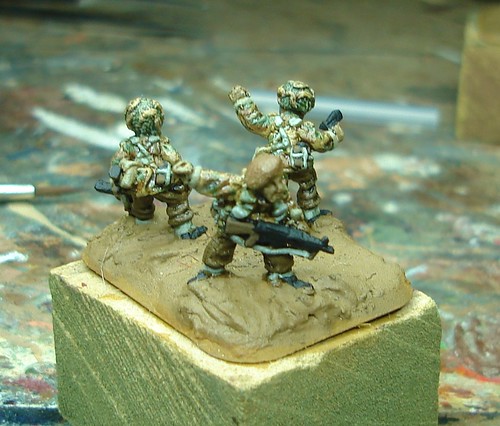
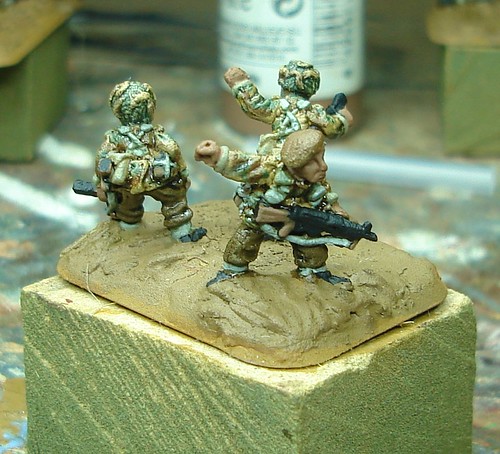
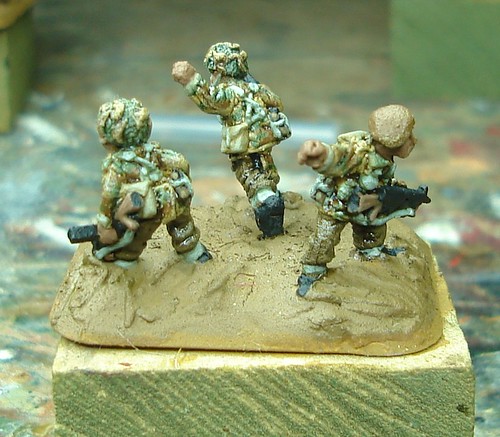
Two views after Highlights on
Once done, any tie straps are painted stone grey. Later I apply a thinned 'Black Wash' in the recesses, edges and around the tie straps. More on that later.
Woodwork
Woodwork is probably a poor description as I also paint the Canteen (brown-ish) and lay the base work down for the flesh areas, but the main aim is to paint the entrenching tool handle and the 'furniture'/stocks of the firearms. Battlefront have depicted the Paratroops with Sten MkV so have wooden butts and foregrips rather than the all metal MkII/III the line infantry normally have.
Firstly, I used this opportunity to 'black out' the boots, canteen and Sten. The SMLE was left mostly in the 'English Uniform' base coat from earlier as it has only a few metallic parts on display. The 'blzck' was left to the magazine, bolt, butt plate and fore group instead.
I should point out that normally I do this after the initial undercoating of the model and just touch it up at this point. For some reason I missed it earlier.
Blackout!
Once dry, 'German Camo.Medium Brown' is painted on the furniture of the weapon, the entrenching tool handle and the canteen. It's worth finding some decent pictures of the firearms to make sure your painting the right bits; a google image search is often sufficient! With the canteen and handle, avoid getting any paint on the surrounding webbing to save any need for touch ups later.
Shade coat on the wood/canteen
Next, 'Beige Brown' is applied over the 'German Camo Medium Brown' of the weapon and entrenchment tool handle. NOT THE CANTEEN. Leave the darker brown showing in the recces, especially on the SMLE.
At the same time, carefully pant the 'Beige Brown' onto the flesh areas to provide a shade coat for later.
I usually then mix some 'Iraqi Sand' with the 'Beige Brown' (50:50) for a final highlight on the wood areas.
Flesh Shaded and Woodwork finished
The last step is to paint 'US Field Drab' onto the canteens as a broad highlight. I don't tend to highlight the canteens beyond this but adding a bit of 'Khaki Grey' to the drab would do the trick should anyone want to go to that level.
Canteens at the ready
Fleshtones
The last stage provided a shade coat for the flesh so now its time to build it up. I use a method detailed in Wargames Illustrated 263 that I find I prefer over my old one which always looked far too pink.
A base coat of 'Medium Fleshtone' is painted over the 'Beige Brown', leaving the latter in the shadows (eye sockets, ear canals, major folds) of the skin.
Next, 'Flat Flesh' is applied as a highlight to the nose, brow and other raised areas. Later I apply black wash to add further contract. Looking back on the model, I think it needs another coat of 'Flat Flesh' as the highlight does not appear to be strong enough here.
The last stage provided a shade coat for the flesh so now its time to build it up. I use a method detailed in Wargames Illustrated 263 that I find I prefer over my old one which always looked far too pink.
A base coat of 'Medium Fleshtone' is painted over the 'Beige Brown', leaving the latter in the shadows (eye sockets, ear canals, major folds) of the skin.
Medium Fleshtone
Next, 'Flat Flesh' is applied as a highlight to the nose, brow and other raised areas. Later I apply black wash to add further contract. Looking back on the model, I think it needs another coat of 'Flat Flesh' as the highlight does not appear to be strong enough here.
Flat Flesh
Metallics
[insert heavy metal joke here]
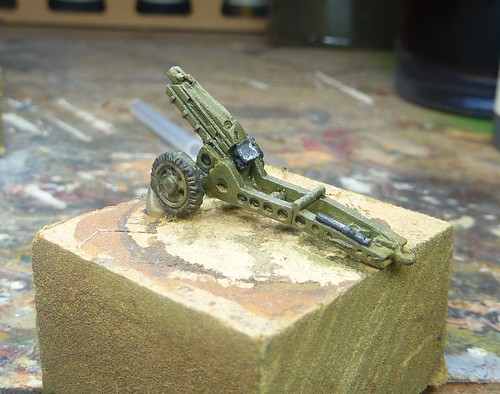
With the wood work of the weapon painted its time to turn my attention to the 'worky bits' of the gun, plus other metal areas such as the canteen water cap! I also apply this to the breech of the Pack Howitzer
Firstly, a 50:50 mix of 'German Grey' and 'Gunmetal Grey' is applied over the metal areas, leaving 'black' in the deepest recesses. [insert heavy metal joke here]
With the wood work of the weapon painted its time to turn my attention to the 'worky bits' of the gun, plus other metal areas such as the canteen water cap! I also apply this to the breech of the Pack Howitzer
Shade Coat on Sten and Pistol
Next, bolt gun metal is applied as a broad highlight. I finally add a fine highlight of 'Oily Steel'.
Base and Highlight on Sten and Pistol
Fished Metallics on SMLE (Truck passengers) and Radiator Cap
Finished Metallics on Pack Howitzer Breech and Pole
Final Wash
With all of the above elements painted, it's time for the black wash that I've been mentioning. This is applied in much the same way as the mixed 'Brown/Black' wash mentioned earlier. Vallejo 'Black wash' is thinned and carefully applied to the face, firearm and the webbing. I also apply a bit the collar and shoulder straps to break them away from the rest of the smock.
I try and avoid a liberal soak and use careful applications to avoid pooling and darkening the model too much. The aim here is to add some final definition to the model.
After all these washes the model can look a bit shiny. A good coat of matt varnish will fix that and is always my last step on the project. Stick with it till then.
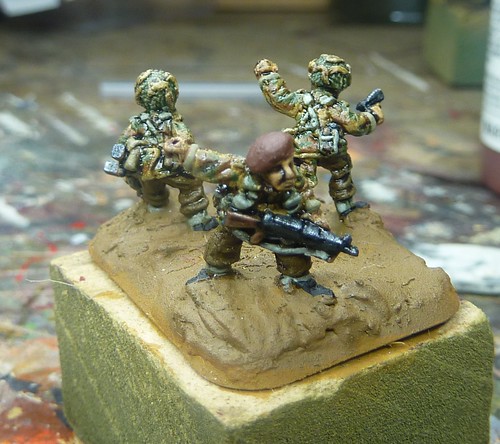
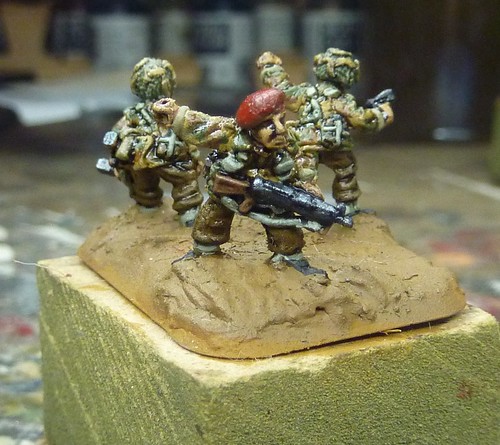
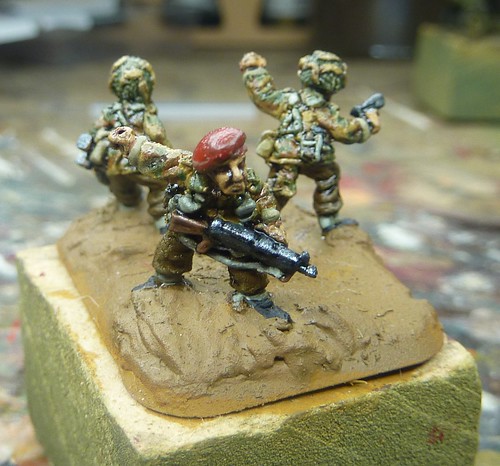
Beret
A distinctive feature of the British Paratroop, and something I've always struggled to get looking right, the maroon beret of the airborne divisions earned then the 'Red Devil' name.
On previous units, I've always got this looking far too red. This time I feel I got a lot closer.
Firstly, the beret receives a shade coat of 'Flat Brown'
Next, Cavalry Brown is applied over this, leaving the previous shade in the recesses.
Finally, a highlight of 'German Camo, Pale Brown' is applied wherever the light seems to catch on the beret (typically around the rim with a few creases on the top.
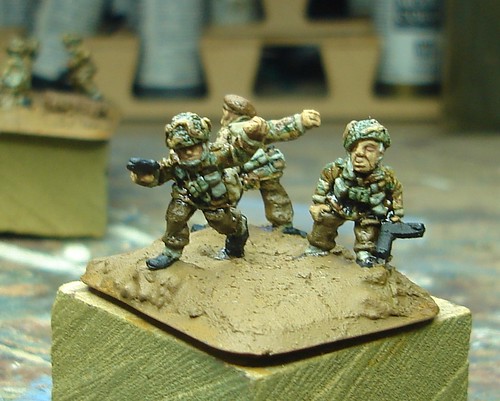
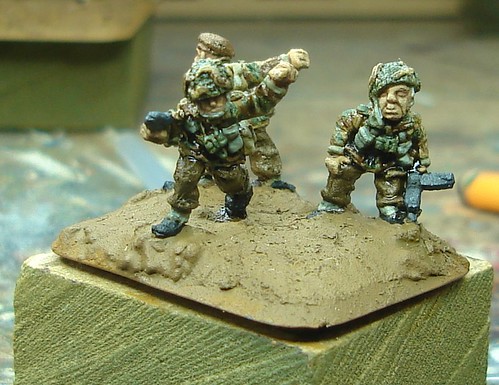
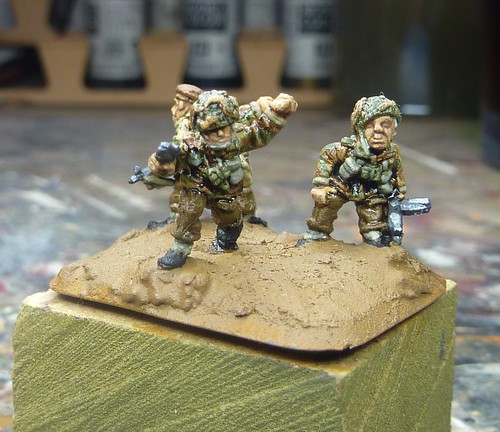
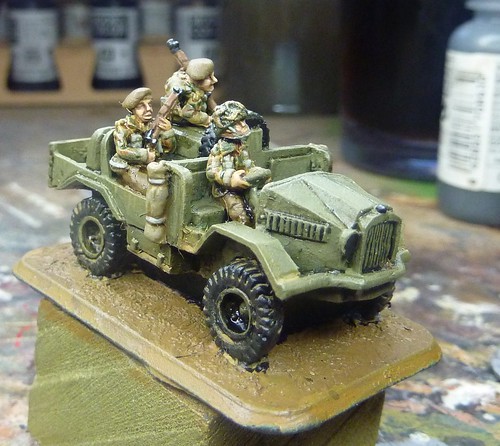
So, that's a week's worth of work (well, a few hours each day anyway)! But what's left?
At this point there is still the following to do:
- Insignia and markings (shell markings on the gun crew, unit markings on the truck, maybe para wings on the arms)
- Bases
- Some final detail (dare I do eyes???)

No comments:
Post a Comment