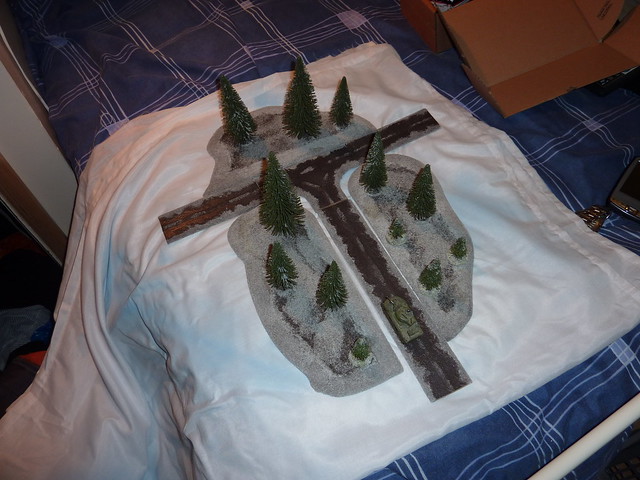
Wednesday, 2 November 2011

Green(stuff) Piece

Hello,

Just a quick update.  I had started writing this entry a few weeks ago to kill time on a business trip.  Finally got around to finishing it off now.  I had made a start on the hedges for the tournament but I've had some difficulty getting a straight cut and need some fatherly assistance.  sadly he's still in Devon on his holidays...

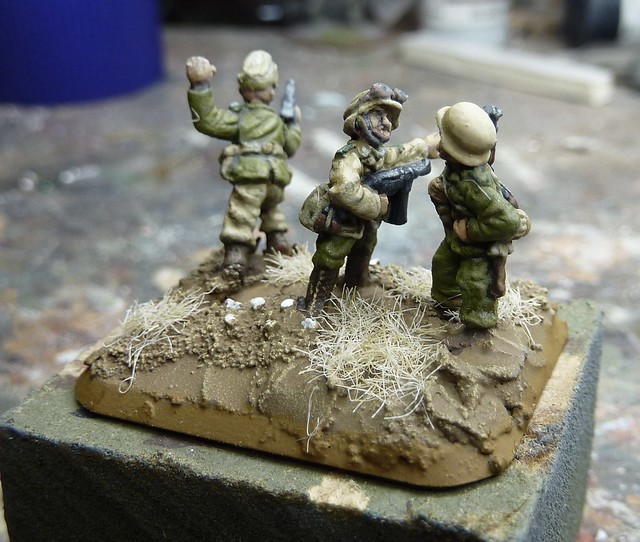
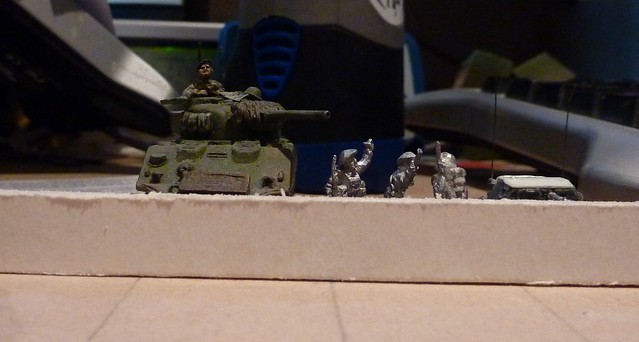
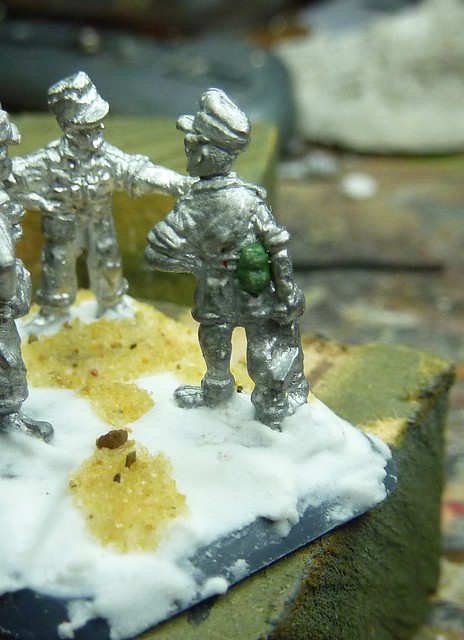
A few years ago, BF used to put a tank crewman in with each tank and these were great little figures, generally either a wounded crewman clutching his arm or a more... pro-active one clutching a sub-machine gun like he's going to hunt down the ATG that just brewed him up.  The German's also got a pretty neat one of one crewman dragging a dazed comrade forward.  At some point BF stopped putting them in the Blister which was annoying but I had managed to build quite a stock pile of Brit and German ones anyway, with a few given by other guys in the club who didn't use them.

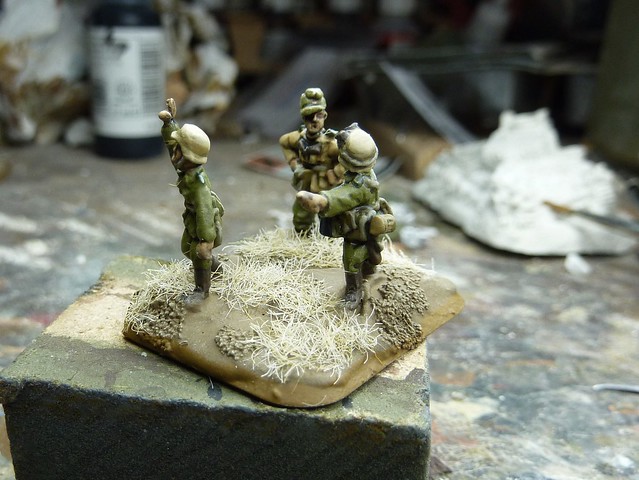
Now, I typically use them to show a tank is baled/bogged by sticking one on a penny (I used to try and get a full crew onto a small base) and I have used one as the basis for a tank commander previously, but I was running short of DAK figures to finish off my command bases and I thought, "why not just use some of the SMG armed ones?"

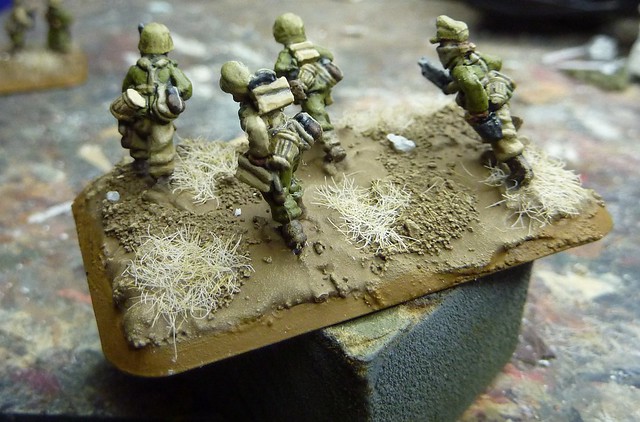
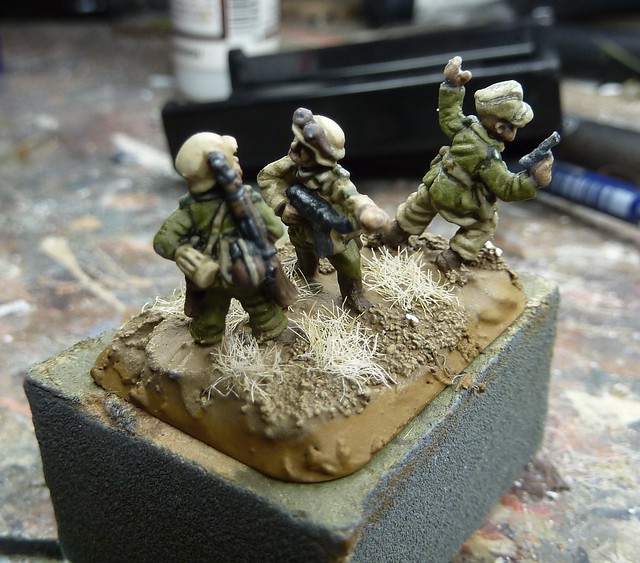
There are two figures that wouldn't look out of place on a DAK base.  One has the DAK style peaked soft cap, goggles and shorts with MP40 by his side whilst the other is emptying his SMG towards the enemy.  Really, the only thing they really need is some webbing (canteen, maybe the bread bag too) to make them blend in with the infantry/guns they are leading.

I'm no sculpter but I have had a stab at using green stuff in conversions before, such as the aforementioned tank commander.

Compared to that, a canteen and bread bag seemed pretty simple!

Firstly, I looked over some reference material (google searches, looking at other DAK figures) to try and work out how the webbing should look.  It's important to get the big detail (relative size, shape, position) right because no amount of fine detail will hide a major boo-boo like getting the canteen stupidly big or on the wrong side!

Here's how it should look:

The next thing is to work out how the sequence.  We need to work outwards with the greenstuff so its Bread Bag, then Canteen, then the strap of the canteen that holds the cup on (the metal cup of the canteen will just be a simple line break on the canteen shape).

Next, I knock up some green stuff into a 50:50 ratio.  I recall an old White Dwarf article saying to use half of what you think you need and it has always seemed good advice; I always seem to mix too much, even then.
No doubt modern White Dwarf would tell you to mix three times as much as you think you need!

The bread bag is fairly simple to do.  I roll out some green stuff onto a wet tile (greenstuff doesn't stick well to wet things.  So keep blades and fingers damp!) and, using an existing model as a reference, cut out a thick rectangle of about the right size for a bread bag.

Now, using a wet blade, lift the rectangle off the pallet and place on the right rear side of the model (again, worth checking a reference when doing it).  I let it sit for about half an hour to partly cure then used a sculpting tool to remove the material between where the belt loops sit, add an indent around the edge to represent the breadbag's front and add two indents for the buckles.
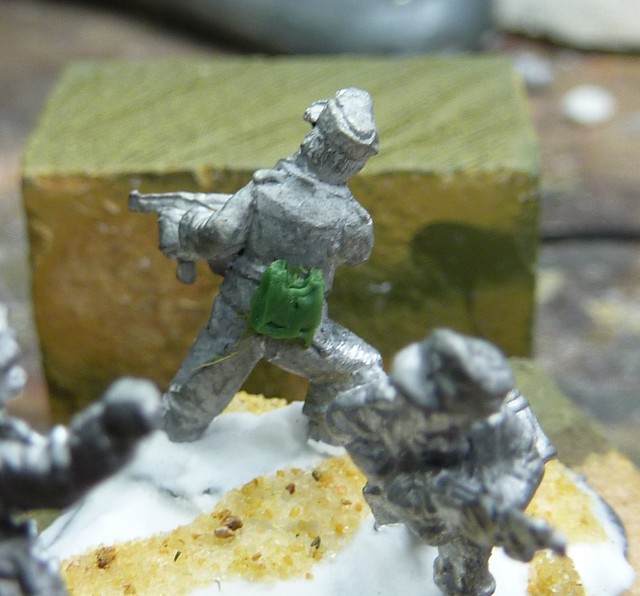
P1010779
Not modelled - Bread
It's important not to rush things so I left the bag to cure overnight.

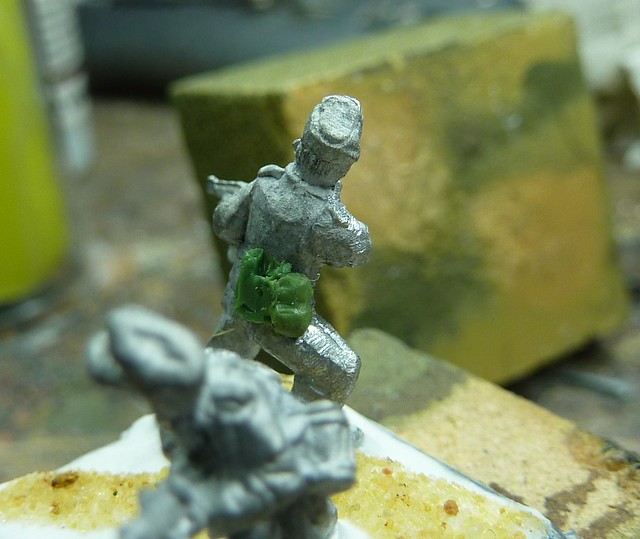
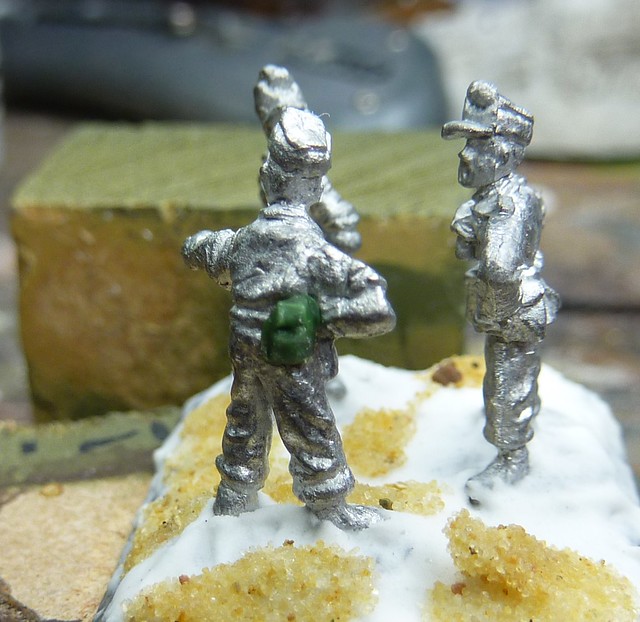
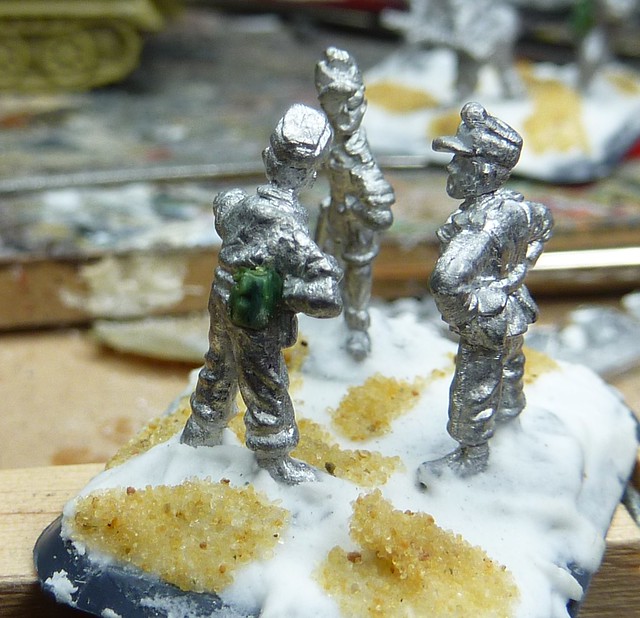
Next I worked on the canteens.  I mixed up some more green stuff and formed it into a tear drop size about the size of the canteen (including cup).  This was placed over the breadbag (if present) and allowed to sit for about thirty minutes.  I then flattened the top down to square off the cup and indented a line to show where the cup meets the canteen.
P1010781

P1010783

P1010780


I left that to cure fully and pondered the next step.  I needed a strap to join the canteen to the cap/cup.  However, after a few attempts I had to admit that such a fine strap was just out of my ability.  Thankfully I spotted a post by one of my fellow Brighton Warlords, Ade over at Restless Wargamer.  He had been playing around with a GW product called liquid greenstuff with great effect.  Luke at Onslaught Games had some in stock so, on a whim, I grabbed a bottle.

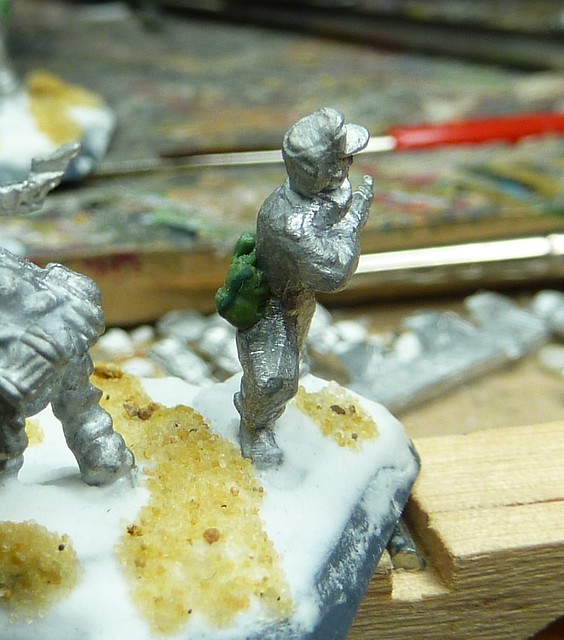
It's pretty neat stuff.  It can be picked up by brush and can then be cleaned off in water with little impact to the brush afterwards.  It seems to be aimed at patching up finecast models but I decided to experiment and tried "painting on" the strap, like painting a fine line.  This seemed to go well, but wasn't quite as defined as much as I wanted.  Once it cured, I painted on another layer and this seemed to do the trick.  Once it cured, I cut the strap square at the bottom and did some mild filing to get the strap flat but otherwise it required very little work.
P1010820

P1010819


So there we go, some relatively simple greenstuffing converts spare tank crews into interesting alternative DAK infantry/commander.

Thursday, 6 October 2011

Faulty Escarpments Pt II

And the first batch is finished!

We left the escarpments looking like this:

P1010808
Sand!  Not actually sand coloured enough
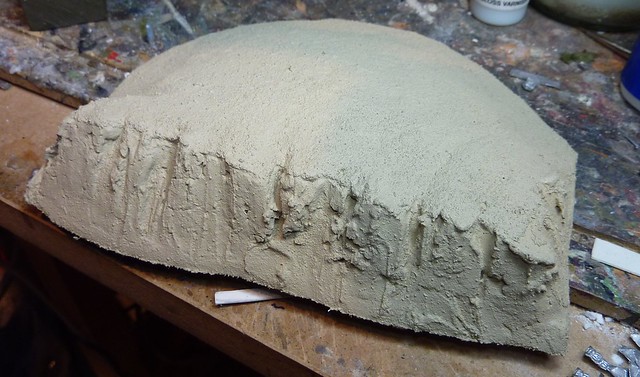
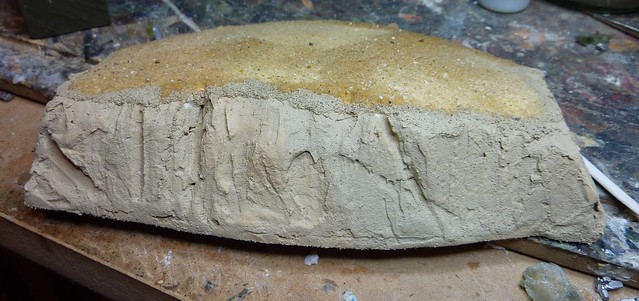
Since then, and realising that the colour of the masonry paint was what I had envisaged in my head all along, I went back and covered the whole piece in the masonry paint (Sandtex Midstone Fine Textured for reference).  This gets us to here:

P1010809
Curtains match the Carpets
Having done all that last night, and it all dry this evening, I decided to get it finished and give you two updates in one week!  This is especially handy as it means they are ready for their first game this weekend at their new owner's gaming table.

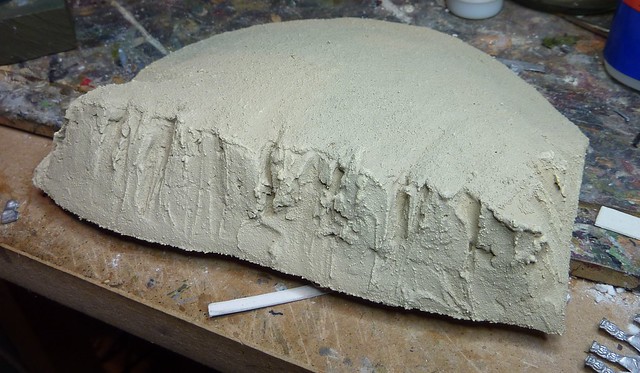
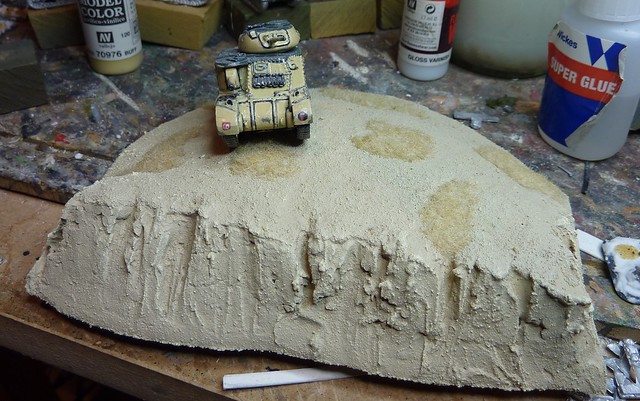
Firstly I used a tester pot of "Crown Matt Emulsion - Egyptian Sand", chosen for the "Desert Yellow" colour not the appropriate name, to apply two heavy dry brush coats all over the model.

P1010810
As if by magic, definition begins to appear
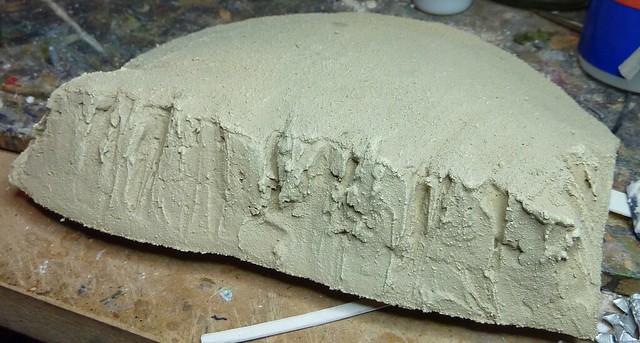
I then used a tester pot of "Dulux Emulsion - Wild Primrose", as a substitute for Buff, to apply a lighter drybrush all over the model.

P1010811
Highlights artificial but natural shadows!
To add some variety to the pieces, I picked out some of the larger pebbles in Vallejo White, before applying PVA glue and Gale Force 9 "Arid Grass" static grass in irregular patches.

P1010812
Well, that adds some colour.  Even if its just more yellow...
P1010813
Somewhere in this photo is a Grant
So, there's seven foot of escarpments done already!  I plan to do a few more batches for the club, my table, and a few other chaps in the local community.  This is all to set up for doing a HF&B tournament at some point in the future.
P1010815
Miles and Miles of  Escarpments

The techniques used here can obviously be used to make hills and ridge lines (seeming as its all based on what I did years ago for just that purpose), just by not cutting a cliff face (or maybe restricting it to a few rocky outcrops).  Needless to say that is on the cards...
P1010792
I wonder what that could be?

See you next week!


Wednesday, 5 October 2011

Faultly Escarpments

Trust me, if you were a geologist, that title would be funny.  Funny I tell you!

Okay, maybe not.

Anyway, welcome back.  Sorry there was no update last week, work proved suitably distracting (I ate my way around Texas).  Burp!

Anyway, back in blowy blighty now and attention is focused on getting some desert terrain done and out onto the playing fields.  I need to clear the deck to focus on hedges!

"Hellfire and Back" added a new terrain feature to the desert game, the Escarpment.  A geological fault, running along the battlefield, occasionally cut through by rough worn paths down the tall cliff faces but, otherwise, providing a serious obstacle to the armoured forces that dominate the sand battlefields.   

Now Battlefront have released a model for this feature and its... okay.  But its one of those terrain features that I look at and go, "hmmm... sod it!  I'll do it myself!"

So, basically there are three elements to this terrain piece that are common to all my terrain pieces:
  1. A hardboard or MDF base, chamfered by hand (and carpenters rasp) so as to blend in the terrain to the table.
  2. Polystyrene body, shaped by hand (well, bread knife and sand paper).
  3. Two coats of PVA and sand to form a semi-hard shell.
Well, this time I cheated a bit!

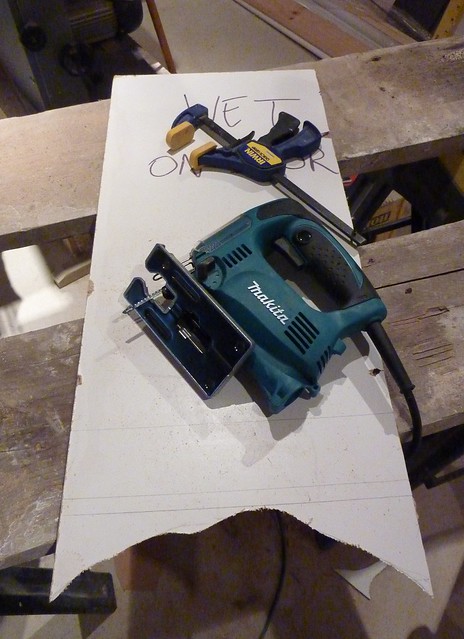
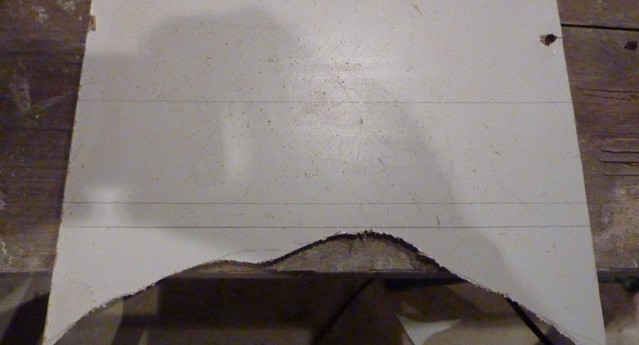
Firstly, I treated myself to a new Jigsaw in the sales.  It can be set to cut at 45° angles which makes doing the chamfered cuts so much easier.  
P1010786
Behold!  Power Tools!
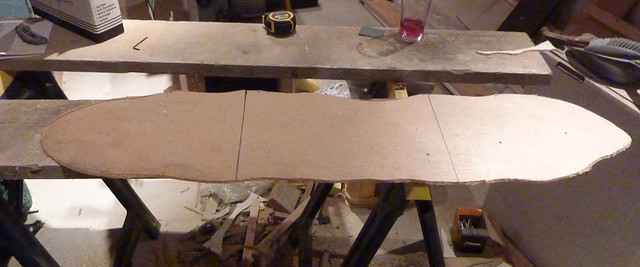
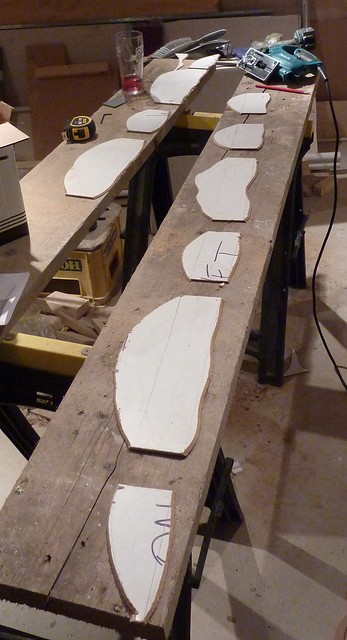
Just mark out a shape.  I went for a semi-crescent (mixing between full foot and half foot variants), the curved side being the flow into the desert, the straight-ish edge being the cliff, leaving a FOW large base-sized edge at each end so that the path can be clearly distinguished.  No matter what shape, I always ended the line at these points.  My intention is to create 'large base sized' markers to reflect the different track types the random generator can throw up (narrow path, rock slide, etc)

Then, simply cut out, with the jigsaw doing all the hard work.  No need to chamfer with a rasp!
P1010787
In this picture: parallel lines...

P1010791
I got a little carried away considering this is just for a 6 x 4" board...
Magic!

Okay, next the polystyrene.  I had made a set of escarpments before, long before BF made them cool!  But I based them on a set I had seen in Egypt and they were a bit tall (four or five times the height of a Sherman), with a huge footprint and tended to dominate the table far too much (plus, no paths to get through!).  Sometimes reality is not your friend.

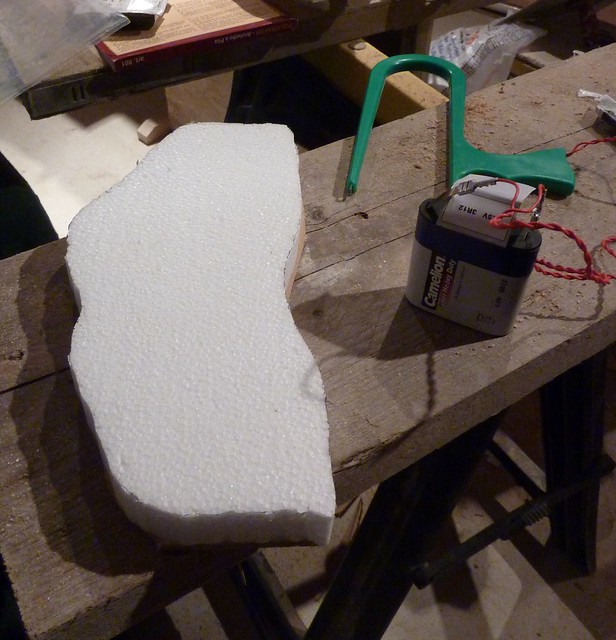
With these ones, I wanted to make something a bit more game friendly so I used a 20mm think polystyrene in a single layer.  Time to introduce my next tool, a hot wire (or resistance) cutter! 
Needless to say, the initial shaping of the hills became a lot less time consuming.  First I cut the basic shape by drawing around the hardboard base.  
P1010793
Powered Tools!
I then stick the shape onto the base using PVA and leave overnight.

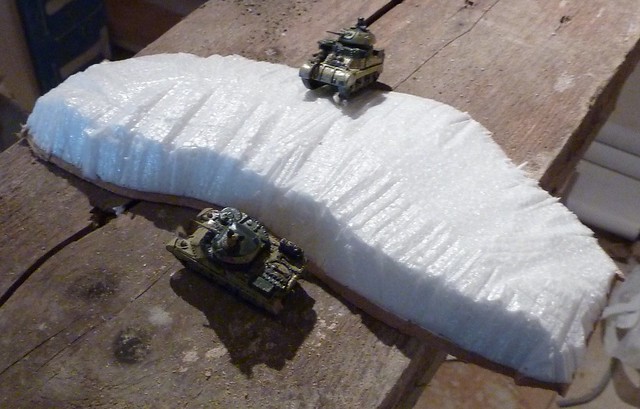
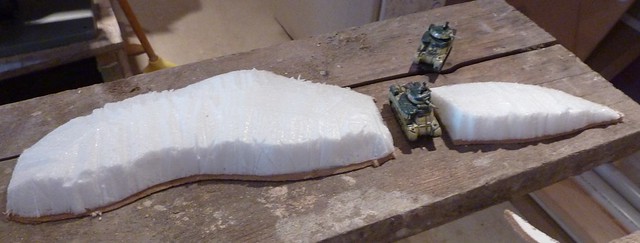
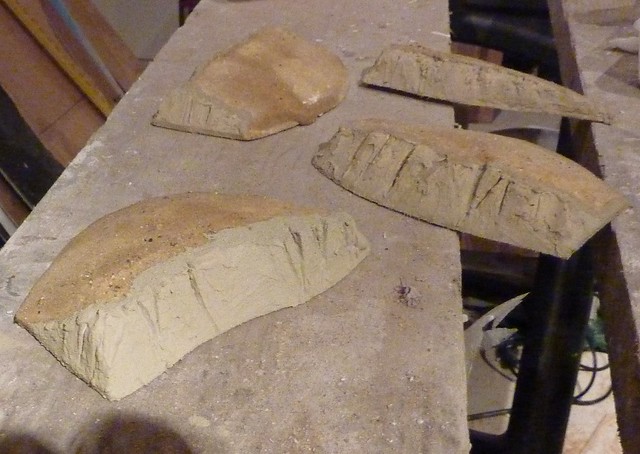
Next, I used the cutter to 'scrape' off layers of polystyrene to cut the gentle curve back to 'sea level' on the back-end.  Then I use the cutter to cut 'rain channels' and other erosion marks into the cliff face.  That leaves us something like this.
P1010794
Grant 1 is just about to carry out a "death from above" attack on Grant 2
P1010797
Straight through 118!
So far, so groovy.  I next applied a watered down PVA mix (50:50 ratio) to seal the polystyrene.  This needs to be left overnight to dry for best results

P1010800
Gritty and rugged - just like me!
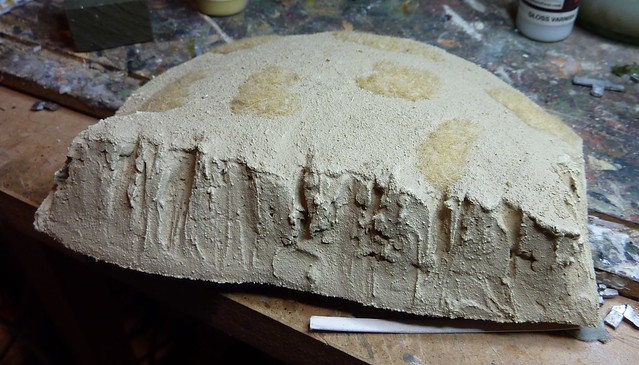
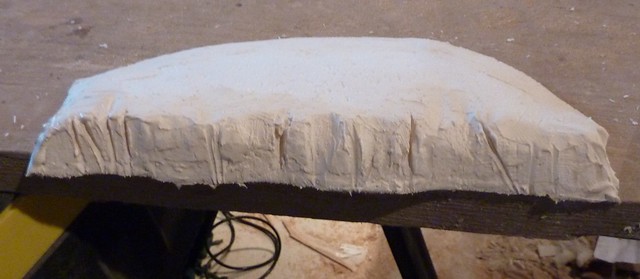
Next evening, I mixed up some polyfiller, added a dash of PVA to give it some spring and then plastered it onto the cliff face, letting it get into all the channels and cuts without filling them in too much.  I also used the excess filler to fill in the edges where the poly meets the hardboard.  Just tidies it up a little.
P1010801
I had quite an excess...
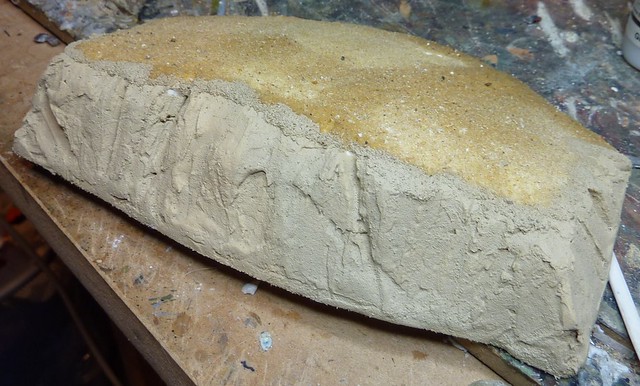
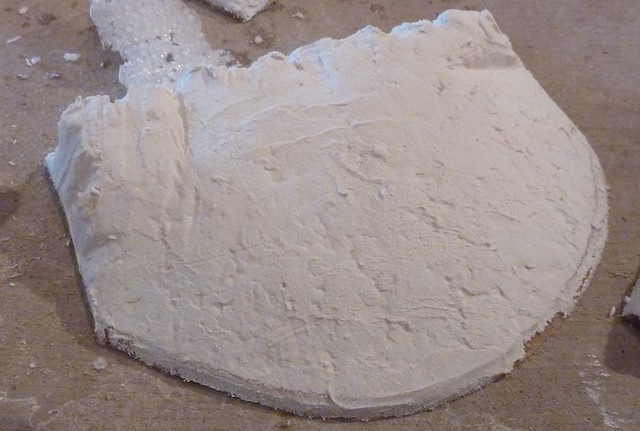
With that dry, I applied neat PVA glue to the curved side then covered it in kiln-dried paving sand.  I brushed off the excess but repeated the procedure each time the PVA started soaking through.  Once that stopped, I left it overnight to dry.
P1010803
Starting to look the part
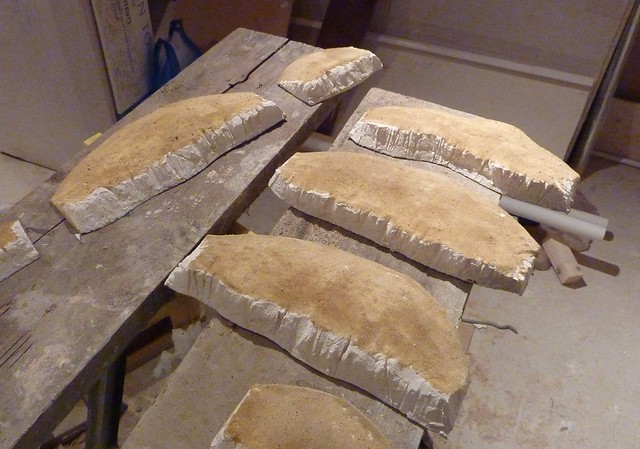
P1010806
A selection of escarpments for your pleasure
Then, to bring us up to tonight, I applied textured masonry paint to the cliff edges, a "mid stone" colour.  My intention was to use this colour for only the cliff faces but now it has dried it seems like the perfect desert colour to me!  I now plan to go back and apply it to the sand covered areas then give the whole thing a drybrush with a 'buff' style colour before adding static grass. P1010807  Hopefully there will be some 'finished' pictures inj next weeks update!

Enjoy!


Tuesday, 20 September 2011

"Base" of fire

Hello!

This week I thought we'd look at how I do the basing.  It's something that I usually get asked by the new guys and I know its one aspect that a lot of the chaps at Brighton Warlords seems to hate!

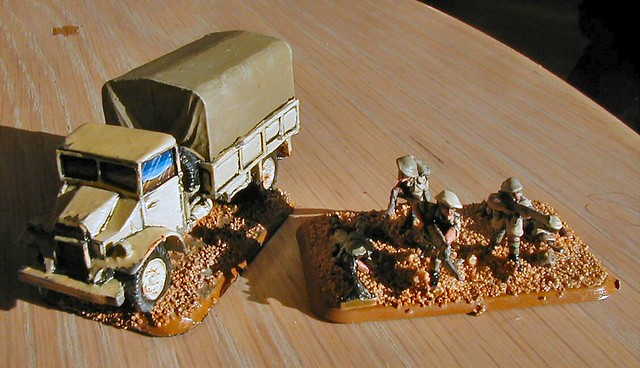
I've experimented with various methods since my first army.  Initially I just stuck the figures on the bases and covered in sand, a direct throwback from my transition from 28mm Games Workshop!
truck_and_team
MY EYES!

As you can see, it lacks...charm but it is relatively simple and could be easily improved by building the sand up around the figures to blend their individual pedestals in.

After the first two platoons, and on the basis of a few examples on the old Battlefront website, I started experimenting with Poly-filler and have pretty much stuck with it ever since.

Now, there's two camps of thought on using poly-filler:
The first camp just covers the base with poly-filler and then sticks the figures in, relying on the poly-filler to hold it in place.  Benefits?  It's quick and easy.  Downsides?  It can leave the poly-filler sitting away from the figure's pedestal (which can be hidden by other basing materials) and can leave the models susceptible to parting ways with the base over the course of a game!

The second camp, the one I fall into, sticks the figures to the base and then applies the poly-filler around the figures.  This is a lot more time consuming, messy and fiddly but, in my opinion, gives a better finish and certainly gives a stronger bond between model and base.

So, how to do this without going mad?  Let's look at the process:

Materials
So, all polyfiller's are equal?  In my experience, no.

  • The mix-yourself stuff can be good but, honestly, I'd rather spend an extra quid or so and not spend half the evening trying to nail the ideal consistency!  
  • The cheap "generic" ready-mix was, on both tubes I ever used, way too liquid and a nightmare to work with.
  • My ideal choice is the branded ready-mix.  A tube goes a long way so I don't see an issue with the extra cost and it always seems to be in a nice, fairly dry, mix that is easy to work with.

Interestingly, I don't advise using the ready-mix  for decorating as it dries too hard and is a bitch to sand down. But I disgress...

Tools
I use a few tools when working the filler:

  • Old GW sculpting tool - the one with a knife edge on one end and a scoop like end.
  • A metal pick - perfect for poking between the legs - oo-er!
  • A spare base.  Just to place excess polyfiller off the blade edge till its needed.  


Method
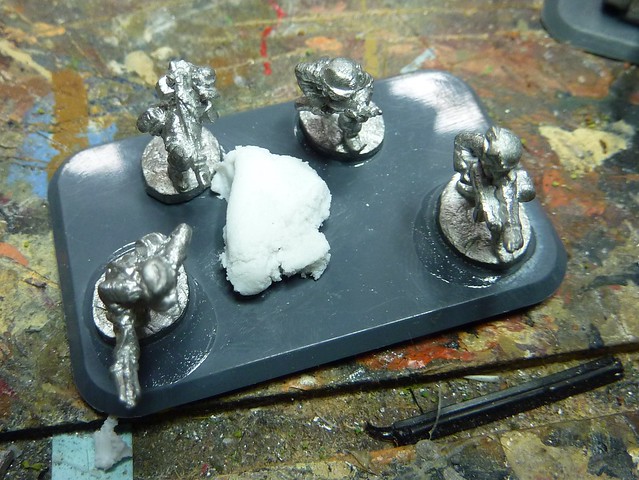
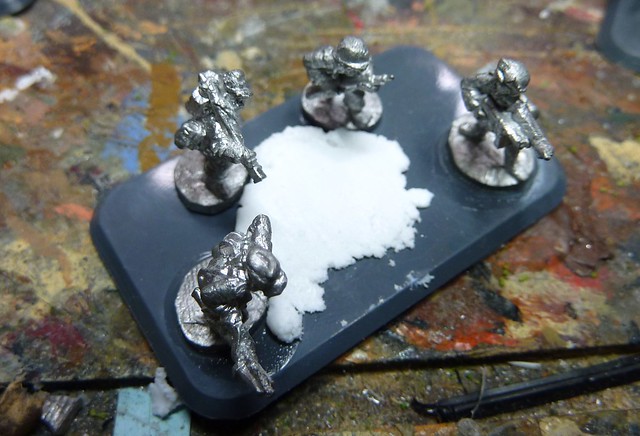
First step, stick all the figures to the base, painted or otherwise.  I prefer doing all this before painting but it should work out okay with painted models with a bot of care.  Now, drop a pea sized dollop of poly-filler on the base, somewhere away from the figures.
P1010755
Atchung!  Filler!
Now, use the sculpting tool to start working the filler towards the figures, adding more filler to cover.
P1010756
This, of course, would work well for Eastern Front snow bases :)
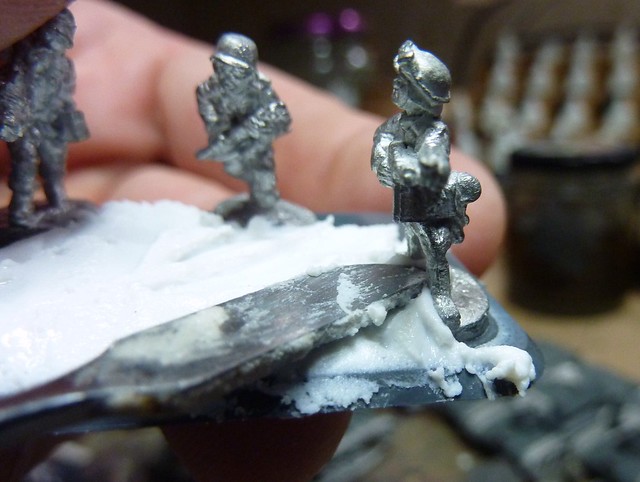
The trick to working the poly-filler, especially up to the feet and between the legs, is to keep the tip of the sculpting tool wet, so that the poly-filler doesn't stick to the blade.  You don't want an excessive amount of fluid on there as it makes the polyfiller go very smooth, robbing it of its texture.
P1010757
Sculpting Tool to the nads - definitely not Cricket!
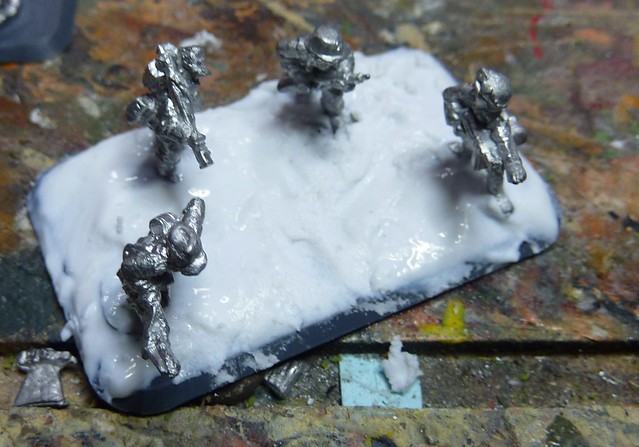
This should eventually leave you with a base like this.  If you want to add the impression of weight to the figures (such as guns sinking into soil or infantry sinking into soft sand) then you can let the filler partially cover the feet, but for the most part you probably want to avoid submerging the figure too much.
P1010758
"Wet look" is in this season
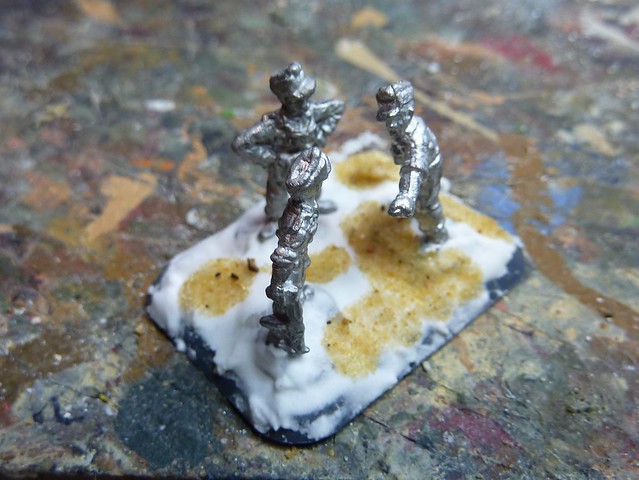
As the base starts drying, its possible to disturb the poly-filler with the sculpting tool to add some extra texture.  Another way of making the base more interesting is to add sand in patches for "rocky" areas and the like.  This can be sprinkled on when the polyfiller is wet, but I find it better to use PVA glue once the Poly-Filler is dry.
P1010778
"And over here we'll add the fuher water feature.  Oh Hans, it will be magnificent!"
Once its all done, its just a case of base coating a suitable earth tone and dry brushing up.  Adding stilfor or static grass can also make the base more interesting as well as hide a multitude of sins...
P1010772
See!  Multitude of Sins successfully hidden.
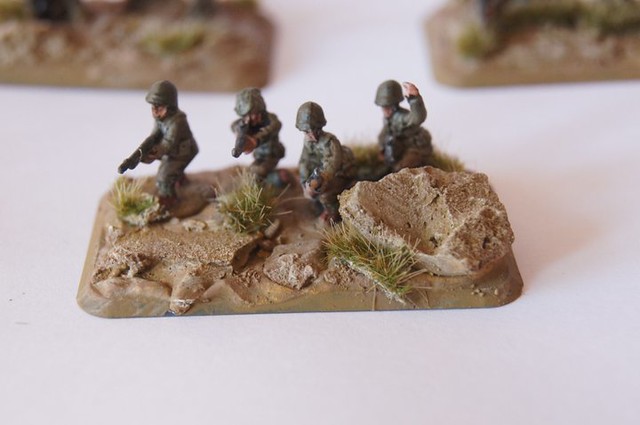
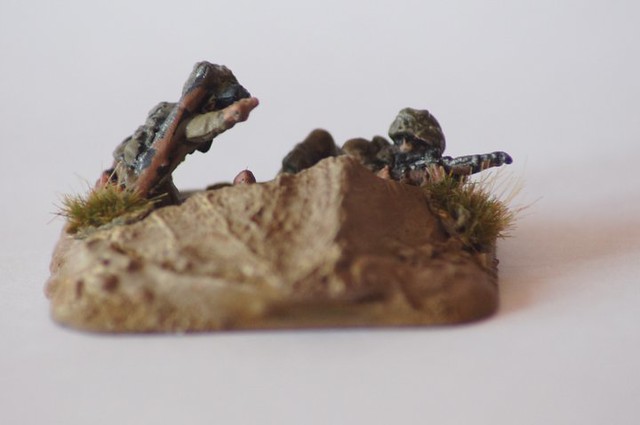
Finally, something I'm experimenting with is using the dried up Poly-filler that collects in the cap to create rocky outcrops.  Just break a bit off and stick into the wet polyfiller, especially in an area that's gone too smooth through using a wet tool (oo-er, okay enough of that).
Stone Cold Paul Austen has also done something similar.  He cracked the dried Poly-filler out of the container he uses to mix it and got some very large bits to add flavour to the base.  he was kind enough to let me have some of hos photos to show the technique off.  Cheers Paul!
294062_2328140804960_1292897423_32893685_2389689_n
He does try and claim bullet-proof cover all the time though...
262805_2328071963239_1292897423_32893575_8337693_n
Paul's bunker-busting sniper team

See you next week.

Saturday, 17 September 2011

Now where was I...

Hello!

Well, I've been a busy boy and sadly very little of it involved painting!

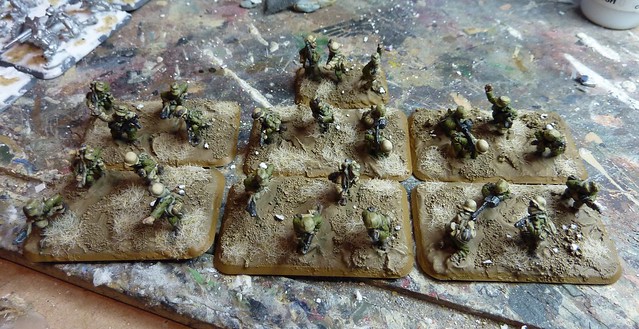
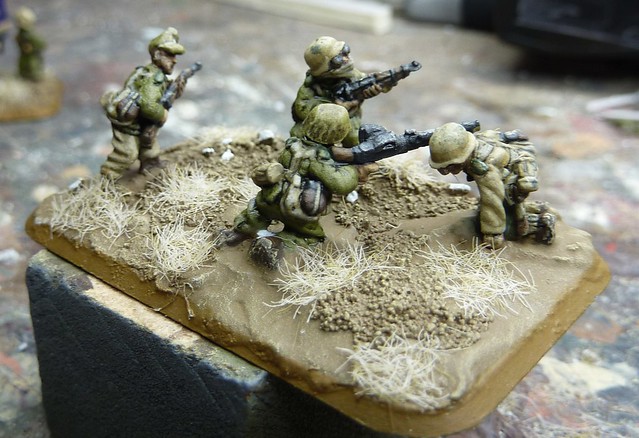
In  the weeks (months?) since the last post I have managed to get the grand total of two units painted!  Both are for my DAK army and were partly to supports its use a 90th Pz Div in our local Cassino Infantry Aces campaign.

The first project was a third platoon of Panzergrenadiers/Schutzen.
P1010769
Schurzen Platoon in the infamous "artillery template?  what's that?" formation

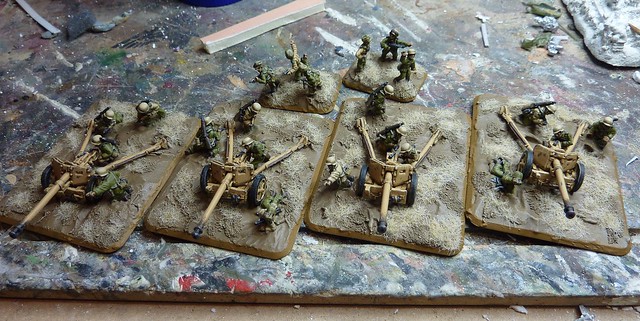
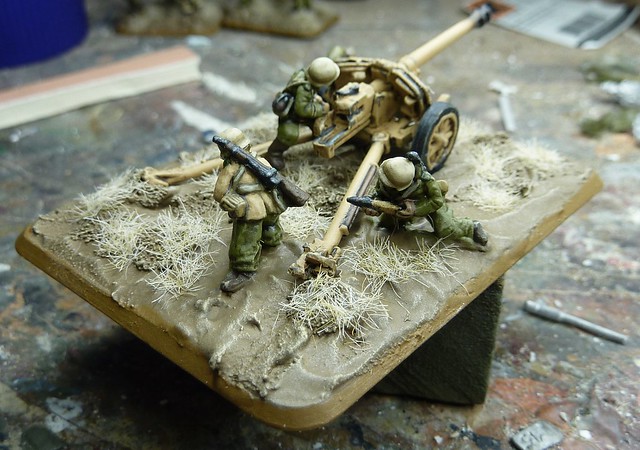
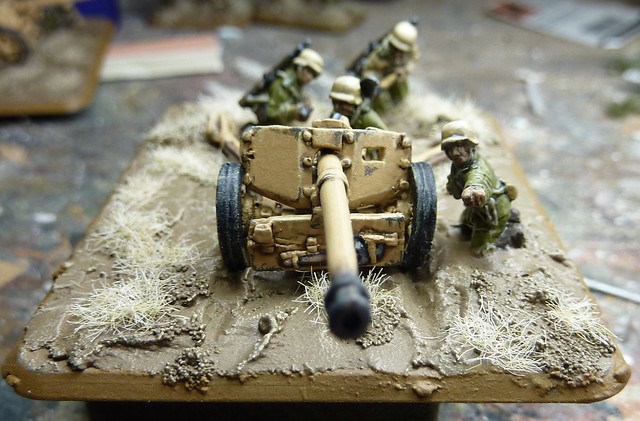
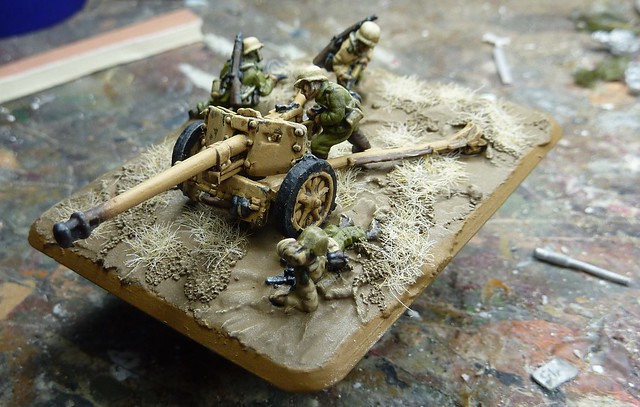
The second platoon was an anti-tank platoon of PaK-40 Anti-Tank Gun for post-Alamein Sherman popping!
P1010759
"Front Armour 6 you say?  Meet AT 12 combined with concealed in fox holes! Mwahaha!"

There's not much to tell on painting them.  I pretty much followed the painting guide over at Battlefront, modifying it slightly to support a wash/drybrush technique on the DaK's earlier Olive Green ('Yellow Green') uniforms.
P1010761
The slight flaw in German assumptions on vegetation in North Africa can be seen here
In theory the PaK-40 crews should probably be the browner ('English Uniform') later uniform I imagine, but I didn't want to deviate the from the current colour scheme.
P1010776
Because, lets face it, the old scheme is better looking than more brown!
For a bit of variety I threw in the occasional 'Desert Yellow' Italian tunic or 'Iraqi-Sand' British Khaki-Drill trousers to represent old hands (or Hans!) who had managed to pilfer some superior desert gear!

P1010766
The CO didn't nick that Tunic.  He's got a whole Company for doing that!
P1010774
Somewhere there is a British Platoon looking very embarrassed, and pants less
P1010771
"Go there and get some proper trousers man!  You stick out like a sore thumb!"
The guns are painted 'TanYellow', the last factory applied paint scheme that was supplied to Africa.  I've tried to keep the tank/gun applied schemes to either the early "Mud over Grey" schemes that work for Early and Mid war equipment (PzIVE, PaK-38, Armoured Cars) and the later 'Tan Yellow' scheme for mid war only kit (Pz IIIL, Pz IVF2, PaK-40), skipping the first factory applied scheme of 'Green Brown' entirely, although its perhaps more appropriate for most of my Early/Mid DAK kit.  That's mostly an aesthetic choice as I like the rough and ready improvised desert camo of the "Mud over Grey".

P1010762
Keep that ammo coming!
P1010763
The business end!  Kill marking to be added as they get 'em!
So, going forward what can we expect to see?
Queued up on the painting table at the moment:

  • 6 x PaK-36 for Early War DAK
  • 2 x FlaK-36 for DAK
  • 3 x M3 Stuart for 8th Army Brits

On the horizon is more Stuarts (a whole Squadron!) and some KradShutzen motorcyclists.

I've put the BEF away for the second to concentrate on the desert stuff.  The war in the desert has always been my main focus with the Flames stuff and has also always enjoyed some healthy support amongst the clubs players too.

And lets not even talk about the stuff Plastic Soldier Company has coming out before year's end.  Plastic Sherman V, StuGIII, PzIII, halftracks, possibly even a 15mm plastic Universal Carrier!


Whimper...

Friday, 29 July 2011

Hedge-ing my bets

Hello,

Still no A13.  My own fault for not picking up the glue gun when at Mike's.  Doh!  Thankfully I have that back now.

However, it has been somewhat overtaken by events.  Those who follow me on Facebook/Google+ or whom frequent the Brighton Warlords or Flames of War Forum will know that we've just announced a Flames of War, late war, 1750pts axis vs allies tournament in mid January.

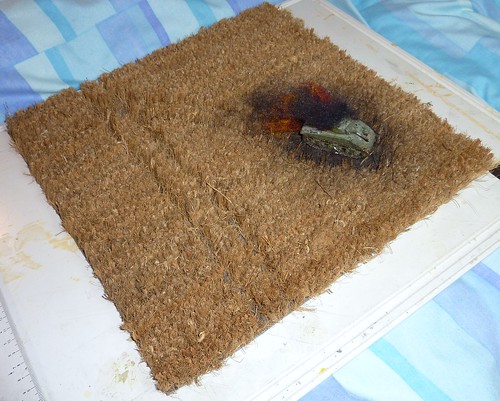
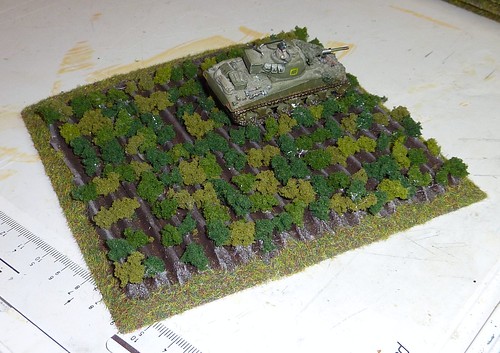
The last tournament we ran spurred me on to create enough road for 16 tables, two winter tables, about a square meter of cornfields and more cabbage patches than probably existed in Northern France.  It made for some pretty tables but it also pretty much burnt me out on terrain making until about now.
P1000187
"Welcome!  Beware of 88's"
P1000189
You can't see it, but there's an M-10 lurking in this photo ready to mess that Sherman up.
Hill2
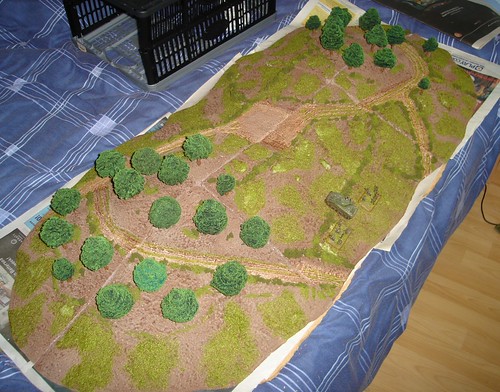
King of the Hill - FoW style
One of the projects that didn't make it off the drawing board was a simple to make hedge.  Linear terrain can play a big part of making a convincing and fun to play on board.  Recce can exploit it for cautious movement, infantry get some safety from HMG and controlling the high ground becomes even more important than normal.  The BW club has a shoebox full of Ironclad Miniatures Bocage which is enough for a few good size fields on one table, but that's about it.

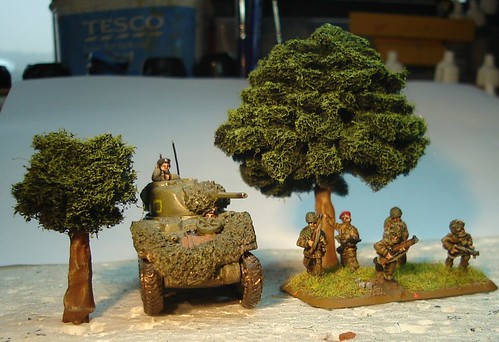
Now, one of the first bits of non desert terrain I made was a massive hill complex, covered in trees.  The trees were made from scouring pads stuck on a BBQ bamboo skewer.  Spray black and drybrushed green, they were surprsingly effective.  Before the tournament I then revisited the concept and skipped the black undercoat. This wasn't quite as pretty but could be made quickly and still worked when mixed in with the older ones.
tree1
"Scour that tree line, men!"
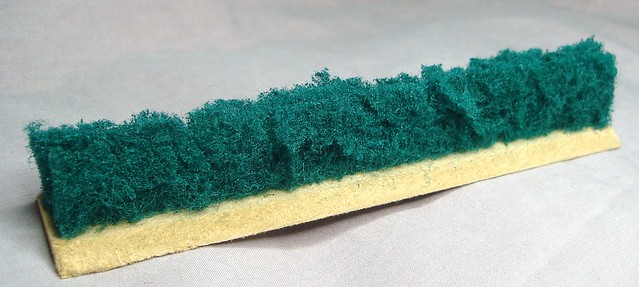
So, based on that, it seemed that a scouring pad hedge would be a good bet.  I made a test piece by gluing two strips of scouring pad together and then sticking that to a strip of MDF.  This basically gave me something that looked like two badly mauled bots of scouring pad stuck to a piece of MDF...
DSC04865
Okay, maybe I'm a little harsh...
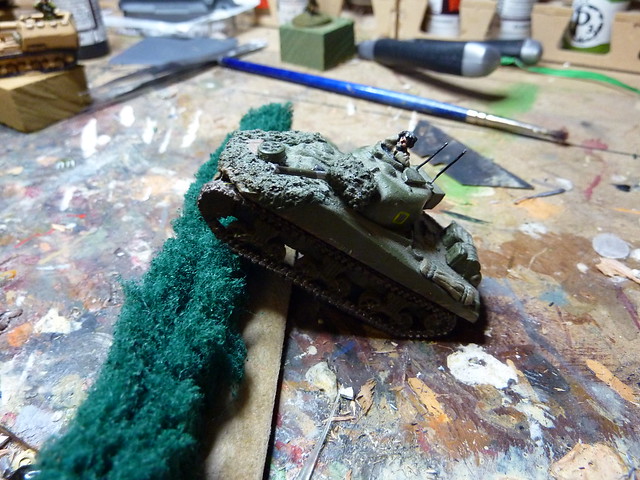
P1000030
How not to clean tracks...
At about this point in the process, and somewhat in a strop, I decided to ditch the project and pretty much haven't made any terrain since.

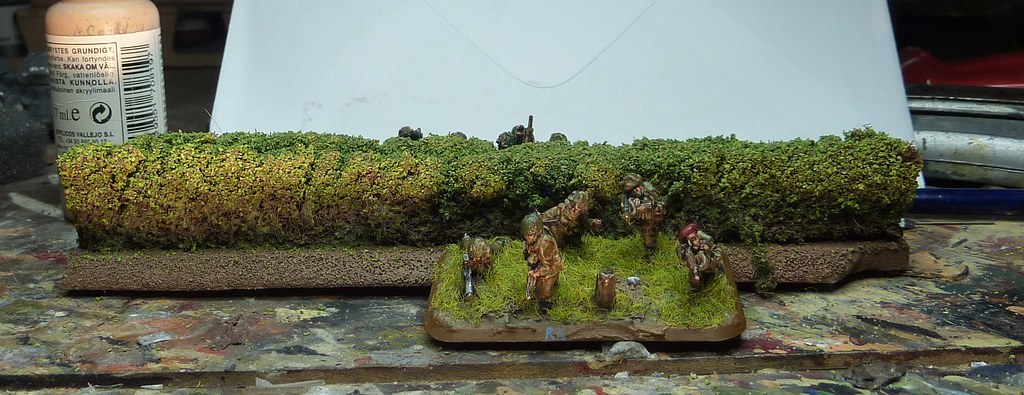
Skip forward a few years and whilst flicking through the stats for my Blog I came across this tutorial over at "Another Slight Diversion" that is sending me some traffic.  This was pretty much the missing link in the development of the hedge and I rushed to try it out to see if it would scale up.  I had the dregs of a can of Leather Brown and found some flock in my basing drawer.  Now, I can't remember the last time I used flock, but apparently I'm a pack rat and never throw things away.

After following the steps on the blog, I was left with this
P1010754
Over the 'edge lads!
A significant improvement!  My next thoughts were on how to scale this up so that I could produce about 32ft of it!  Driving cost down would be the main aim as using Army Painter brown and matt varnish would get pricey.  Instead, I plan to use Plasti-kote spray paint from the local B@Q at about £2 a can cheaper!  I have previously used the stuff for the winter terrain bases and to blue shade the white sheets and it seemed to do the trick for terrain making purposes.
P1000191
Some of said winter stuff.

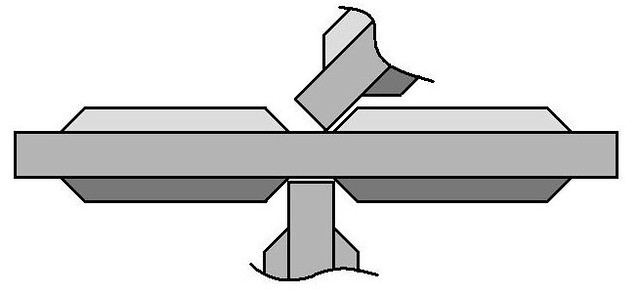
The next thought was to make the hedge so that it didn't need junction pieces.  Basically, create a shape for the base that allowed the hedge to be butted up to another piece in any way that would be required.  Here's a sketch:

universal_base1
Behold the awesome power of MS Paint!
I cut the end of the prototype to match, you can see it on the right of the "over the 'edge" photo.

The base could also be used for wall sections.  I plan to knock up about 16ft of wall sections using foam card that I retrieved from the skip at work.  It's slightly warped, but given the short sections required I think it wont be noticeable.  This is my first proof of concept.
P1010749
Yeah, Dingo's are that low.
I want to spruce it up a bit by adding posts at one and the centre point so that when the walls are combined it looks like an evenly spaced distribution of posts.  The posts would be made from high density polyester foam, cut into a column with a hot wire cutter.  The whole lot will then be covered in textured masonry paint, washed with thinned down decking stain and dry brushed to resemble a weathered, rendered, white washed wall that one could reasonably expect to run into all over Europe (alternatively, I'll scribe a brick/drystone texture into the foam).  I may even use cardboard to add a slate tile cap.  

So, that's the start of a plan.  Hopefully over the next couple of months I'll be able to bash that out, with help from the rest of the Brighton Warlords FoW community, and start looking at some extra projects to round out the tables (embanked and cobbled roads, irrigation ditches, a few ridge lines).

Times ticking...

As a final note, updates may be sporadic again until September.  I'm helping the rest of the family with a few building projects so free time may be at a premium!