
I've spent the time since the last update doing a few extra bits of weathering, basing and the final coats of varnish (literally only an hour or so before writing this).
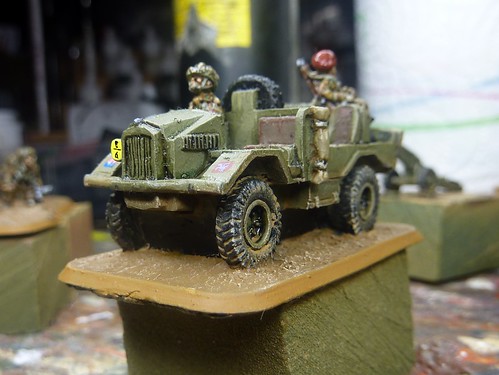
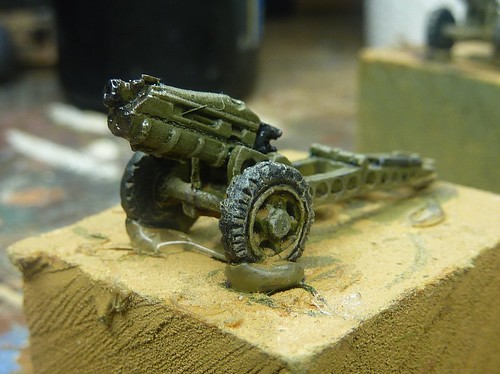
Firstly, I decided to apply one last bit of weathering to the vehicles and the guns. I gently dry brushed 'Iraqi Sand' onto the wheels and lower surfaces to represent dust that has been thrown up whilst travelling across dirt tracks.
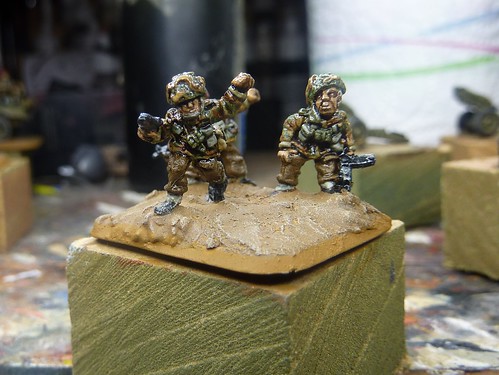
I then dry brushed 'Iraqi Sand' onto the bases to add a layer of highlighting to the dirt and pick out the texture on the bases. The dry brushing also tends to pick up the bits and lower legs of the infantry and adds to help shift the models from looking 'parade ground ready' to something more appropriate to a week long campaign in Holland!
The last paint to go on is a couple coats of Game Color 'Leather Brown' (not to be confused with Model Color 'Leather Brown') on the edges of the base. This is is something I've done to my bases for years, originally using Citadel Colour 'Snakebite Leather' on 40K and Epic models!. It's a fairly neutral brown that works on many different tabletops and helps set the model off.
I leave the models to dry overnight before proceeding with static grassing the bases. I find Static Grass gives a good effect but is a pain to work with in some ways. It tends to collect on a desk top and you can guarantee that a wayward strand will turn up on a model somewhere (the sharp eyed may have spotted a few strands that I didn't notice until after taking photos). It's important that all paint is dry as it will stick to any wet surface and can give some odd looks as grass suddenly appears from the side of an infantryman's head!
First I apply PVA glue (using an old brush!) to about two thirds of the base. I try and use this stage to hide any defects in the original polyfilling of the base (feet being submerged, cracks, voids, etc).
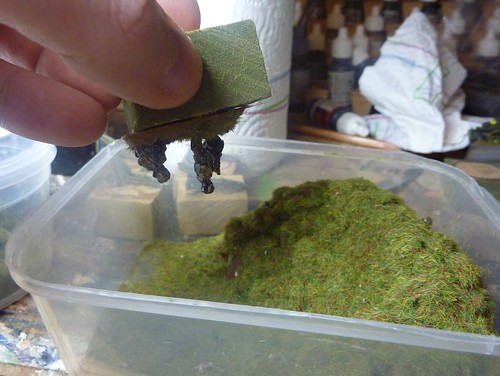
I then place the models in an old plastic container in a vain attempt to contain the static grass as I shake/pour it over the model. I do a few models at a time just to quicken the whole damnable process.

I then remove each stand and give it a tap whilst its flipped over to get the excess grass off and get it standing on end.
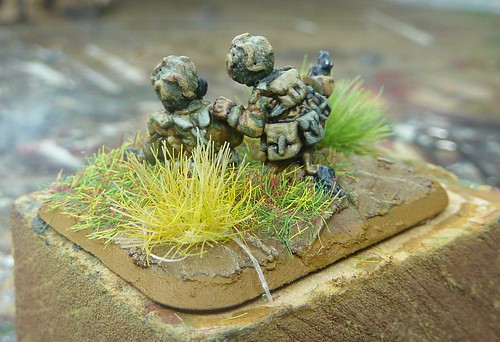
Finally, the hot glue gun is turned to 'napalm' and Stilfor grass is stuck onto the base. I've found that the best way of doing this is to leave the gun on its stand and just touch the tuft to the gun then quickly stick it to the base.
I'm not happy with the current brand I use as its a little garish. I'm going to try the new(ish) Army Painter 'Highland Tufts' in the future.
The final stage is to give two good coats of matt varnish (I use Army Painter 'Antishine Matt' as its easier to get hold of than Testors Dullcote) and we're all done!
For those coming late to the party; here are the stage by stage posts for this project:
- Base Coating of the Artillery and Trucks plus some Weathering
- Painting Battledress and Denison Smocks
- Webbing, Flesh Tones, Berets and Small Arms
- Final Touches
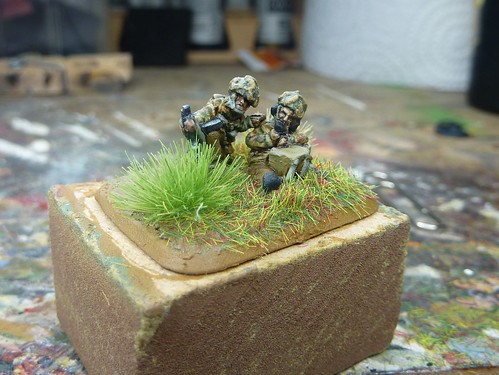
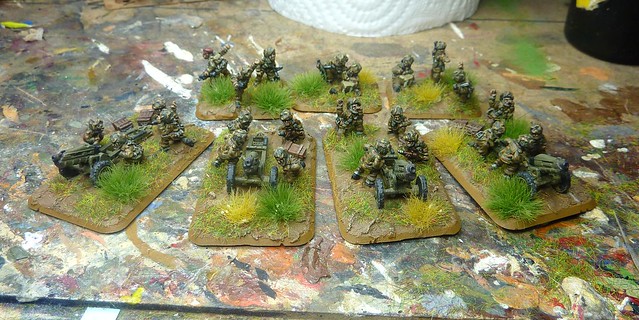
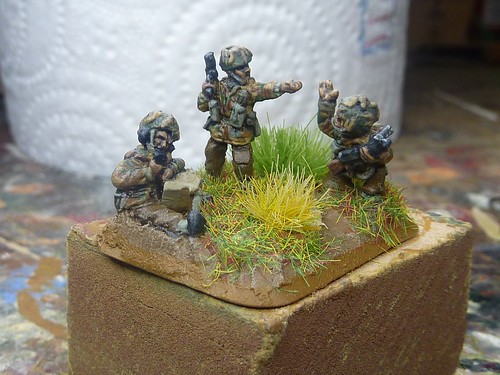
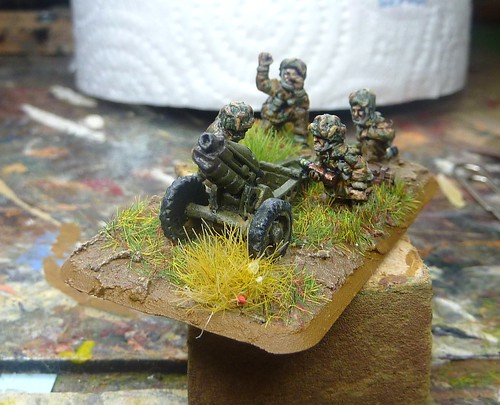
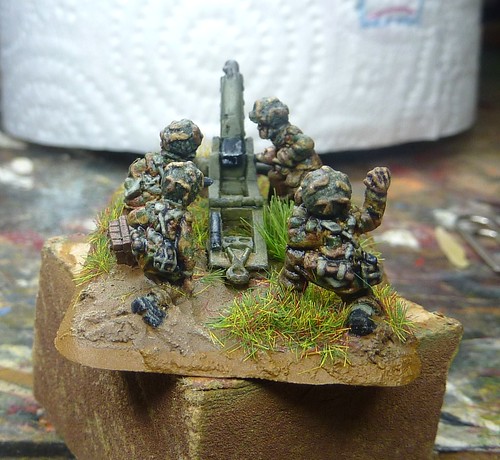
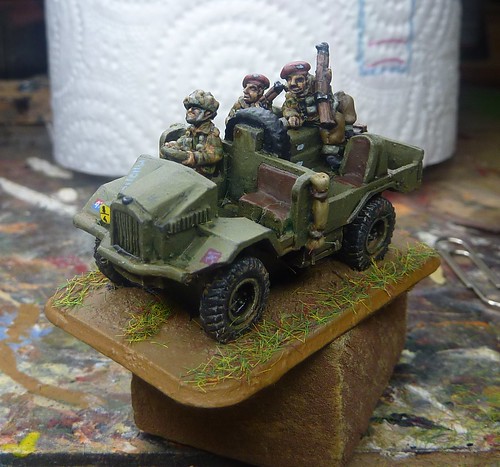
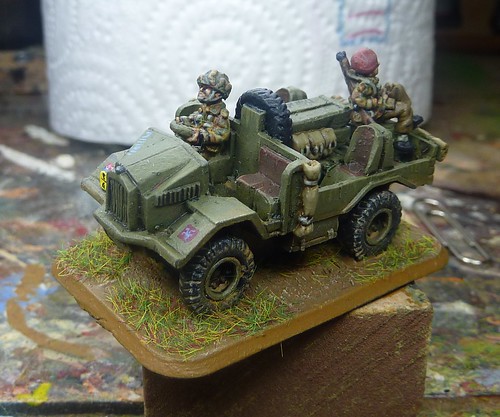
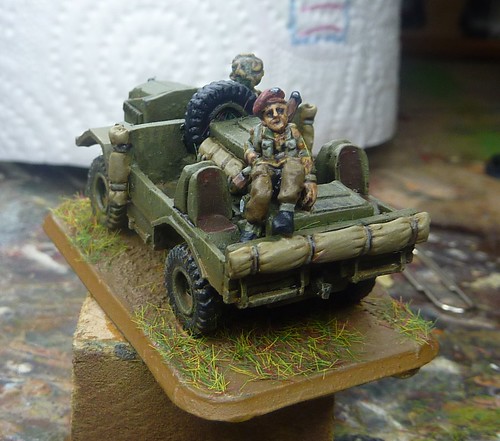
Here are some of the finished models:
OP
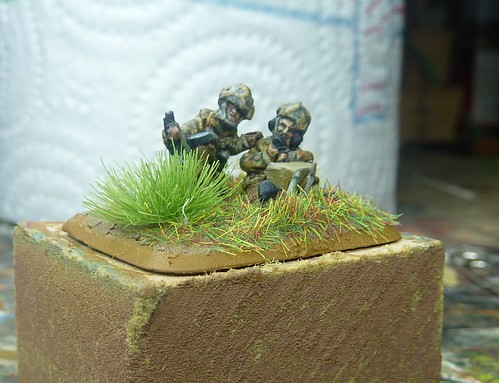
Battery Commander
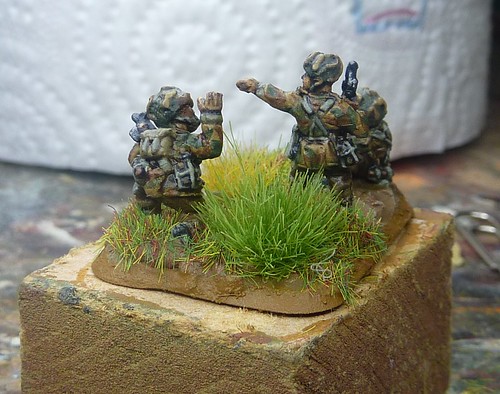
The Battery Commander is the only non-BF model in this platoon. I just thought the Peter Pig figure looked more suitable for a Battery Commander. Commanding rather than leaping into an assault!
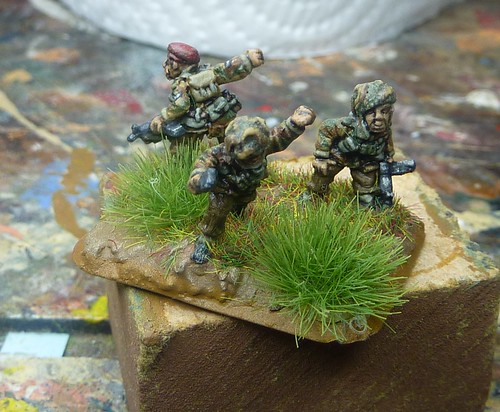
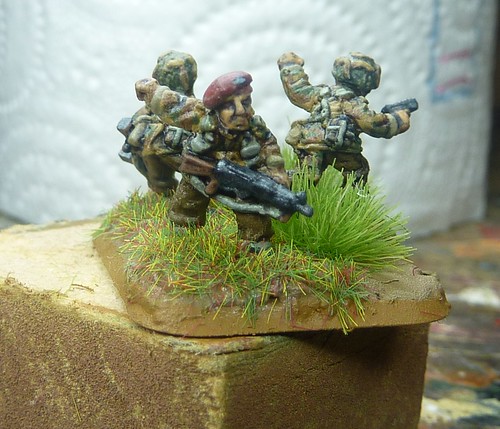
Gun Troop Commander

75mm Pack Howitzer M1A1
15CWT Gun Towers
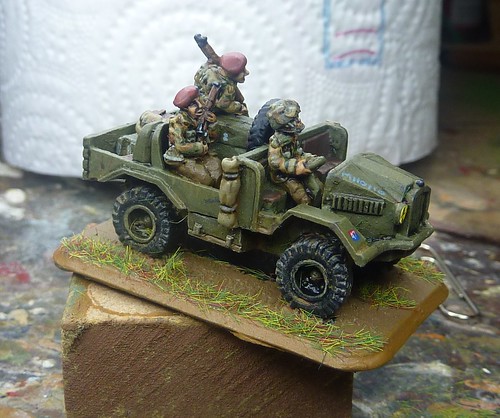
All in all, I'm quite happy with the end result. There are still some areas for improvement in basing but I'm content with the new methodology for doing Maroon Berets and the smocks have come up very nice (as they should. I've painted enough of them by now!)
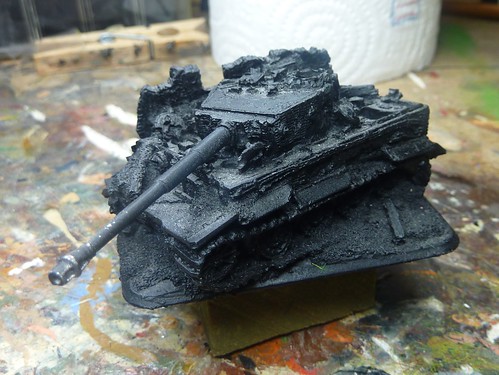
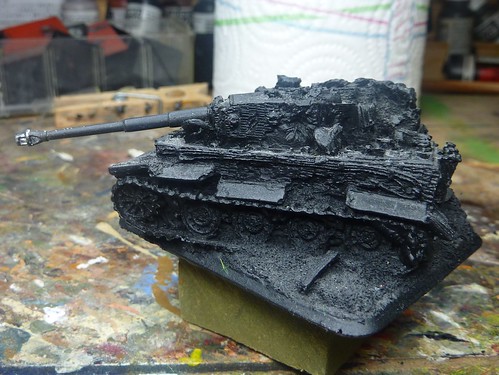
So, what's the next project?
Well, I fancy doing something a little different and nothing quite says 'Different' like a brewed tigger!
See you next week.
No comments:
Post a Comment