Sunday 24 October 2010

Steel and Flesh! (plus some fabrics...)

Another week, another update!

I've spent the last six days doing all the semi-fine detail.  This consists of:

  • Webbing
  • Firearms
  • Flesh Areas (faces and hands

plus, on paratroops, the maroon beret.

Webbing
British webbing is a tricky subject.  The basic webbing was supplied in one of two colours (Sand or Khaki) and troops then used a substance called Blanco to stain and waterproof the canvas.  As such, the webbing can vary from a 'buff' colour to a pale green depending on how well it was 'blancod' and how weather beaten its got since.  There is some decent information here.

I tend to paint British webbing 'green grey' but for this unit I've experimented with painting daysacks and some pouches Khaki.  The basic technique is the same either way and it's only the three colours that are used that vary.  As always, I tend to thin the paints down by about 30%-50% (best practice with Vallejo) and use a GW 'Standard' Brush

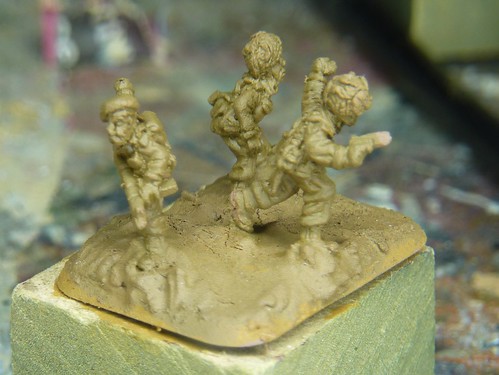
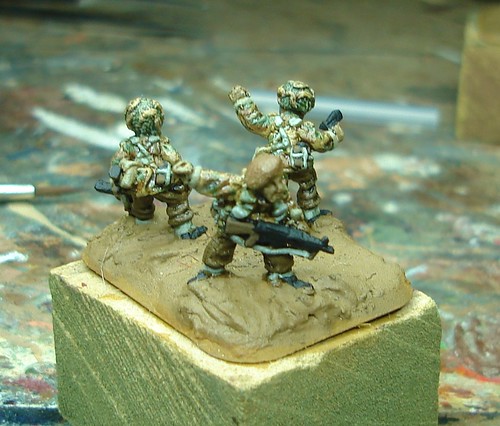
Firstly, a shading colour is laid down on the webbing areas.  I use 'Green Brown' for Khaki areas and 'Russian Uniform' for the green grey regions.  A little care needs to be taken here as its easy to ruin the smocks or trousers with a missed stroke.  Getting paint onto the entrenchment tool, canteen or weapons isn't too bad as we have still to paint them yet.
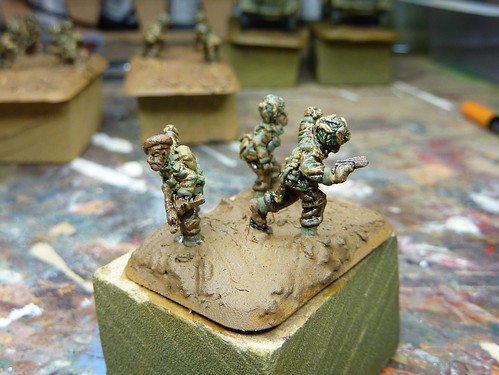
P1000788
Shade Colours on

It should also be noted that Binoculars and Grenades were painted at this point.  Shade: 'Reflective Green', Base: 'Russian Uniform', Highlight: 'Green Grey'.  It's quite convenient to paint them at the same time as the webbing point as the pallet is mostly the same after the 'Reflective Green'.

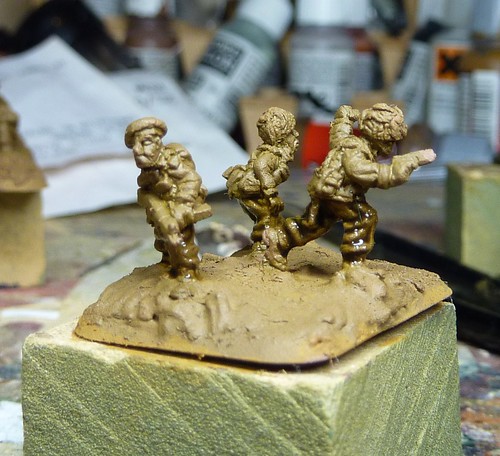
Once that's applied, I then add the base colour;'Khaki' or 'Green Grey' keeping the shade colour showing in the recceses, under flaps or near where the webbing/sling/sack joins the rest of the model.  The black wash alter will help of the shade does get covered too much, but it does give a better gradient if its visible to an extent.
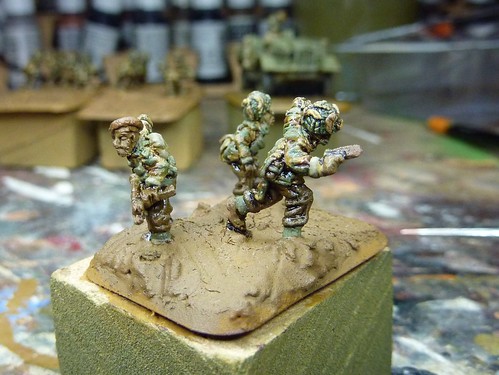
P1000798
Base Colours on

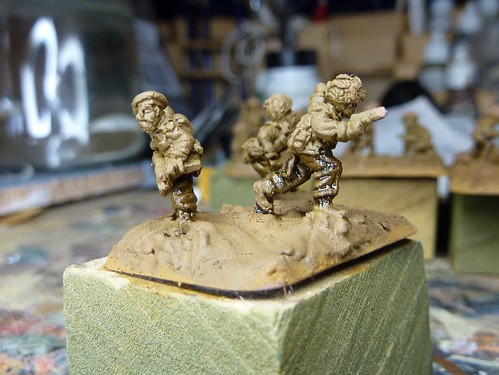
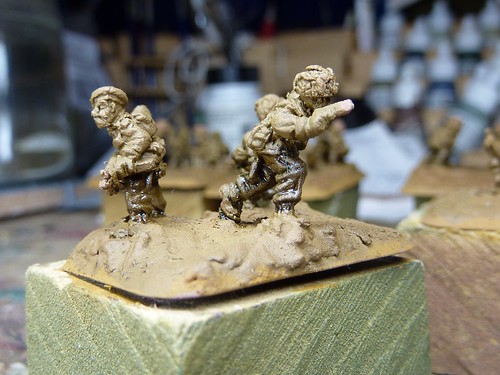
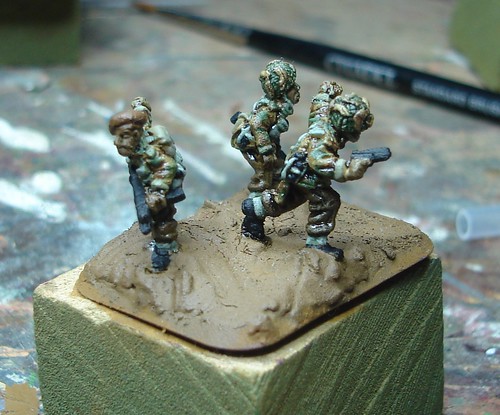
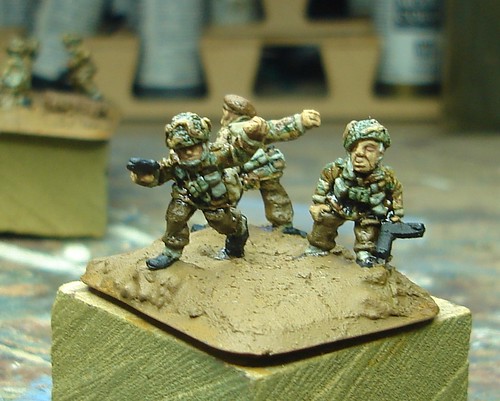
Finally, the highlight is applied to edges and raised areas of the webbing.  'German Camo. Beige' highlights Khaki and 'Stone Grey' highlights 'Green Grey'.
P1000802
P1000803
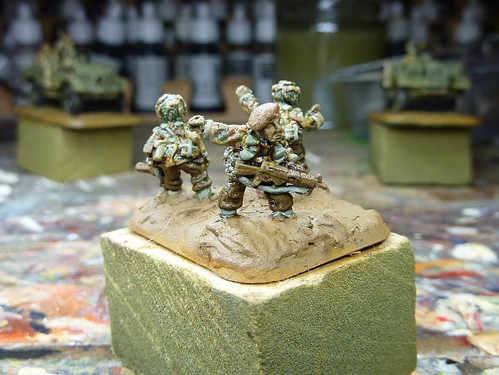
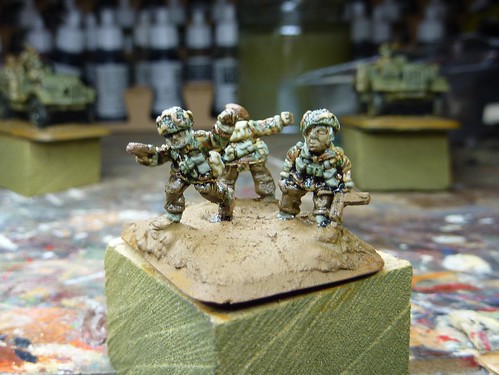
Two views after Highlights on

Once done, any tie straps are painted stone grey.  Later I apply a thinned 'Black Wash' in the recesses, edges and around the tie straps.  More on that later.

Woodwork
Woodwork is probably a poor description as I also paint the Canteen (brown-ish) and lay the base work down for the flesh areas, but the main aim is to paint the entrenching tool handle and the 'furniture'/stocks of the firearms.  Battlefront have depicted the Paratroops with Sten MkV so have wooden butts and foregrips rather than the all metal MkII/III the line infantry normally have.

Firstly, I used this opportunity to 'black out' the boots, canteen and Sten.  The SMLE was left mostly in the 'English Uniform' base coat from earlier as it has only a few metallic parts on display.  The 'blzck' was left to the magazine, bolt, butt plate and fore group instead.
I should point out that normally I do this after the initial undercoating of the model and just touch it up at this point.  For some reason I missed it earlier.
DSC05034
Blackout!

Once dry, 'German Camo.Medium Brown' is painted on the furniture of the weapon, the entrenching tool handle and the canteen.  It's worth finding some decent pictures of the firearms to make sure your painting the right bits; a google image search is often sufficient!  With the canteen and handle, avoid getting any paint on the surrounding webbing to save any need for touch ups later.
DSC05035
Shade coat on the wood/canteen

Next, 'Beige Brown' is applied over the 'German Camo Medium Brown' of the weapon and entrenchment tool handle.  NOT THE CANTEEN.  Leave the darker brown showing in the recces, especially on the SMLE.  
At the same time, carefully pant the 'Beige Brown' onto the flesh areas to provide a shade coat for later.

I usually then mix some 'Iraqi Sand' with the 'Beige Brown' (50:50) for a final highlight on the wood areas.
DSC05037
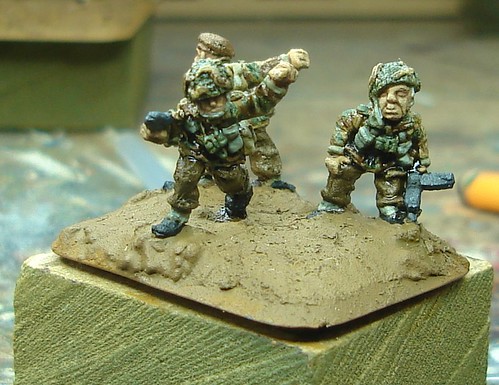
Flesh Shaded and Woodwork finished

The last step is to paint 'US Field Drab' onto the canteens as a broad highlight.  I don't tend to highlight the canteens beyond this but adding a bit of 'Khaki Grey' to the drab would do the trick should anyone want to go to that level.
DSC05038
Canteens at the ready
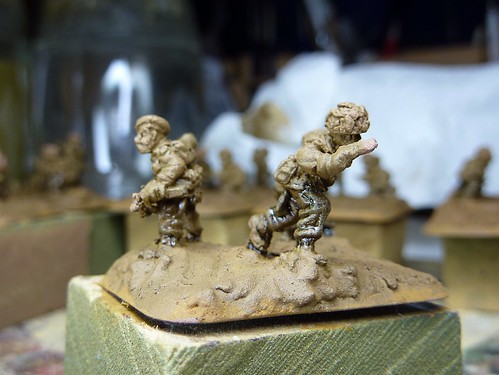
Fleshtones
The last stage provided a shade coat for the flesh so now its time to build it up.  I use a method detailed in Wargames Illustrated 263 that I find I prefer over my old one which always looked far too pink.

A base coat of 'Medium Fleshtone' is painted over the 'Beige Brown', leaving the latter in the shadows (eye sockets, ear canals, major folds) of the skin.
DSC05041
Medium Fleshtone

Next, 'Flat Flesh' is applied as a highlight to the nose, brow and other raised areas.  Later I apply black wash to add further contract.  Looking back on the model, I think it needs another coat of 'Flat Flesh' as the highlight does not appear to be strong enough here.
DSC05043
Flat Flesh

Metallics
[insert heavy metal joke here]
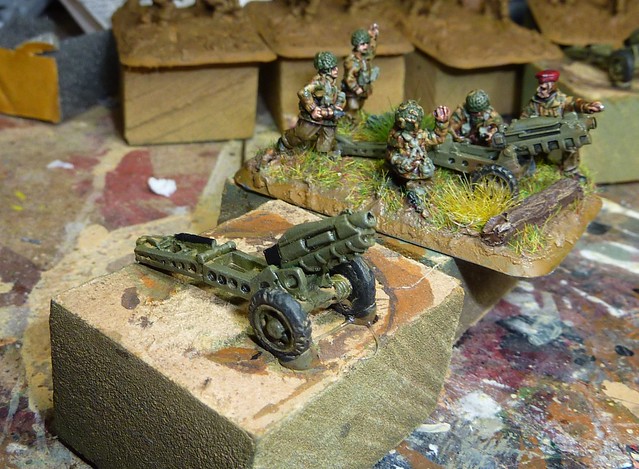
With the wood work of the weapon painted its time to turn my attention to the 'worky bits' of the gun, plus other metal areas such as the canteen water cap!  I also apply this to the breech of the Pack Howitzer

Firstly, a 50:50 mix of  'German Grey' and 'Gunmetal Grey' is applied over the metal areas, leaving 'black' in the deepest recesses.
DSC05043
Shade Coat on Sten and Pistol

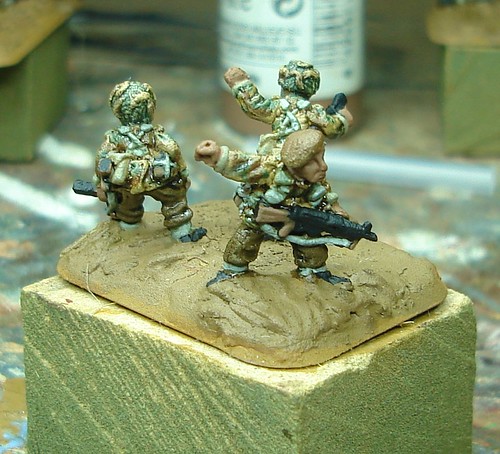
Next, bolt gun metal is applied as a broad highlight.  I finally add a fine highlight of 'Oily Steel'.
P1000815
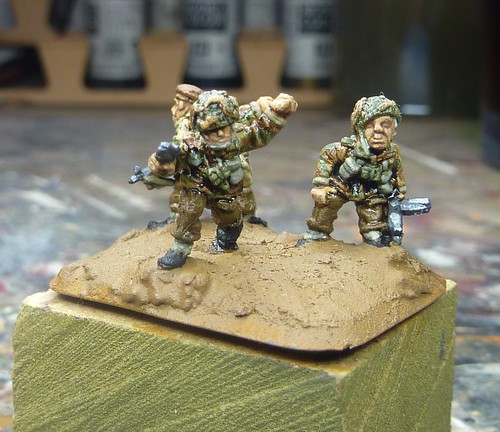
Base and Highlight on Sten and Pistol

P1000817
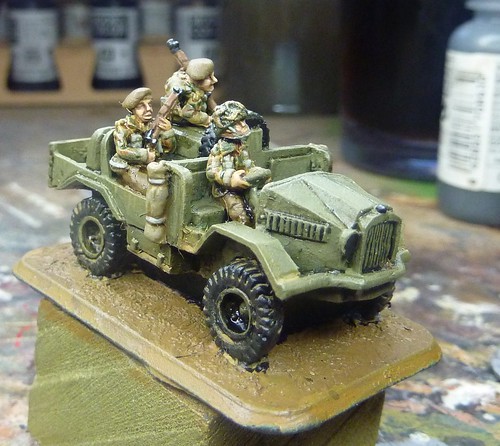
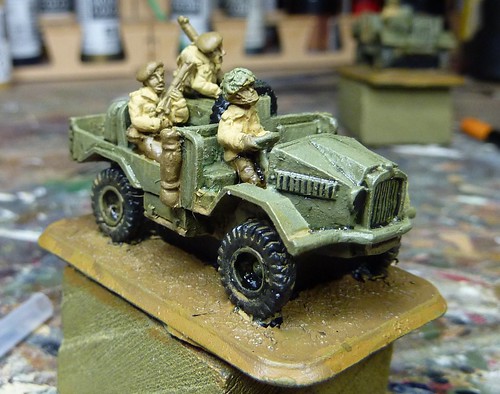
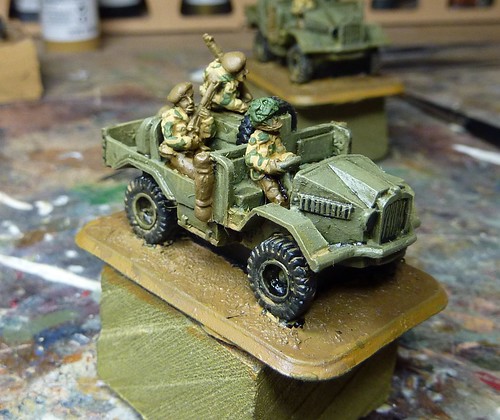
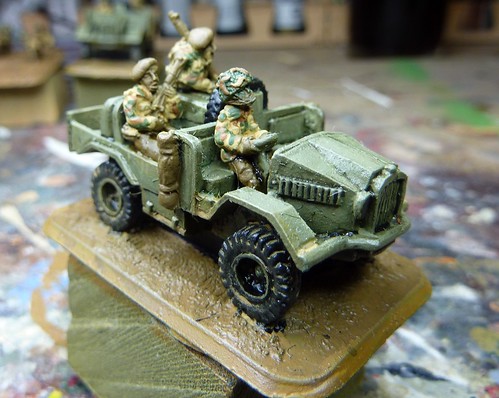
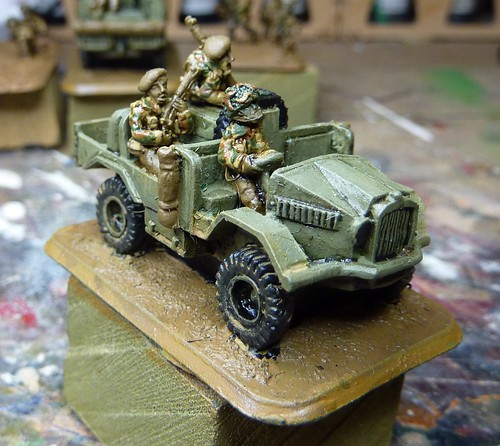
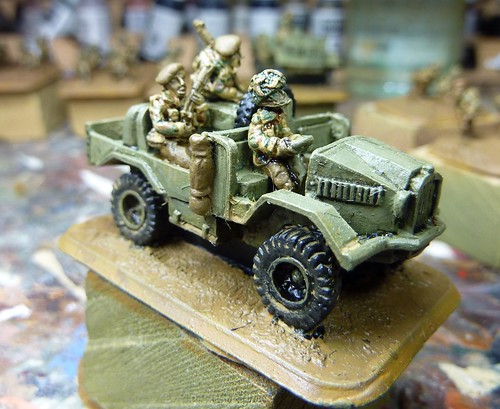
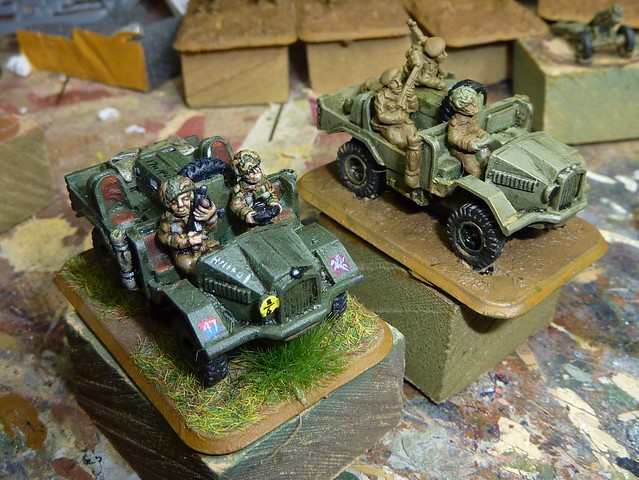
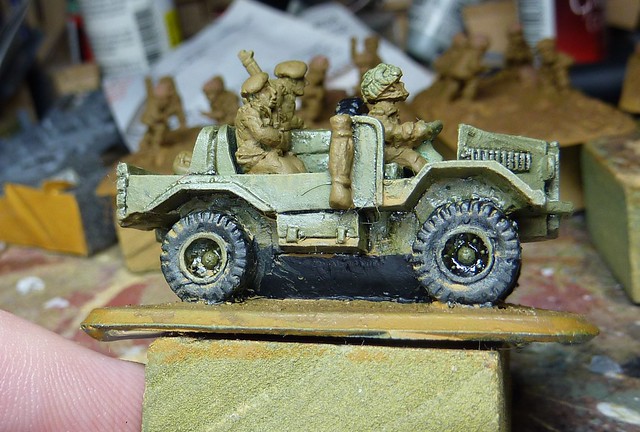
Fished Metallics on SMLE (Truck passengers) and Radiator Cap

P1000818
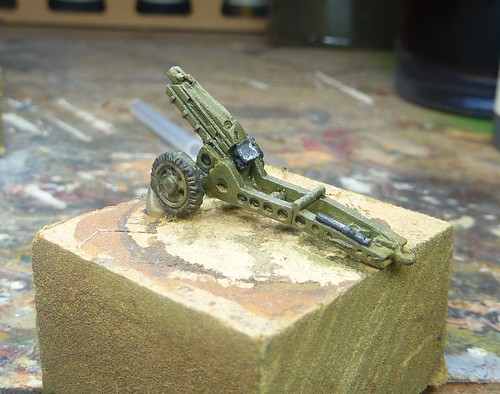
Finished Metallics on Pack Howitzer Breech and Pole

Final Wash
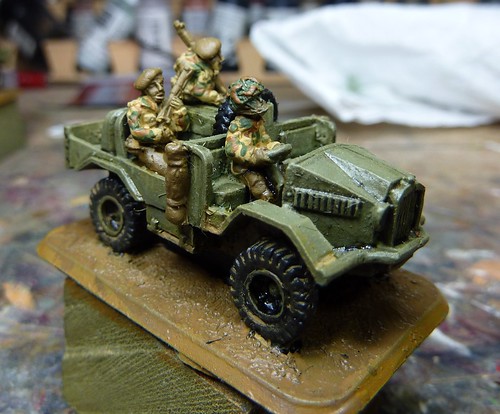
With all of the above elements painted, it's time for the black wash that I've been mentioning.  This is applied in much the same way as the mixed 'Brown/Black' wash mentioned earlier.  Vallejo 'Black wash' is thinned and carefully applied to the face, firearm and the webbing.  I also apply a bit the collar and shoulder straps to break them away from the rest of the smock.
 I try and avoid a liberal soak and use careful applications to avoid pooling and darkening the model too much.  The aim here is to add some final definition to the model.
After all these washes the model can look a bit shiny.  A good coat of matt varnish will fix that and is always my last step on the project.  Stick with it till then.
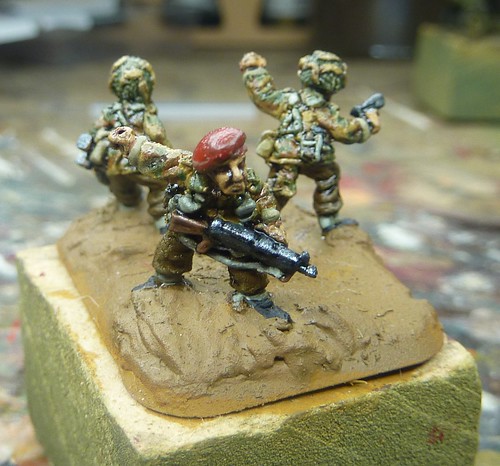
Beret
A distinctive feature of the British Paratroop, and something I've always struggled to get looking right, the maroon beret of the airborne divisions earned then the 'Red Devil' name.
On previous units, I've always got this looking far too red.  This time I feel I got a lot closer.
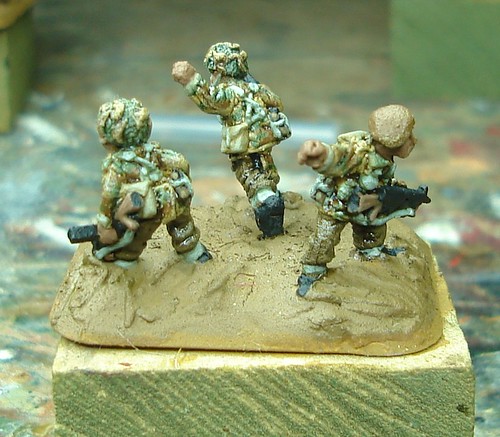
Firstly, the beret receives a shade coat of 'Flat Brown'
P1000820

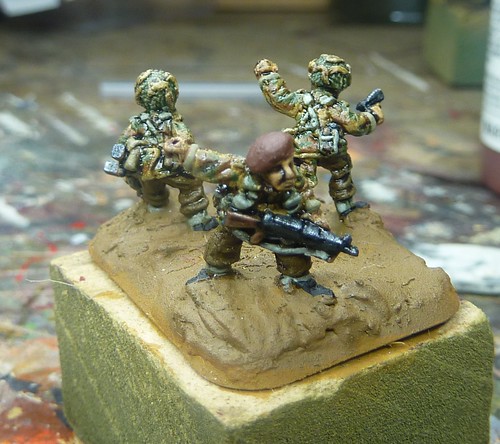
Next, Cavalry Brown is applied over this, leaving the previous shade in the recesses.
P1000822

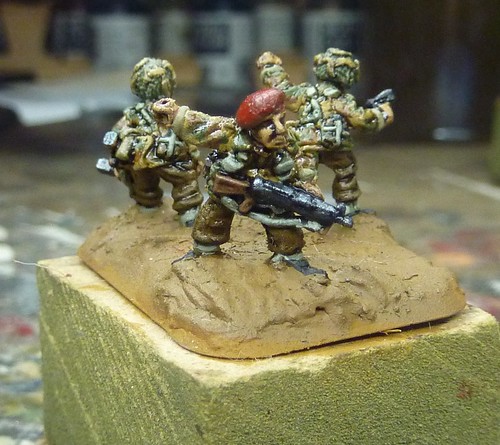
Finally, a highlight of 'German Camo, Pale Brown' is applied wherever the light seems to catch on the beret (typically around the rim with a few creases on the top.
P1000823

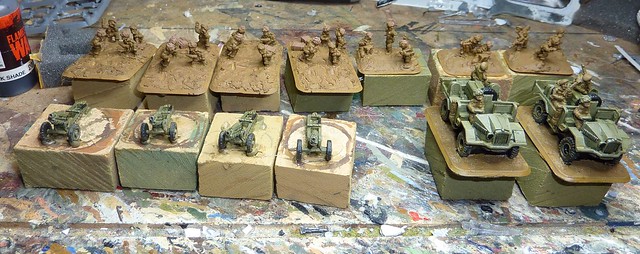
So, that's a week's worth of work (well, a few hours each day anyway)!  But what's left?
At this point there is still the following to do:
  • Insignia and markings (shell markings on the gun crew, unit markings on the truck, maybe para wings on the arms)
  • Bases
  • Some final detail (dare I do eyes???)
Should be all done by the next post then!  See ya later.


Sunday 17 October 2010

(Battle)Dresses and Smocks

I was going to update this blog after each evenings painting but this would make an already late finish, later and didn't make for much happening in a post.  I'm instead going to update the blog whenever a significant event happens.  In this case, its painting the Infantry clothing.


The key defining feature, from a painting point of view, for a British Airborne force is the 'Denison Smock'.  This was the first 'Disruptive Pattern material' garment issued to British forces and was pretty much the foundation of every British camouflage pattern up until MultiCam entered service.  It was used by the Airborne forces (including SAS) to both protect parachutists from the wind blast of a combat drop and then provide concealment on the ground.

Painting camouflage smocks seems to be a love/hate thing with some people loathing the task whilst others, including myself, quite look forward to it.  Having said that, Denison is a pretty simple scheme compared to most of the German ones and quite simple to get a decent look with.

First things first though, we need to get some trousers on!

Battledress
The Denison Smock is worn over standard British 'Battle Dress' so it is necessary to paint the trousers and exposed shirts (not really present at this scale) as we would with an other British figure.  This is preferably done before we paint the smock as 'English Uniform' provides a good basis for the smock and saves the smock's paint from being ruined by a wayward stroke.

I had previously painted the infantry Vallejo 'English Uniform' all over so we start this post off with something like this:
P1000749


Next, like the guns and trucks, I apply a wash of Vallejo Black/Brown 50:50 mix.  This is slightly watered down to reduce its strength and applied all over the lower half of the model.  Unlike the flat sides of the Truck, it doesn't matter too much if its a little messy as most of the figure will be painted over.  
P1000750


This is left to dry, generally overnight.  Once dry, neat English Uniform is dry brushed over the washed areas using an Army Painter 'large drybrush'.  I generally do this quite heavily, leaving the wash in the very deep recesses of the model.
P1000754


Next, a 50:50 mix of English Uniform and Khaki Grey is drybrushed over the same region to give the first highlight.
P1000756


Finally, neat Khaki Grey is lightly drybrushed, using an Army Painter 'small drybrush' to give a final highlight.
P1000758

That gets us our trousers.  Now to get camo'd up!


Smocks and Helmets
The smocks are painted using a slightly modified version of the process detailed in the 'D-1' army book.  I paint the helmets at the same time as they basically use the same palette.  It's worth noting that 'Market Garden' suggested some different colour variants to represent new and faded smocks.  These should work with this process too.

Firstly, I need to build up a decent coat of 'Green Ochre' to get the sand coloured base material of the smock.  I use two or three thinned coats to do this, avoiding the trousers but otherwise not being too careful (webbing will be painted later).  I find this bit painfully dull but a necessary evil to get a good finish.
P1000771

Next, 'Reflective Green' is applied in broad brush strokes using a GW 'Standard' Brush.  A streaky look with 'split ends' is highly desirable.  The green strokes should make up about a quarter of the jacket area and again, its not too important to avoid webbing;  In fact, it may be better not to to give the impression of the stroke continuing below the webbing.  I find it easier to sue the paint at its natural thickness for this stage.
At the same time, the helmets are also given a good coat of 'Reflective Green' to act as a shading colour.
P1000772


Now, I break away from the Jacket briefly to give the helmets a heavy drybrush of 'Russian Uniform'.  
Once that's dry we break out the 'Flat Earth and, again at its natural thickness, apply more irregular stripes.  These should overlay the green stripes and unpainted yellow areas, making up another quarter of the exposed area.  Overall there should be a ratio of 2x Green Ochre: 1 x Russian Uniform: 1 x Flat Earth on the final model.  It will look like there it a lot more yellow than there actually is as we have yet to paint the webbing so don't be too worried at this stage if it looks two yellow.
At the same time as I paint the smock, all the bits of camo strips on the helmet should also be painted Flat Earth.
P1000776

Next, I paint about half of those helmet strips Green Ochre, painting over the brown.
P1000777


Now, I deviate from the 'D-1' process to apply yet another 'Black/Brown' wash.  This is applied over the helmet and smock, avoiding the trousers.  Leave this to dry (I usually leave it overnight). 
P1000781

Finally, for this post at least, I apply a light drybrush of 'Green Ochre' over the smock and helmet.  This ties the colours together and also acts as a highlight stage for the smock.
P1000787


There, that wasn't too painful was it!  That's a big chunk of the work done now.  The next stage will be to paint the webbing, the skin areas and the firearms.  


Have fun!

Tuesday 12 October 2010

The Current Project! Progress so far.

Currently on my painting table is a battery of four 75mm M1A1 Pack Howitzers plus two 'cut down' 15 CWT trucks.  These are for my British Airlanding Company and fill in the last few holes in my army (namely some transport for the 17pdr AT guns and a second gun-troop for the airlanding artillery battery).

P1000736
The current occupiers of the painting desk

We join this project part way through.  The research was done long ago and the paint jobs are mostly copies of the older models (the first gun troop and the other two trucks) with some refinements, which we'll discuss later.  
Prior to this photo, the models have been:
  •  hot glued to a painting base (some MDF blocks that allow me to paint without directly touching the model), 
  • sprayed in either ArmyPainter 'Leather Brown' (HQ and Gun Crews) or 'British Armour' (Trucks and Guns)
  • the guns and trucks have been painted in watered down Vallejo 'Russian Uniform' to cover any areas where the spray missed.  The gun crews were similarly painted in 'English Uniform'.
  • Once dry, a 50:50 mix of 'brown' and 'black' Vallejo shade is painted in the areas where I want shading, rather than being liberally applied, and then pure 'blank shade' liberally applied on the undersides.
  • Once dry, the guns and trucks have been drybrushed with 'Russian Uniform' then lightly drybrushed with a 50:50 mix of 'Russian Uniform' and 'Green Ochre' to bring out a detail.  At this stage I also add thin streaks of this colour to the flat surfaces for dirt streaks and water staining of the body (see below).  The truck crews and passengers were then painted in English Uniform so as to match the gun crews.
You'll note that I apply the black/brown wash in a fairly controlled manner.  This has been learnt from bitter experience as I have found that the wash really darkens the model if used liberally and can also give a blotchy look.
Compare the new truck (with carefully applied wash) to the older truck (with liberally applied ink):

P1000742
Finished 'Old' Truck, Left.  In progress 'New' Truck, Right.

Now, consider that the only thing different here (other than the fact one is finished) in terms of technique and colours used is that the older trucker was liberally doused in wash and you can see straight away the impact it has had.  The new technique makes for a lighter, truer scheme and looks less blotchy to boot!
You can also note that I got the driver position wrong on the first trucks.  I blame having just glued a load of Willy Jeeps beforehand for keeping me in a left hand drive mode... :P

Here's a comparison of the old guns to the new guns.  The guns still look fairly dark due to the lack of flat spaces to really allow the technique to shine.  It's also a good comaprison of the Skytrex (finished) and Battlefront (unfinished) models!:

P1000741
New gun (Battlefront), left.  Old finished gun (Skytrex), right.

Okay, finally; you can probably see brown 'stains' on the trucks and guns above.  This is a technique I use to give the impression of dried, ingrained dirt building up on equipment in the field.  It's pretty simple yet effective.  Firstly, water down 'US Field Drab' in a 1:4 ratio of paint to water to give something that is slightly thicker than a conventional ink (or very similar to very muddy water!).  Now, using a standard sized brush, apply this paint:

  • carefully into the corners of crew compartments
  • in splotches around areas where crew would put their feet to gain access to a vehicle (engine decks, hatch ways, etc)
  • liberally on the bottom half of models, especially inside wheel arches and heavily on the wheels themselves.
Here are some detail shots of the technique, as applied to the trucks:

P1000745
Note dirt in crew compartment recesses.

P1000746
Note dirt around driver's door and underside of vehicle.  You can also see the dirt streaks added to the vertical sides 

So, that brings everyone up to speed.  The next stage will be to paint the gun crew and truck passengers/drivers  and this will be covered on the next blog (unless I get distracted).


Sunday 10 October 2010

Some previous work

Before we look at the current project, let's have a look at some of my previous projects:

1.  Sherman Troop = 3rd RTR circa 1944
Troop Commander - Battlefront Sherman V with some conversion work to 'unbutton the hull hatches' plus greenstuff work to add Hessian strip camo.

Sherman Firefly VC - Battlefront Sherman VC with greenstuff work to add Hessian strip camo.

2.  Tetrarch Troop - 6th AARR circa. Normandy
Troop Commander - Battlefront Tetrarch Light tank with CS gun.  Converted Skytrex Paratroop and greenstuff Hessian strip camo added.

Battlefront Tetarch with extra stowage and greenstuffed tarp.

3.  Downed Typhoon Objective


Hello, and welcome to the inevitable first post for my new (and indeed, first) blog "Safety Markings".


"Safety Markings" is designed to act as a sort of project log for my model painting.  Principally this is to support a new venture into buying, painting and selling war-gaming miniatures; but will also cover projects for my own armies.

At current (and ignoring various 40K armies buried in the depths of my wardrobe), I collect and paint models for Flames of War, a 15mm WWII wargame.  My current armies are:

  • British Airlanding Company (circa. Operation Market Garden)
  • British 8th Army in the North African desert (circa. 1st battle of El Alamein)
  • 21st Panzer of the DAK (circa. 1st battle of El Alamein)
There are other projects (28mm WWII, Blood Bowl, Epic 40K and the occasional roleplay model) but my main  focus will be on 15mm.

This blog, and the whole painting venture itself, is very much a learning experience so feel free to make suggestions on how I can improve the whole crazy enterprise.

Next:  The Current Project